Using my perfected master scone recipe, build your own scones with a variety of add-ins like chocolate chips, berries, or cheese and herbs. These better-than-the-bakery treats are flaky, flavorful, and moist with crisp crumbly edges. There’s a lot of helpful information and step-by-step photos, but feel free to jump right to the recipe!
Scones are sweet or savory, perfect with coffee and tea, welcome at baby showers, bridal showers, brunch, snack time, bake sales, Mother’s Day, and wherever muffins or coffee are appropriate. (All the time!)
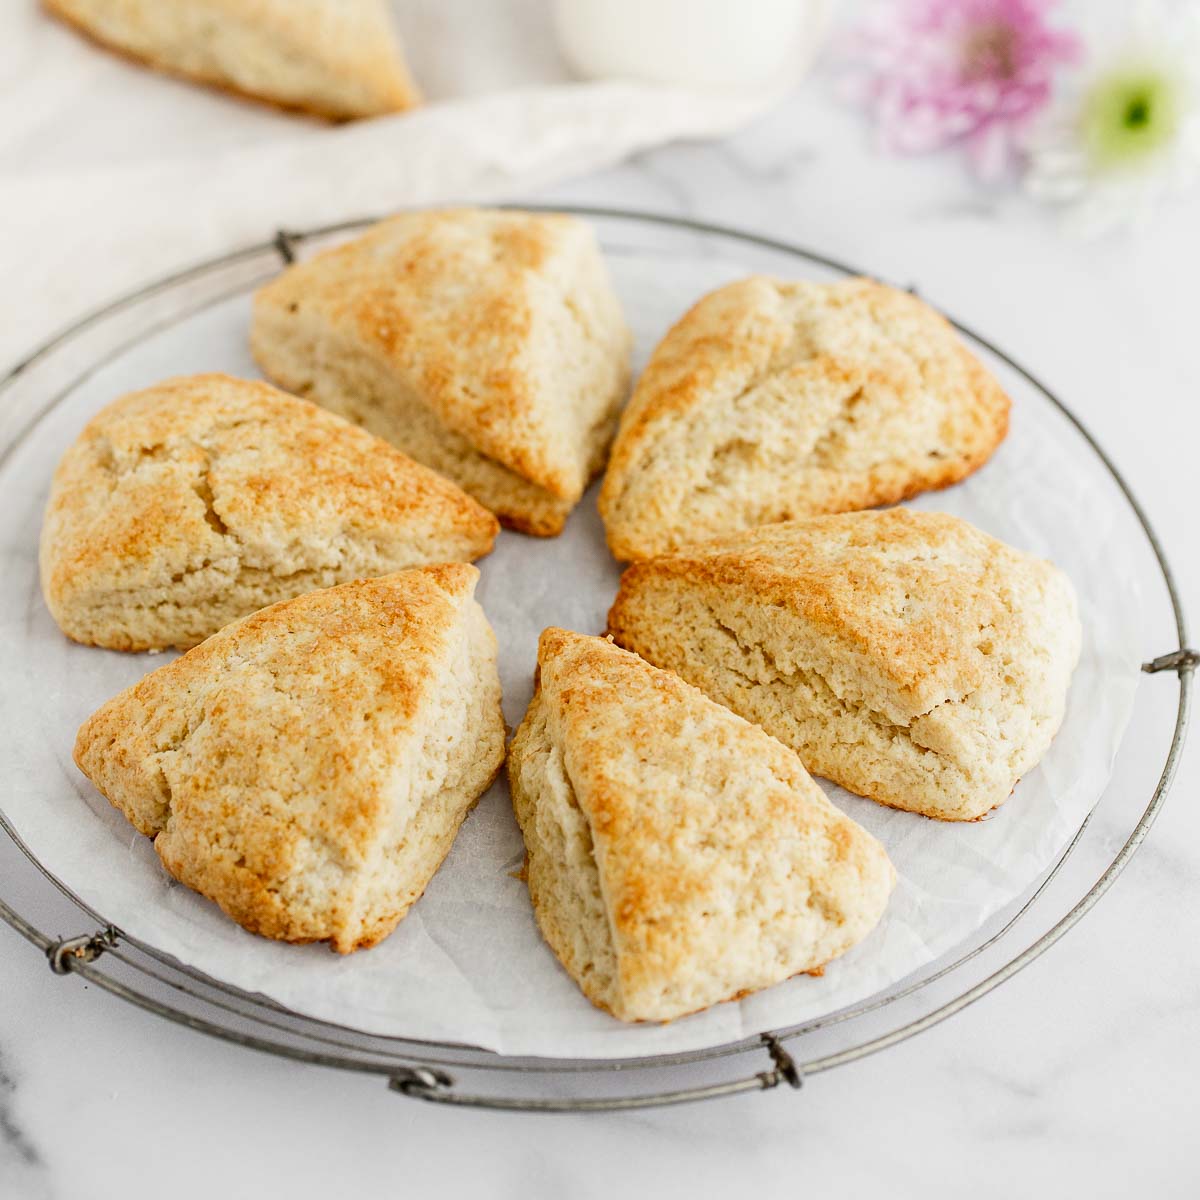
But depending on the recipe and technique, scones can be dry and sandpaper-y with flavor comparable to cardboard. They can also over-spread and taste pretty boring. However, boring isn’t in our scone vocabulary!! My basic scone recipe promises uniquely crisp and buttery scones with crumbly corners and a soft, flaky interior.
I have several scone recipes that begin with the same basic formula. Let’s review the fundamentals so you can learn how to make the best scones. Sit back because there’s a lot to cover in this post!
Depending where you live, the term “scone” differs. English scones are more similar to American biscuits and they’re often topped with butter, jam, or clotted cream. American scones are different, but different isn’t necessarily a bad thing! Today’s scones are sweeter, heavier, and aren’t usually topped with butter because there’s so much butter IN them. Sweetness aside, there’s still room for vanilla icing or a dusting of confectioners’ sugar on top. By the way, here’s my favorite recipe for traditional scones.
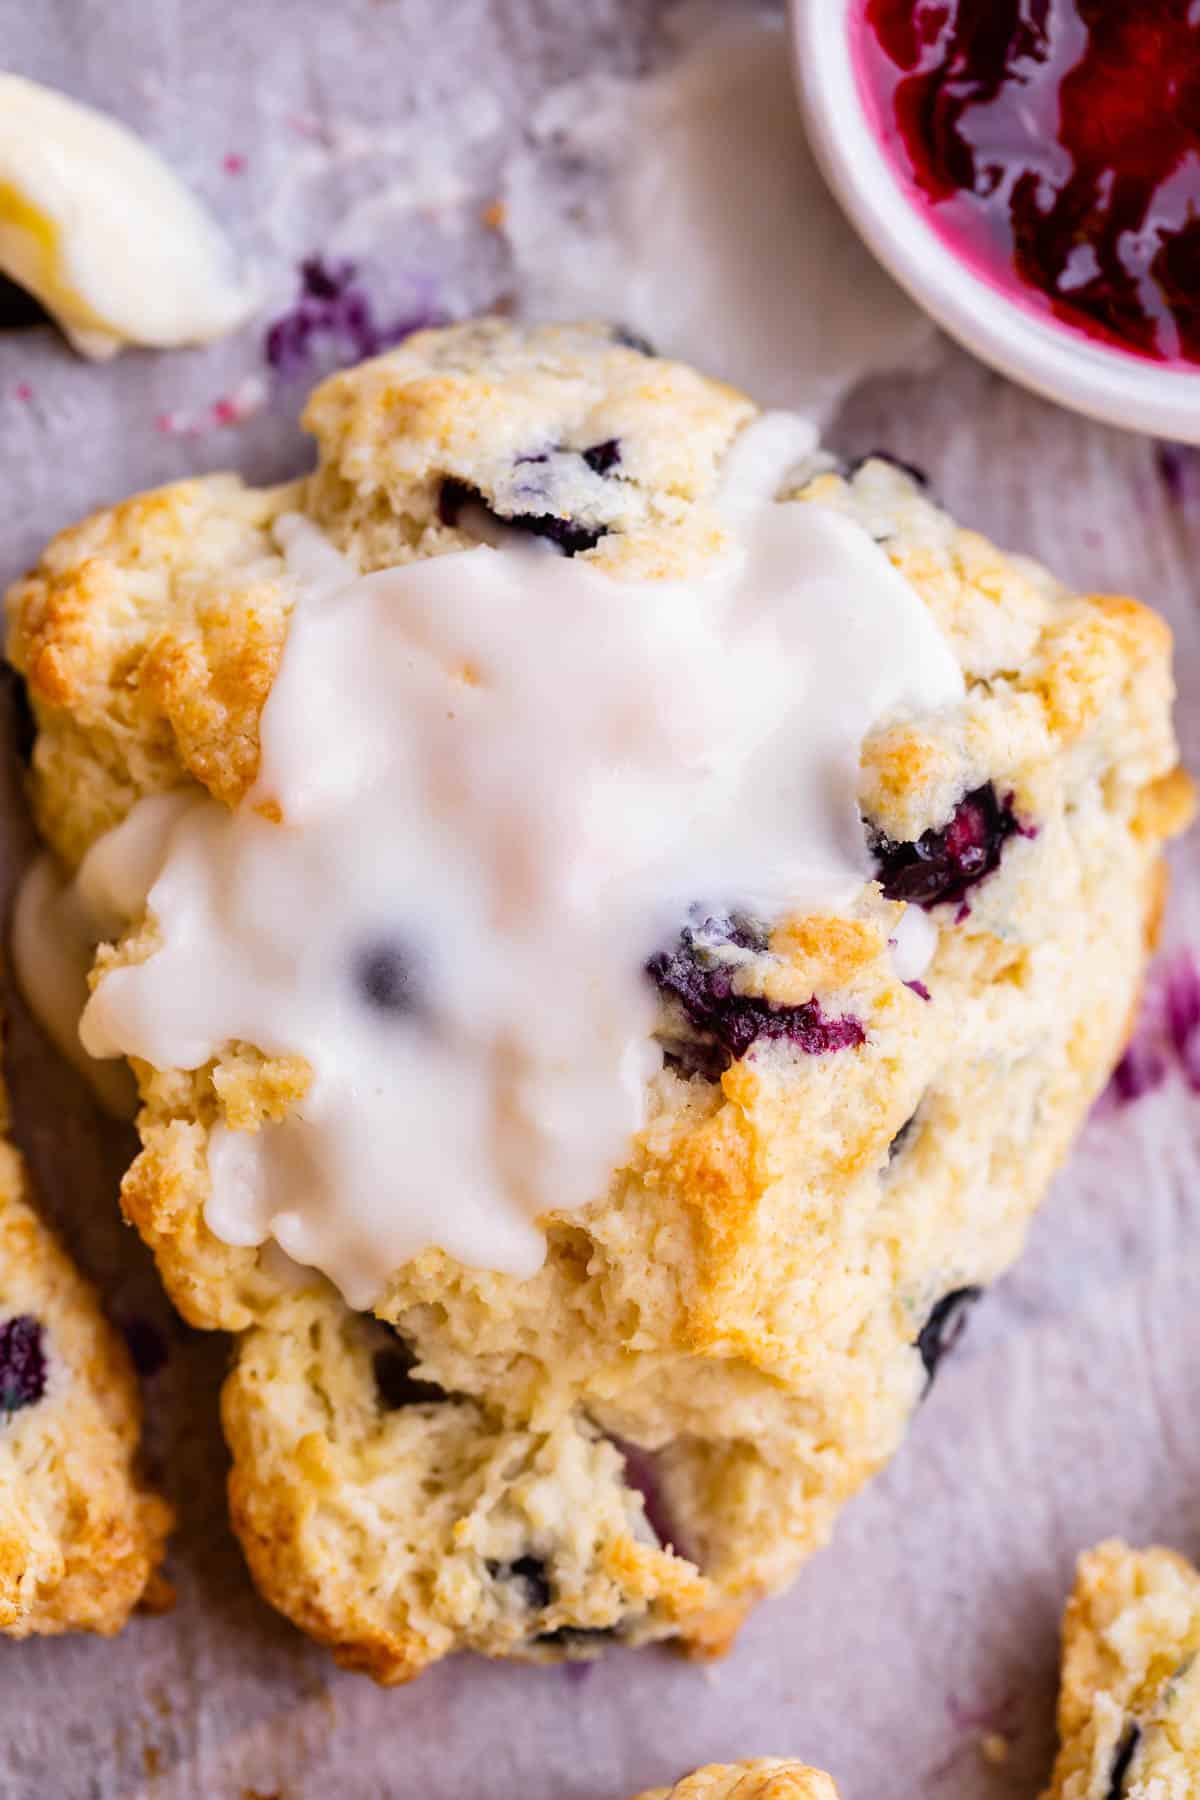
Scones are leavened with baking powder, so making them is generally quick. Blueberry scones are my favorite variety, but that quickly switches to pumpkin scones in the fall months! (Here are all my scone recipes.)

How to Make Perfect Scones

Use this basic scone dough for any sweet scone variety. See blog post for a couple savory scone options. Feel free to increase the vanilla extract and/or add other flavor extracts such as lemon extract or coconut extract. Read through the recipe before beginning. You can skip the chilling for 15 minutes prior to baking, but I highly recommend it to prevent the scones from over-spreading.
Prep: 30min
Total: 1h
Yield: 8
Ingredients:
- 2 cups (250g) all-purpose flour (spooned & leveled), plus more for hands and work surface
- 1/2 cup (100g) granulated sugar
- 1/2 teaspoon salt
- 2 and 1/2 teaspoons baking powder
- 1/2 cup (1 stick; 115g) unsalted butter, frozen
- 1/2 cup (120ml) heavy cream or buttermilk (plus 2 Tbsp for brushing)
- 1 large egg
- 1 and 1/2 teaspoons pure vanilla extract
- 1-1.5 cups add-ins such as chocolate chips, berries, nuts, fruit, etc
- optional: coarse sugar for topping
Instruction:
- Whisk flour, sugar, salt, and baking powder together in a large bowl. Grate the frozen butter using a box grater. Add it to the flour mixture and combine with a pastry cutter, two forks, or your fingers until the mixture comes together in pea-sized crumbs. See video above for a closer look at the texture. Place in the refrigerator or freezer as you mix the wet ingredients together.
- Whisk 1/2 cup heavy cream, the egg, and vanilla extract together in a small bowl. Drizzle over the flour mixture, add the add-ins, then mix together until everything appears moistened.
- Pour onto the counter and, with floured hands, work dough into a ball as best you can. Dough will be sticky. If it’s too sticky, add a little more flour. If it seems too dry, add 1-2 more Tablespoons heavy cream. Press into an 8-inch disc and, with a sharp knife or bench scraper, cut into 8 wedges. For smaller scones, press dough into two 5-inch discs and cut each into 8 wedges. To make 10-12 drop scones: Keep mixing dough in the bowl until it comes together. Drop scones, about 1/4 cup of dough each, 3 inches apart on a lined baking sheet. To make mini (petite) scones, see recipe note.
- Brush scones with remaining heavy cream and for extra crunch, sprinkle with coarse sugar. (You can do this before or after refrigerating in the next step.)
- Place scones on a plate or lined baking sheet (if your fridge has space!) and refrigerate for at least 15 minutes.
- Meanwhile, preheat oven to 400°F (204°C).
- Line a large baking sheet with parchment paper or silicone baking mat(s). If making mini or drop scones, use 2 baking sheets. After refrigerating, arrange scones 2-3 inches apart on the prepared baking sheet(s).
- Bake for 18-26 minutes or until golden brown around the edges and lightly browned on top. Larger scones take closer to 25 minutes. Remove from the oven and cool for a few minutes. Feel free to top with any of the toppings listed in the recipe Note below.
- Leftover scones keep well at room temperature for 2 days or in the refrigerator for 5 days.
The BEST Scones Recipe
Learn how to make delicious, soft, light, and tender scones with this easy recipe and tutorial. Perfect for breakfast, brunch, or dessert!
Prep: 20min
Total: 40min
Yield: 8
Ingredients:
- 2 cups (250 grams) all-purpose flour (spooned & leveled)
- 1/3 cup (65 grams) granulated sugar
- 1 tablespoon baking powder
- 1/2 teaspoon salt
- 6 tablespoons (85 grams) cold unsalted butter (cubed into pieces)
- 1/2 cup (120 ml) heavy whipping cream (plus more for brushing the tops)
- 1 large egg
- 1 teaspoon pure vanilla extract
- 1 cup (120 grams) powdered sugar
- 1-2 tablespoons (15-30 ml) milk
- 1/2 teaspoon pure vanilla extract
Instruction:
- Remove from the oven and allow to cool completely.
- Top the scones with the glaze and allow to harden for 10-15 minutes, then serve, and enjoy.
Best Scone Recipe
No, your scone is NOT supposed to be a sad dry heap of useless carbs! The best scones are crispy on the edges and tender in the middle. They are buttery, flaky, perfectly moist pieces of breakfast perfection that are surprisingly easy to make with a few tips. Don’t let the sad coffeehouse selections fool you into thinking you don’t like scones. You just haven’t tried this recipe yet!
Prep: 10min
Total: 65min
Yield: 6
Serving Size: 1 scone
Nutrition Facts: servingSize 1 scone, calories 802 kcal, Fat 41 g, Saturated Fat 24 g, Cholesterol 148 mg, Sodium 928 mg, Carbohydrate 101 g, Fiber 1 g, Sugar 59 g, Protein 9 g, Trans Fat 1 g, unSaturated Fat 13 g
Ingredients:
- 2 & 1/2 cups all purpose flour (spooned and leveled)
- 1/2 cup granulated sugar
- 1/2 teaspoon kosher salt
- 1 & 1/2 tablespoons baking powder (yes really)
- 1/2 cup butter ((1 stick) COLD butter, frozen butter is great too)
- 1 large egg
- 2 teaspoons vanilla
- 1/3 cup heavy cream*
- 1/3 cup sour cream
- more cream (for brushing)
- 1 (8-oz) package COLD cream cheese (chopped)
- 1/3 to 1/2 cup sugar (for coating cream cheese)
- 2 tablespoons butter (very soft)
- 1 & 1/2 cups powdered sugar
- 1/2 teaspoon vanilla
- 1/4 teaspoon kosher salt
- 1-3 tablespoons milk
Instruction:
- Dry ingredients: In a large bowl, combine 2 and 1/2 cups flour, 1/2 cup sugar**, 1/2 teaspoon kosher salt, and 1 and 1/2 tablespoons baking powder.
- Wet ingredients: In another medium bowl, add 1 egg, 2 teaspoons vanilla (omit for savory scones), 1/3 cup cream and 1/3 cup sour cream. Whisk it together. Set aside.
- Cut in butter: Now back to the dry ingredients. Use a pastry cutter to cut in the COLD or frozen butter. You can also grate the butter using a cheese grater and mix it in that way. Cut the butter in until it is incorporated and there are still pieces of butter about the size of a pea. Don’t overdo it! See photos.
- Add the wet ingredients to the dry ingredients. Use a wooden spoon to stir it together until it forms a shaggy dough.
- Coat your hands with flour and finish kneading the dough in as few strokes as possible. (Overworking the dough makes for a tough scone.) Use your hands to fold the dough on top of itself, creating more and more layers until it has come together and all the flour is incorporated. You can add a tablespoon or two of ice cold water if you think it’s necessary. I try to get the dough to come together in 5-8 folds. Do your best and remember that you will get better with practice!
- Mix-ins: At this point add in any mix ins you plan to use. (If you want to add cream cheese like you can see in the photos, chop an 8 ounce block of cream cheese into 1/2 inch chunks. Coat with 1/3 to 1/2 cup sugar in a bowl, making sure all the cream cheese is coated. Carefully fold into the dough.)
- Prepare a work space with plenty of flour. I like to use a pastry cloth. Transfer the dough to the work place and use your hands to shape the dough into a 6 to 8 inch circle. I like really thick, tall scones. The thicker your circle of dough is, the taller your scones will be. If you added mix ins, your circle will be a bit larger.
- Use a sharp knife or pizza cutter to cut the circle in half. Cut each half into 3 equal triangles.
- Place on a baking sheet that has been lined with a silicone baking mat or parchment paper. Place the scones at least 3 inches apart from each other.
- Freeze for 30 minutes.*** If you don’t have room in your freezer, you can put them in the fridge for 45 minutes. If you don’t have room to chill a whole baking sheet, place the scones on a plate and then transfer to the baking sheet when they are frozen/cold.
- 15 minutes before the scones are done freezing, turn your oven on to 400 degrees F.
- Place the cold scones on a baking sheet if you haven’t done so yet.
- Brush the top of each scone with cream. This will make the scones get nice and brown. Top each scone with coarse sugar if you like, or a bit of salt if you are doing savory scones.
- Bake: Put the scones in the oven and bake for 10 minutes at 400 degrees.
- Turn the heat down to 375 without opening the oven.**** Bake for another 8-15 minutes, until the tops are golden brown. DO NOT OVER BAKE. This is where the magic happens, so stay nearby. If you over bake your scones, they will be dry even if you did everything else right. If you are not sure, use a spatula to lift up one of the scones. If they are a nice golden brown on the bottom, they are done.
- Remove from the oven and let set up on the pan for 10-15 minutes. Transfer to a wire rack to cool completely.
- Make the glaze: in a small bowl, whisk or use an electric beater to cream 2 tablespoons of very soft butter. Add 1 and 1/2 cups powdered sugar, 1/2 teaspoon vanilla, 1/4 teaspoon kosher salt, and 1 tablespoon milk. Whisk together and add more milk until you have a consistency you like. Drizzle over the tops of the scones and let harden (it usually takes 20-30 minutes.)
- Top your scones with butter and jam! They are great reheated in the microwave.
- Store scones covered on the counter for 2-4 days. They are best eaten on day 1 so that you can get those crispy edges. After storing for a while it’s hard to avoid a bit of sogginess. (Starbucks solves this problem but leaving them out in the air, but then eventually the center gets dried out. So, pick your poison. Or just eat all 6 scones single handedly on day 1. No judgment here.)
Scones
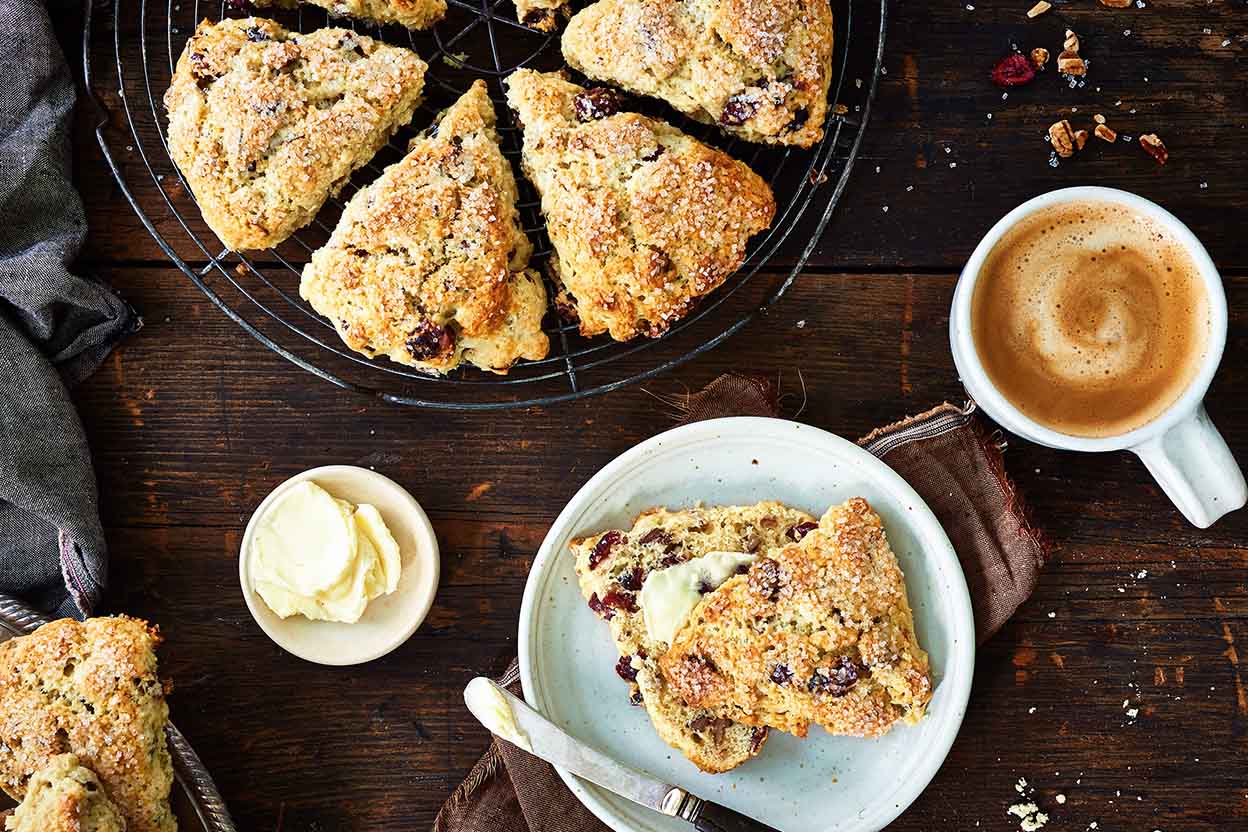
Here’s your basic “start here” scone recipe. While this simple vanilla scone is delicious as is, it’s also the perfect vehicle for your favorite add-ins; we happen to love dried cranberries and walnuts. Though chocolate chips are tempting, too!
Prep: 10min
Total: 58min
Yield: 12
Serving Size: 1 scone (63g)
Nutrition Facts: servingSize 1 scone (63g), calories 210 calories, Carbohydrate 27g, Cholesterol 55mg, Fiber 1g, Protein 5g, Sodium 320mg, Sugar 7g, Fat 9g, Saturated Fat 5g, Trans Fat 0g
Ingredients:
- 2 3/4 cups (330g) King Arthur Unbleached All-Purpose Flour
- 1/3 cup (67g) granulated sugar
- 3/4 teaspoon salt
- 1 tablespoon baking powder
- 8 tablespoons (113g) unsalted butter cold
- 1 cup to 2 cups chopped dried fruit chocolate or other flavored chips nuts [product-link]Jammy Bits[/product-link]* or a combination optional
- 2 large eggs
- 2 teaspoons King Arthur Pure Vanilla Extract or the flavoring of your choice
- 1/2 to 2/3 cup (113g to 152g) half-and-half or milk
- 2 teaspoons milk
- 2 tablespoons coarse sparkling sugar or cinnamon sugar optional
Instruction:
In a large mixing bowl, whisk together the flour, sugar, salt, and baking powder., Work in the butter just until the mixture is unevenly crumbly; it’s OK for some larger chunks of butter to remain unincorporated. , Stir in the fruit, chips, and/or nuts, if you’re using them., In a separate mixing bowl, whisk together the eggs, vanilla or other flavor, and half-and-half or milk. Add the liquid ingredients to the dry ingredients. , Using a bowl scraper or a large spoon, stir the dough ingredients until all is moistened and holds together. , Line a baking sheet with parchment; if you don’t have parchment, just use it without greasing it. Sprinkle a bit of flour atop the parchment or pan., Scrape the dough onto the floured parchment or pan, and divide it in half. Round each half into a 5″ circle (if you haven’t incorporated any add-ins); or a 6″ circle (if you’ve added fruit, nuts, etc.). The circles should be about 3/4″ thick., Using a knife or bench knife that you’ve run under cold water, slice each circle into 6 wedges. , Brush each circle with milk, and sprinkle with coarse white sparkling sugar or cinnamon sugar. , Carefully pull the wedges away from the center to separate them just a bit; there should be about 1/2″ space between them, at their outer edges., For best texture and highest rise, place the pan of scones in the freezer for 30 minutes, uncovered. Chilling the scones relaxes the gluten in the flour, which makes the scones more tender and allows them to rise higher. It also chills the fat, which will make the scones a bit flakier. While the scones are chilling, preheat the oven to 425°F with a rack in the upper third., Bake the scones in the upper part of your oven for 18 to 23 minutes, or until they’re a light golden brown. When you pull one away from the others, it should look baked all the way through; the edge shouldn’t look wet or unbaked. , Remove the scones from the oven, and cool briefly on the pan. Serve warm. They’re delicious as is, but add butter and/or jam, if you like. , When the scones are completely cool, wrap them in plastic and store at room temperature for up to several days. To reheat room-temperature scones, place on a baking sheet, tent lightly with foil, and warm in a preheated 350°F oven for about 10 minutes.
Easy Blueberry Scones Recipe | Beyond Delicious!
FAQ
What is the secret to making good scones?
What are the two types of scones?
- Ice cream scones. A star rating of 3.9 out of 5. …
- Easy fluffy scones. A star rating of 4.8 out of 5. …
- Prune & almond scones. A star rating of 3.9 out of 5. …
- Easy sultana scones. …
- Fruit scones. …
- Spring onion & feta cornbread scones with chipotle butter. …
- Blueberry scones. …
- Pumpkin spice scones.
What is the most popular type of scone?
Lemonade scones are one of the popular scone varieties. These tiny, fluffy desserts are made with a combination of self-raising flour, sugar, cream, and lemonade. Once the dough has been formed, it’s cut in circular shapes, then baked in the oven until lightly browned.
Is it better to use butter or margarine for scones?
