When panko, Japanese bread crumbs, first appeared here, American cooks leaped to embrace their spiky crunch. (The first article about it in the New York Times appeared in 1998.) But how could breadcrumbs arrive from Japan, a land without bread? The answer is here, in the lofty, feathery white bread that is a staple at bakeries in Asia — and in Asian bakery chains like Fay Da and Paris Baguette. (Panko is often made from the heels of the loaf, called the “ears” in Japanese.) Milk bread was developed in Japan in the 20th century, using tangzhong, a warm flour-and-water paste traditionally used in China to make buns with a soft, springy texture and tiny air bubbles.
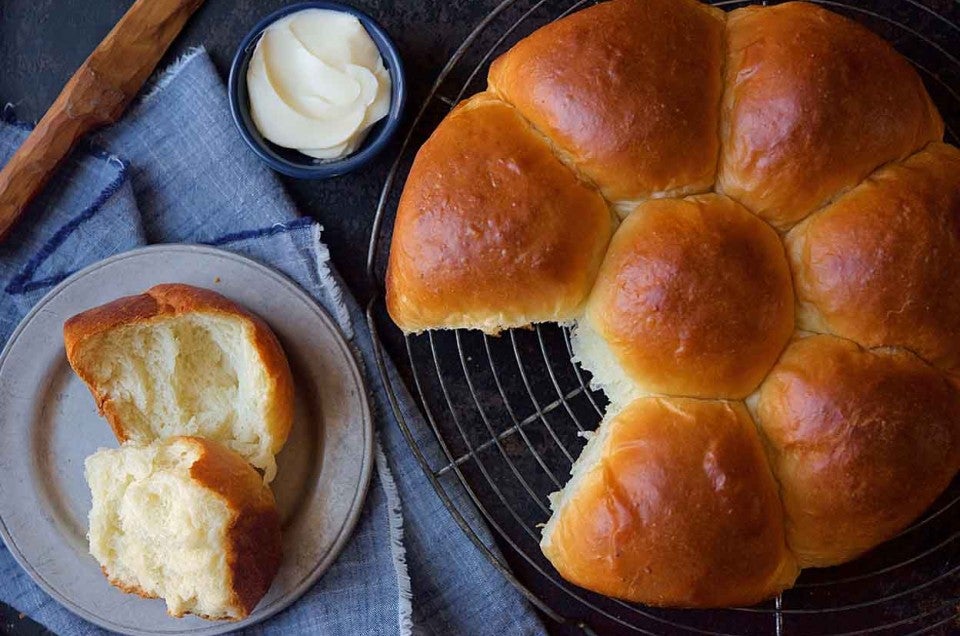
Surprisingly, milk bread with an incomparable crumb and buttery taste is a snap to make at home, using supermarket ingredients. Once the tanzhong is cooked and cooled — a matter of 10 minutes at the stove — you have an easy and immensely rewarding dough. It can be shaped into coils or round rolls, like pull-aparts, instead of loaves, or you can paint it with cinnamon sugar or dulce de leche or strawberry jam when you roll it out.
Soft and Fluffy Japanese Milk Bread
Try this milk bread recipe for the softest, fluffiest homemade milk bread! Also known as Japanese milk bread, Hokkaido milk bread, or shokupan.
Prep: 65min
Total: 90min
Serving Size: 1 serving
Nutrition Facts: calories 222 kcal, Carbohydrate 41 g, Protein 8 g, Fat 3 g, Saturated Fat 1 g, Trans Fat 1 g, Cholesterol 6 mg, Sodium 419 mg, Fiber 1 g, Sugar 5 g, unSaturated Fat 2 g, servingSize 1 serving
Ingredients:
- 4¾ cups bread flour
- 1¾ cups milk
- 2¼ Tablespoons sugar
- 1⅔ Tablespoons butter
- 2 teaspoons sea salt
- 3⅓ teaspoon active dry yeast
- 2¼ teaspoon dough enhancer ((optional) see Note 1)
Instruction:
- Mix: Attach the dough hook to your stand mixer. Add all the ingredients except the butter. Mix on low until there’s no more dry flour. Then add the butter and beat on high speed. The dough is ready when it forms into a ball and the surface is smooth and glossy. Check for proper gluten develop using the window pane test (See Note 2). Timing will vary but it took me 10 to 13 minutes.
- Proof: Form the dough into a smooth round ball and place into a see through proofing container that’s been coated with oil. Proof until doubled in size in a warm, humid environment. See Note 3.
- Bench rest: On a well floured surface, divide the dough into 6 even pieces and roll each into a ball. Loosely cover and let it rest for 15 minutes.
- Shape: Roll each ball into an oval shape. Flip it over so the surface (crust) is on the bottom and do a letter fold (2 folds). Then roll it up to form a spiral and then pinch the seam closed. Place three spirals in each 1 lb loaf pan. Repeat for the other pieces (See step by step photos in recipe post above).
- Final proof: Proof in a warm humid place until doubled in size or it’s 1 cm below the rim of the loaf pan. Preheat your oven to 356° F.
- Bake: Bake at 356° F for 25 minutes or until it gets a golden brown crust. For a shiny, golden crust: Immediately after removing from the oven, brush on an egg wash coating for a shiny crust. Crack an egg in a small bowl and mix well. Using a pastry brush, apply a thin coating to the crust. The heat from the bread will cook the egg, giving you a shiny golden crust.
Japanese Milk Bread
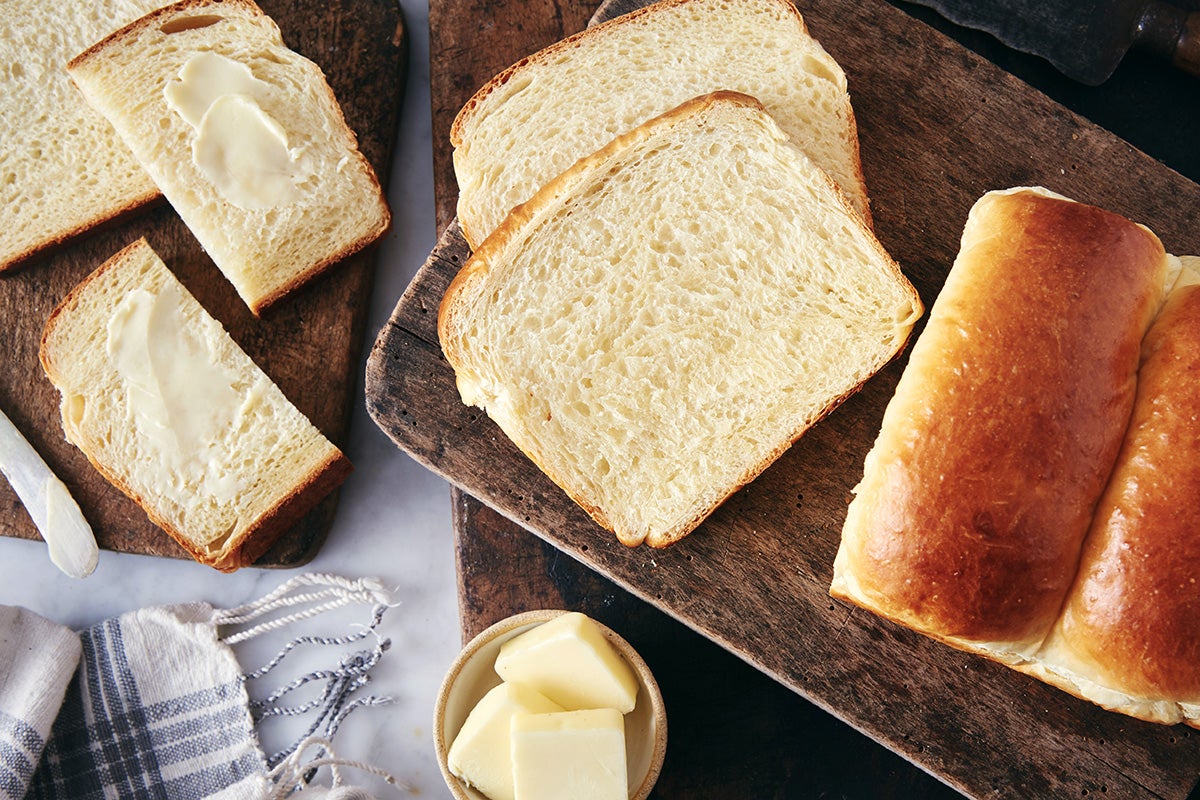
This recipe is our take on Japan’s Hokkaido milk bread, a loaf so light it’s often described as feathery. The technique to make it involves pre-cooking some of the flour and milk into a soft paste called tangzhong. (See “tips,” below to learn more about its origins.) This simple step yields a loaf that’s tender, moist, and stays fresh longer than loaves prepared the standard way. Bread made with tangzhong is far and away superior to the pre-sliced, plastic-wrapped loaves that you’ll find on grocery store shelves. Trust us: Once you bake and familiarize yourself with this loaf, you’ll never want to buy sandwich bread again!
Prep: 30min
Total: 3h25min
Yield: 16
Serving Size: 1 slice (45g)
Nutrition Facts: servingSize 1 slice (45g), calories 130 calories, Carbohydrate 19g, Cholesterol 20mg, Fiber 1g, Protein 4g, Sodium 160mg, Sugar 4g, Fat 4g, Saturated Fat 2g, Trans Fat 0g
Ingredients:
- 3 tablespoons (43g) water
- 3 tablespoons (43g) milk whole preferred
- 2 tablespoons (14g) King Arthur Unbleached Bread Flour
- 2 1/2 cups (300g) King Arthur Unbleached Bread Flour
- 2 tablespoons (14g) King Arthur Baker’s Special Dry Milk or nonfat dry milk
- 1/4 cup (50g) granulated sugar
- 1 teaspoon (6g) salt
- 1 tablespoon instant yeast
- 1/2 cup (113g) milk whole preferred
- 1 large egg
- 4 tablespoons (57g) unsalted butter melted
Instruction:
To make the tangzhong: Combine all of the ingredients in a small saucepan, and whisk until no lumps remain. , Place the saucepan over low heat and cook the mixture, whisking constantly, until thick and the whisk leaves lines on the bottom of the pan, about 3 to 5 minutes. , Transfer the tangzhong to a small mixing bowl or measuring cup and let it cool to lukewarm. , To make the dough: Weigh your flour; or measure it by gently spooning it into a cup, then sweeping off any excess. Combine the tangzhong with the remaining dough ingredients, then mix and knead — by mixer or bread machine — until a smooth, elastic dough forms; this could take almost 15 minutes in a stand mixer. , Shape the dough into a ball, and let it rest in a lightly greased bowl, covered, for 60 to 90 minutes, until puffy but not necessarily doubled in bulk. , Gently deflate the dough and divide it into four equal pieces; if you have a scale each piece will weigh between 170g and 175g. , Flatten each piece of dough into a 5″ x 8″ rectangle, then fold the short ends in towards one another like a letter. Flatten the folded pieces into rectangles again (this time about 3″ x 6″) and, starting with a short end, roll them each into a 4″ log. , Place the logs in a row of four — seam side down and side by side — in a lightly greased 9″ x 5″ loaf pan. , Cover the loaf and allow it to rest/rise for 40 to 50 minutes, until puffy. , Towards the end of the rising time, preheat the oven to 350°F. , To bake the bread: Brush the loaf with milk and bake it for 30 to 35 minutes, until it’s golden brown on top and a digital thermometer inserted into the center reads at least 190°F. , Remove the loaf from the oven and cool it in the pan until you can transfer it safely to a rack to cool completely. , Store leftover bread, well wrapped, at cool room temperature for 5 to 7 days; freeze for longer storage.
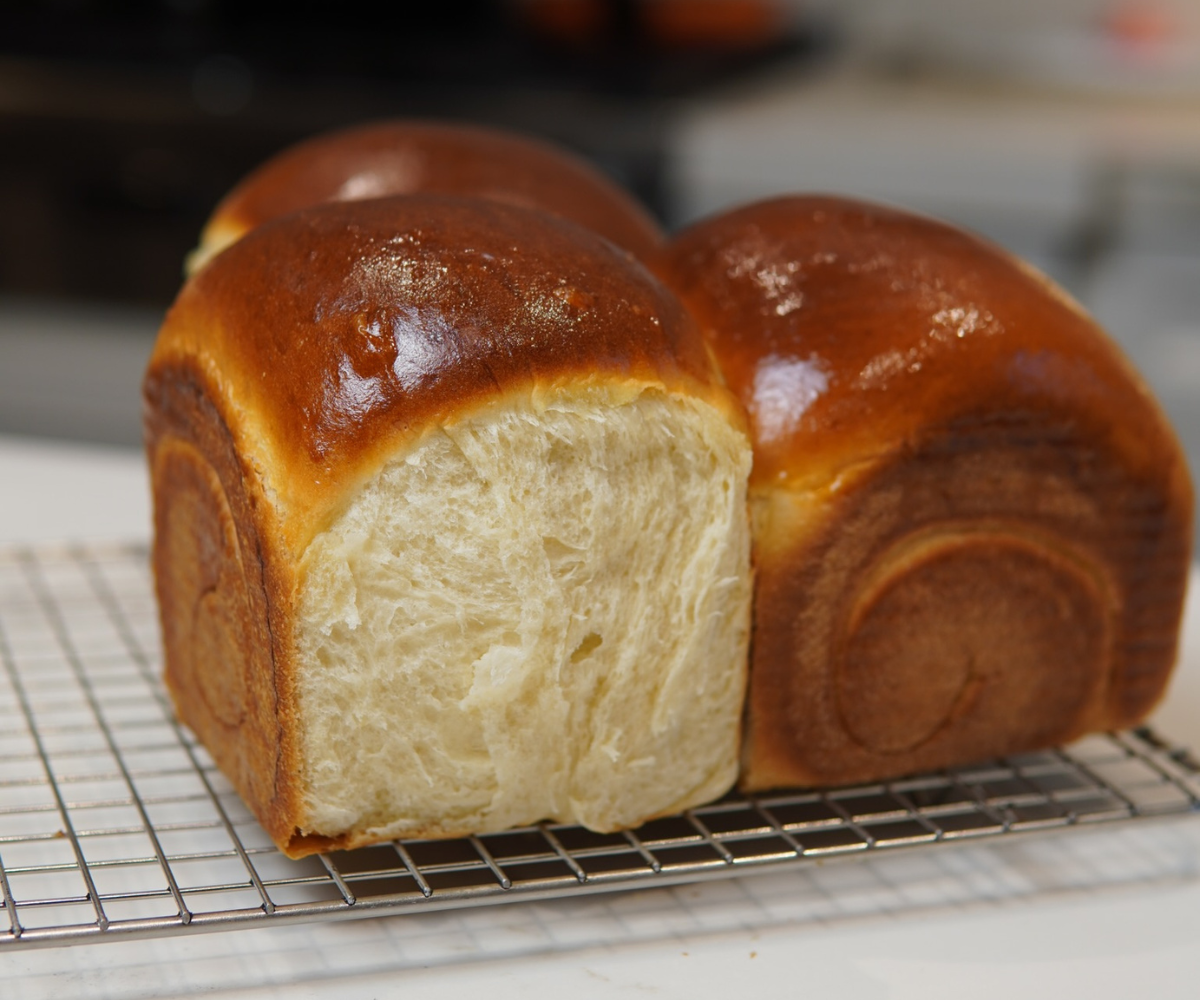
Japanese Milk Bread
Before you get started with the recipe, I want to say that I would highly recommend using weighted measurements instead of volume. It is much more accurate and can save you a headache.
Prep: 150min
Total: 170min
Ingredients:
- 2 tbsp flour (20g)
- 2 tbsp water (27g)
- 4½ tbsp milk (60g)
- 1 tbsp active dry yeast or instant yeast (10g)
- 2 tbsp lukewarm water (20g)
- Tangzhong
- Yeast mixture
- 2⅓ cup AP flour (380g)
- ¼ cup sugar (60g)
- 1 tsp salt (3g)
- ½ cup milk (130g)
- 1 large egg
- 3 tbsp softened unsalted butter
Instruction:
- {‘@type’: ‘HowToStep’, ‘text’: ‘Add the active dry yeast into the lukewarm water, mix and allow to sit for 10 minutes. You know the yeast is active if it blooms. If you are using instant yeast, skip this step.’, ‘name’: ‘Add the active dry yeast into the lukewarm water, mix and allow to sit for 10 minutes. You know the yeast is active if it blooms. If you are using instant yeast, skip this step.’, ‘url’: ‘https://kwokspots.com/japanese-milk-bread/#wprm-recipe-1068-step-0-0’}
- {‘@type’: ‘HowToStep’, ‘text’: ‘In a saucepan, add the tangzhong ingredients and cook, continuing to stir over low heat until a paste forms. Should be thick and you will be able to pick all of it up with a spoon.’, ‘name’: ‘In a saucepan, add the tangzhong ingredients and cook, continuing to stir over low heat until a paste forms. Should be thick and you will be able to pick all of it up with a spoon.’, ‘url’: ‘https://kwokspots.com/japanese-milk-bread/#wprm-recipe-1068-step-0-1’, ‘image’: ‘https://kwokspots.com/wp-content/uploads/2022/03/tangzhong.png’}
- {‘@type’: ‘HowToStep’, ‘text’: ‘Add your yeast mixture and tangzhong along with the remaining dough ingredients except for the softened butter in a stand mixer bowl. If you are using instant yeast, add the yeast and water in at this stage as well. Mix on low speed for 5 minutes or until a proper dough forms.’, ‘name’: ‘Add your yeast mixture and tangzhong along with the remaining dough ingredients except for the softened butter in a stand mixer bowl. If you are using instant yeast, add the yeast and water in at this stage as well. Mix on low speed for 5 minutes or until a proper dough forms.’, ‘url’: ‘https://kwokspots.com/japanese-milk-bread/#wprm-recipe-1068-step-0-2’}
- {‘@type’: ‘HowToStep’, ‘text’: ‘Add your softened butter, 1 tbsp at a time and mix on medium speed until the butter is fully incorporated and the dough is very smooth. If your dough is too sticky, add more flour 1 tbsp at a time until manageable.’, ‘name’: ‘Add your softened butter, 1 tbsp at a time and mix on medium speed until the butter is fully incorporated and the dough is very smooth. If your dough is too sticky, add more flour 1 tbsp at a time until manageable.’, ‘url’: ‘https://kwokspots.com/japanese-milk-bread/#wprm-recipe-1068-step-0-3’}
- {‘@type’: ‘HowToStep’, ‘text’: ‘Allow your dough to proof in a bowl, covered with plastic wrap for 1.5 hours or until doubled in size.’, ‘name’: ‘Allow your dough to proof in a bowl, covered with plastic wrap for 1.5 hours or until doubled in size.’, ‘url’: ‘https://kwokspots.com/japanese-milk-bread/#wprm-recipe-1068-step-0-4’}
- {‘@type’: ‘HowToSection’, ‘name’: ‘Dinner roll method’, ‘itemListElement’: [{‘@type’: ‘HowToStep’, ‘text’: ‘Portion the dough into 75g pieces and place into a 9 inch cake pan giving them 1cm of space. When shaping, you want to make sure to form surface tension on the dough balls to make sure they come out looking smooth. Allow it to rest another 1 hour’, ‘name’: ‘Portion the dough into 75g pieces and place into a 9 inch cake pan giving them 1cm of space. When shaping, you want to make sure to form surface tension on the dough balls to make sure they come out looking smooth. Allow it to rest another 1 hour’, ‘url’: ‘https://kwokspots.com/japanese-milk-bread/#wprm-recipe-1068-step-1-0’}, {‘@type’: ‘HowToStep’, ‘text’: ‘Brush with egg wash which is just 1 beaten egg and bake in the oven at 350F for 20 minutes.’, ‘name’: ‘Brush with egg wash which is just 1 beaten egg and bake in the oven at 350F for 20 minutes.’, ‘url’: ‘https://kwokspots.com/japanese-milk-bread/#wprm-recipe-1068-step-1-1’}, {‘@type’: ‘HowToStep’, ‘text’: ‘Top with garlic butter and enjoy.’, ‘name’: ‘Top with garlic butter and enjoy.’, ‘url’: ‘https://kwokspots.com/japanese-milk-bread/#wprm-recipe-1068-step-1-2’}]}
- {‘@type’: ‘HowToSection’, ‘name’: ‘Loaf method’, ‘itemListElement’: [{‘@type’: ‘HowToStep’, ‘text’: ‘Separate your dough into 3 equal pieces, it should be about 250g each.’, ‘name’: ‘Separate your dough into 3 equal pieces, it should be about 250g each.’, ‘url’: ‘https://kwokspots.com/japanese-milk-bread/#wprm-recipe-1068-step-2-0’}, {‘@type’: ‘HowToStep’, ‘text’: ‘Flatten each piece into a rectangle.’, ‘name’: ‘Flatten each piece into a rectangle.’, ‘url’: ‘https://kwokspots.com/japanese-milk-bread/#wprm-recipe-1068-step-2-1’, ‘image’: ‘https://kwokspots.com/wp-content/uploads/2022/03/dough-flatten.png’}, {‘@type’: ‘HowToStep’, ‘text’: ‘Fold the long sides towards the middle.’, ‘name’: ‘Fold the long sides towards the middle.’, ‘url’: ‘https://kwokspots.com/japanese-milk-bread/#wprm-recipe-1068-step-2-2’, ‘image’: ‘https://kwokspots.com/wp-content/uploads/2022/03/dough-fold.png’}, {‘@type’: ‘HowToStep’, ‘text’: ‘Roll it up and seal the edge towards the bottom.’, ‘name’: ‘Roll it up and seal the edge towards the bottom.’, ‘url’: ‘https://kwokspots.com/japanese-milk-bread/#wprm-recipe-1068-step-2-3’}, {‘@type’: ‘HowToStep’, ‘text’: ‘Place into an oiled 9 inch loaf pan leaving 1 inch of space between each roll.’, ‘name’: ‘Place into an oiled 9 inch loaf pan leaving 1 inch of space between each roll.’, ‘url’: ‘https://kwokspots.com/japanese-milk-bread/#wprm-recipe-1068-step-2-4’}, {‘@type’: ‘HowToStep’, ‘text’: ‘Cover with plastic wrap and let proof for 1 hour.’, ‘name’: ‘Cover with plastic wrap and let proof for 1 hour.’, ‘url’: ‘https://kwokspots.com/japanese-milk-bread/#wprm-recipe-1068-step-2-5’, ‘image’: ‘https://kwokspots.com/wp-content/uploads/2022/03/dough-rolled-and-proofed.png’}, {‘@type’: ‘HowToStep’, ‘text’: ‘Brush with egg wash which is just 1 egg.’, ‘name’: ‘Brush with egg wash which is just 1 egg.’, ‘url’: ‘https://kwokspots.com/japanese-milk-bread/#wprm-recipe-1068-step-2-6’}, {‘@type’: ‘HowToStep’, ‘text’: ‘Bake 350F for 25-30 minutes. I like to immediately brush with butter and let rest for 10 minutes before cutting into.’, ‘name’: ‘Bake 350F for 25-30 minutes. I like to immediately brush with butter and let rest for 10 minutes before cutting into.’, ‘url’: ‘https://kwokspots.com/japanese-milk-bread/#wprm-recipe-1068-step-2-7’, ‘image’: ‘https://kwokspots.com/wp-content/uploads/2022/03/japanese-milk-bread-loaf-small.png’}]}
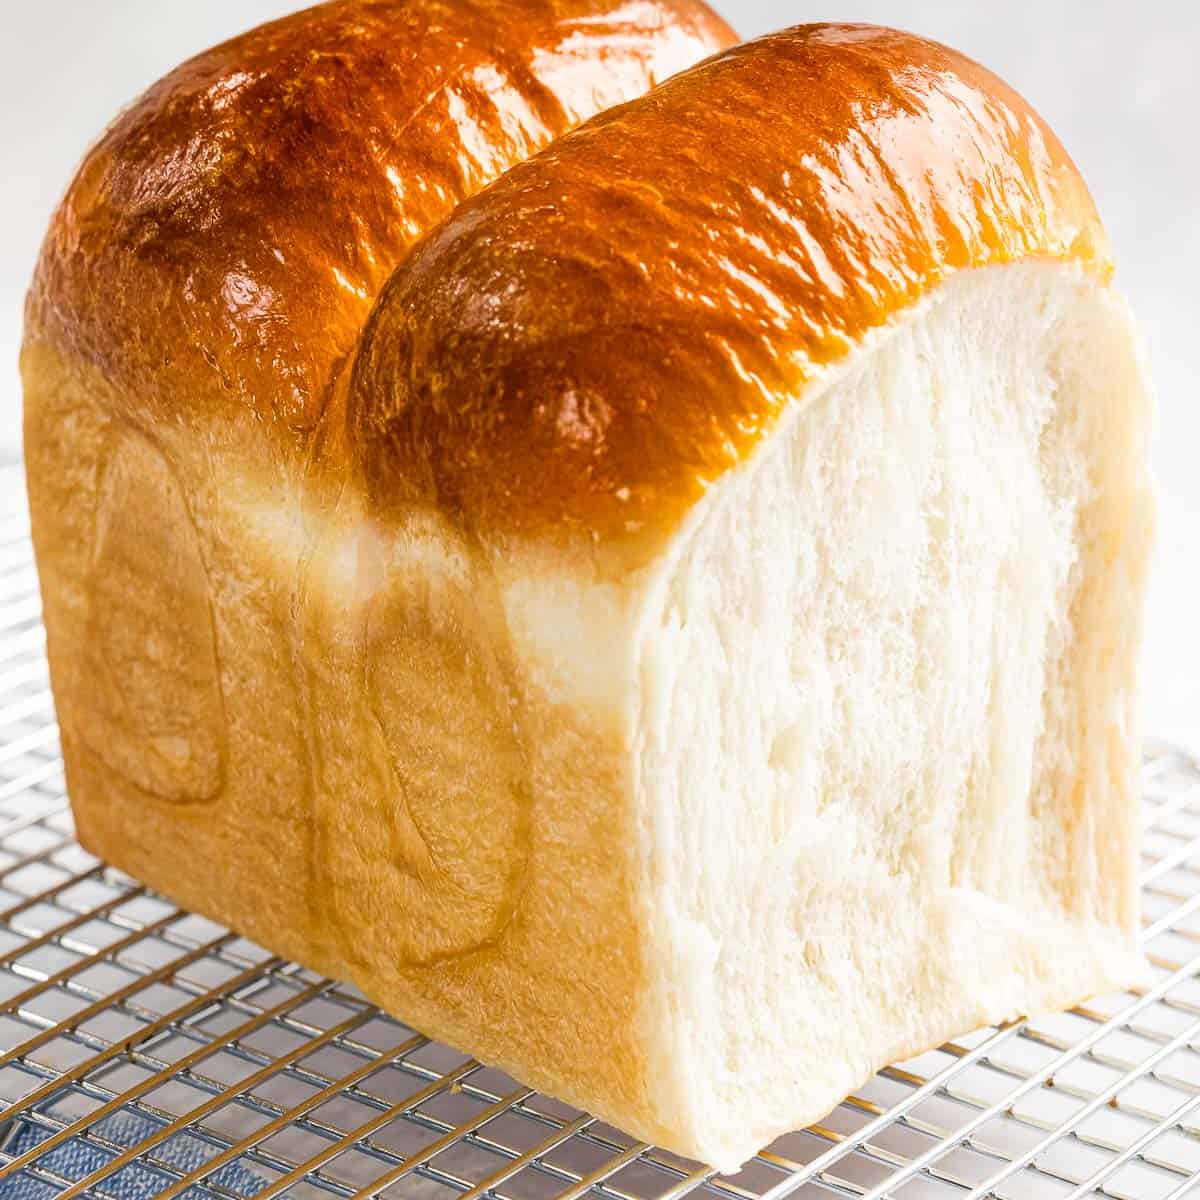
Japanese Milk Bread (Shokupan)
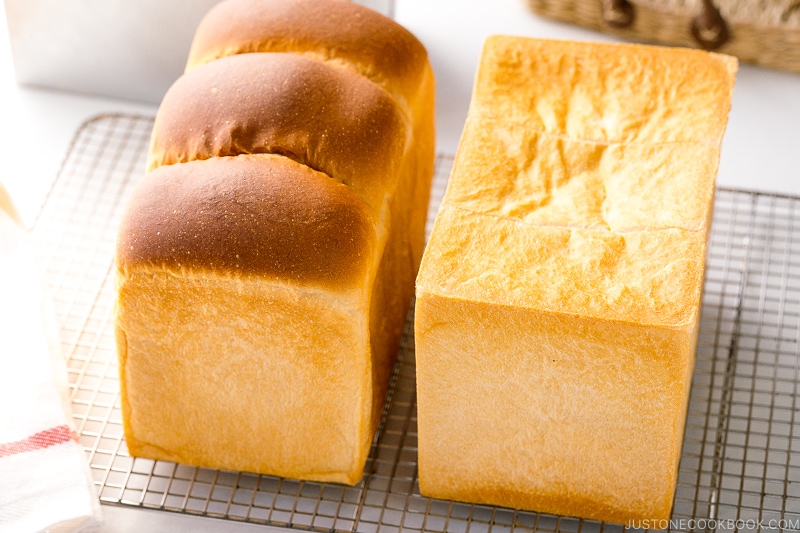
Soft and light as a cloud and fluffy as cotton, Japanese Milk Bread is the most tender and moist Pullman loaf bread you’ll find. Also known as Shokupan, it’s enjoyed daily in Japan as breakfast toast and sandwich bread. This recipe shows two styles: A loaf with a rounded top and one with a flat top.
Prep: 60min
Total: 215min
Yield: 1
Serving Size: 1.5 kin
Nutrition Facts: servingSize 1.5 kin, calories 1645 kcal, Carbohydrate 295 g, Protein 52 g, Fat 27 g, Saturated Fat 14 g, Trans Fat 1 g, Cholesterol 58 mg, Sodium 1355 mg, Fiber 10 g, Sugar 40 g, unSaturated Fat 9 g
Ingredients:
- 250 g warm water
- 20 g sugar
- 7 g kosher salt (Diamond Crystal; use half for table salt)
- 10 g honey
- 7 g instant yeast
- 350 g bread flour ((King Arthur))
- 20 g skim milk powder or nonfat dry milk powder
- 25 g unsalted butter
- ½ tsp neutral-flavored oil (avocado, rice bran, vegetable, canola, etc.) ((for greasing the bowl))
- 10 g unsalted butter
- 167 g warm water
- 14 g sugar
- 4.5 g kosher salt (Diamond Crystal; use half for table salt)
- 7 g honey
- 4.7 g instant yeast
- 235 g bread flour
- 14 g skim milk powder or nonfat dry milk powder
- 17 g unsalted butter
Instruction:
- To Create a Warm Environment for Bulk Fermentation: If your oven has a Proof setting, turn it to 100ºF (38ºC). Tip: If your oven doesn’t have a Proof setting, place small baking dishes of boiling water at the four corners on the lower-middle rack. Then, place your dough in a bowl in the center of the rack and close the door. The steam and heat from the boiling water will create a warm environment for bulk fermentation. There is plenty of online information on different ways to proof bread dough, such as using an Instant Pot (use the Yogurt function on Low or use the temperature setting). During the summer and humidity is high, you may not need to do this.
- Once you confirm the foamy surface on the yeast mixture, pour it into the well of the flour mixture, scraping every bit of the liquid with a silicone spatula or dough scraper. Then, mix it until combined. Keep this yeast mixture bowl, as you’ll be putting the dough ball in it later.
- After kneading on Speed 6, stop the mixer. The dough should look really shiny, silky, soft, and smooth (not sticky). When you lift the dough hook, it should pick up all the dough in one piece, separating easily from the bottom of the bowl. Tip: If the dough becomes slack and gooey, you’ve kneaded for too long.
- If you are checking the temperature of the dough, insert an instant-read thermometer into the center of the dough. The dough temperature should be 79-82ºF (26-28ºC) at this stage and not lower or higher than this temperature. The yeast will be most active at 82-95ºF (28-35ºC) during the bulk fermentation. If your dough temperature is higher than 82ºF (28ºC), let the dough slowly rise for the First Rise (Bulk Fermentation), instead of putting it in a Proof setting (100ºF/38ºC) or placing it in a warm place. You do not want to overproof the dough.
- Finally, go back to the dough and fold it over one last time. Pick it up and pull the edges of the dough from all sides to create a smooth, taut skin. Tuck and pinch the edges underneath to hide them at the bottom. Put the dough ball in the bowl and cover it with plastic.
- Let the dough rise for 40 minutes. The dough will become 3 times bigger in size. If you live in a cooler climate, it may take longer (1-1½ hours). I use the Proof setting on my oven at 100ºF (38ºC). Please see the “Before You Start” section of the recipe for my proofing tips.
- Once the dough has tripled in size, dust some flour on top and use your index finger to poke the middle of the dough. If the hole does not close up, it’s ready. If the dough closes up immediately, proof the dough a little longer.
- Collect and press all the edges into the middle, flip the dough, and form a round shape, tucking any loose edges underneath.
- Form each piece into a ball with a smooth, taut skin: Hold the dough with the smooth surface on top. Gently pull and tighten the dough down from all sides to create tension on the outside. We want all three dough balls to rise equally, so limit the pulling action to roughly the same for each ball, about 3-4 times total. Tuck and pinch the loose dough at the bottom. Place the dough on the work surface and repeat this process for the rest of pieces. Alternatively, you can place the dough on a non-floured surface. Place both of your hands behind the dough and drag the dough ball along the surface toward your body. The bottom of the dough sticks to the dry surface, creating tension and tightening the ball. Keep the dough ball upright and don’t allow the top of the dough to roll over as you pull (see this video). Rotate the ball a quarter turn and perform another gentle drag toward your body. Continue rotating and dragging a few more times until the dough is sufficiently taut and uniformly round.
- Meanwhile, using a pastry brush, grease the pan (and the lid, if you’re making flat-topped shokupan) with butter (or cooking oil spray). It should be a thin coating.
- If you are using the square shokupan loaf pan, two rolls should go in just like the rectangular loaf pan (without the middle rolled dough).
- To make a round-topped shokupan (山型食パン), let the dough rise to 85-90% of the height of the mold. When the highest point of the dough touches the plastic wrap, it’s ready to bake. Now, remove the plastic and spritz the surface of the dough with water. Note: The volume for each shokupan mold is very different. My 90% may not be the same as yours if we use a different mold.
- Give a few thrusts and let the shokupan slide out of the mold onto a wire rack. After baking, do not wash your Japanese shokupan loaf pan. Simply wipe it off with a paper towel and store it completely dry to prevent rust.
- Let the shokupan cool completely on the wire rack; it may take 2-3 hours. Do not cut or open the loaf while it’s hot; the steam will escape and the bread will lose moisture. Slice the bread and toast it to enjoy with butter and jam/honey or use untoasted slices for Japanese-style sandwiches.
- If you plan to eat the shokupan within 1 to 2 days, put the whole loaf, completely cooled, in a bag (I use these clear plastic bags) and slice as needed. If you don’t consume the shokupan within 2 days, slice and freeze the rest for a month to preserve its quality. If you don’t plan to eat the shokupan within the next 2 days, slice and freeze it.
Hokkaido Japanese MILK BREAD Recipe — fluffiest loaf & stays fresh longer?! –Tangzhong Method
FAQ
What makes Japanese milk bread different?
Why is Japanese milk bread so good?
What is the American equivalent to Japanese milk bread?
What is Japanese milk bread made of?
