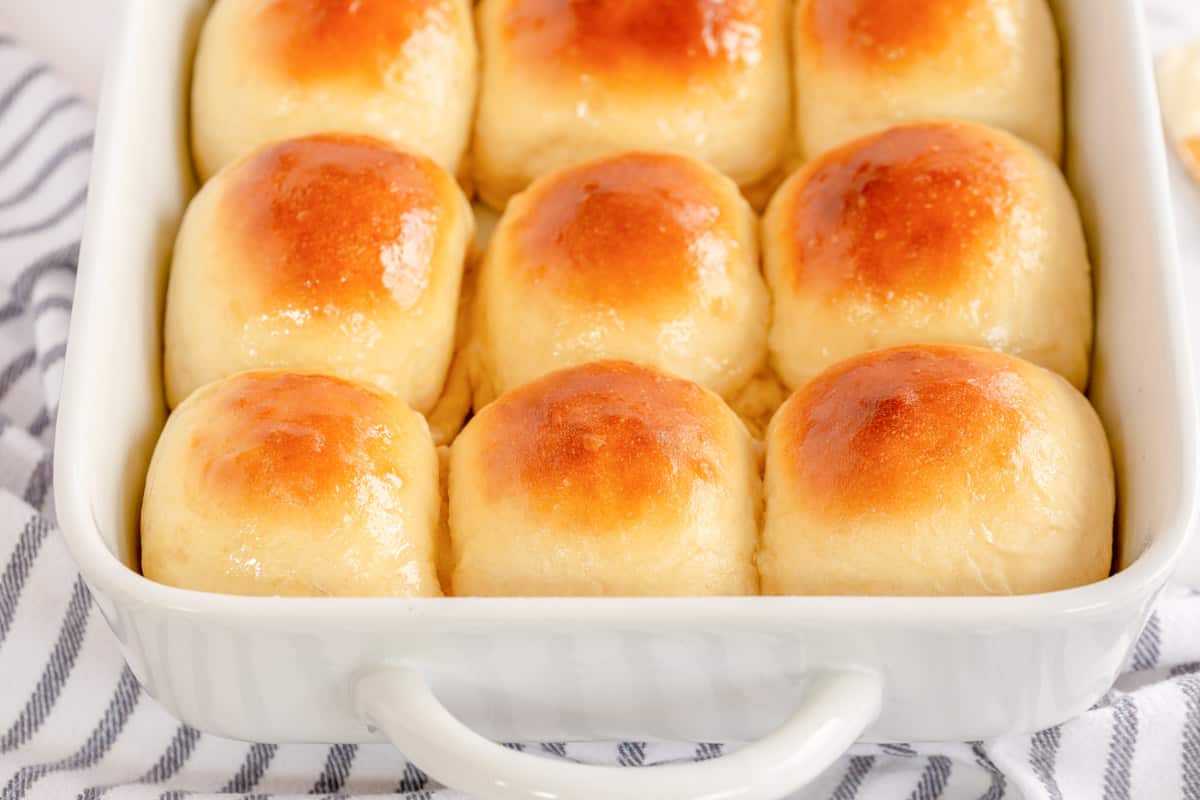
You only need 7 ingredients to make these dinner rolls. Flaky, soft, and buttery, these fresh dinner rolls outshine any main dish. If you’re a bread beginner, read this blog post to learn more about the yeast rolls recipe, including how to prep the rolls ahead of time. You can also reference my Baking with Yeast Guide for answers to common yeast FAQs.
I’m teaching you how to make homemade dinner rolls. These are the best homemade dinner rolls I’ve ever had and it all starts with a straightforward 7-ingredient dough. I make these rolls whenever I get the chance and even brought a pan to our friends who just welcomed a baby. They’re pillow-soft with the most delicious flaky and buttery texture. Everyone will demand you bake them on repeat.
Soft Dinner Rolls Recipe

You only need 7 ingredients to make these dinner rolls. Flaky, soft, and buttery, these fresh dinner rolls outshine any main dish. See recipe notes for freezing and overnight instructions. You can also reference my Baking with Yeast Guide for answers to common yeast FAQs.
Prep: 3h25min
Total: 3h45min
Yield: 14
Ingredients:
- 1 cup (240ml) whole milk, warmed to about 110°F (43°C)
- 2 and 1/4 teaspoons Platinum Yeast from Red Star instant yeast (1 standard packet)
- 2 Tablespoons granulated sugar, divided
- 1 large egg
- 1/4 cup (60g) unsalted butter, softened to room temperature and cut into 4 pieces
- 1 teaspoon salt
- 3 cups (390g) all-purpose flour or bread flour* (spooned & leveled)
- optional topping: 2 Tablespoons melted unsalted butter mixed with 1 Tablespoon honey
Instruction:
- Whisk the warm milk, yeast, and 1 Tablespoon of sugar together in the bowl of your stand mixer. Cover and allow to sit for 5 minutes. *If you do not own a stand mixer, you can do this in a large mixing bowl and in the next step, mix the dough together with a large wooden spoon/rubber spatula. It will take a bit of arm muscle. A hand mixer works, but the sticky dough repeatedly gets stuck in the beaters. Mixing by hand with a wooden spoon or rubber spatula is a better choice.*
- Add the remaining sugar, egg, butter, salt, and 1 cup flour. With a dough hook or paddle attachment, mix/beat on low speed for 30 seconds, scrape down the sides of the bowl with a rubber spatula, then add the remaining flour. Beat on medium speed until the dough comes together and pulls away from the sides of the bowl, about 2 minutes. If the dough seems too wet to a point where kneading (next step) would be impossible, beat in more flour 1 Tablespoon at a time until you have a workable dough, similar to the photos above. Dough should be soft and a little sticky, but still manageable to knead with lightly floured hands.
- Keep the dough in the mixer and beat for an additional 3 full minutes or knead by hand on a lightly floured surface for 3 full minutes.
- Lightly grease a large bowl with oil or nonstick spray. Place the dough in the bowl, turning it to coat all sides in the oil. Cover the bowl with aluminum foil, plastic wrap, or a clean kitchen towel. Allow the dough to rise in a relatively warm environment for 1-2 hours or until double in size. (I always let it rise on the counter. Takes about 2 hours. For a tiny reduction in rise time, see my answer to Where Should Dough Rise? in my Baking with Yeast Guide.)
- Grease a 9×13 inch baking pan or two 9-inch square or round baking pans. You can also bake the rolls in a cast iron skillet or on a lined baking sheet.*
- When the dough is ready, punch it down to release the air. Divide the dough into 14-16 equal pieces. (Just eyeball it– doesn’t need to be perfect!) A bench scraper is always helpful for cutting dough. Shape each piece into a smooth ball. Arrange in prepared baking pan.
- Cover shaped rolls with aluminum foil, plastic wrap, or a clean kitchen towel. Allow to rise until puffy, about 1 hour.
- Adjust oven rack to a lower position and preheat oven to 350°F (177°C). (It’s best to bake the rolls towards the bottom of the oven so the tops don’t burn.)
- Bake for 20-25 minutes or until golden brown on top, rotating the pan halfway through. If you notice the tops browning too quickly, loosely tent the pan with aluminum foil. Remove from the oven, brush with optional honey butter topping, and allow rolls to cool for a few minutes before serving.
- Cover leftover rolls tightly and store at room temperature for 2-3 days or in the refrigerator for up to 1 week.
The BEST Dinner Rolls
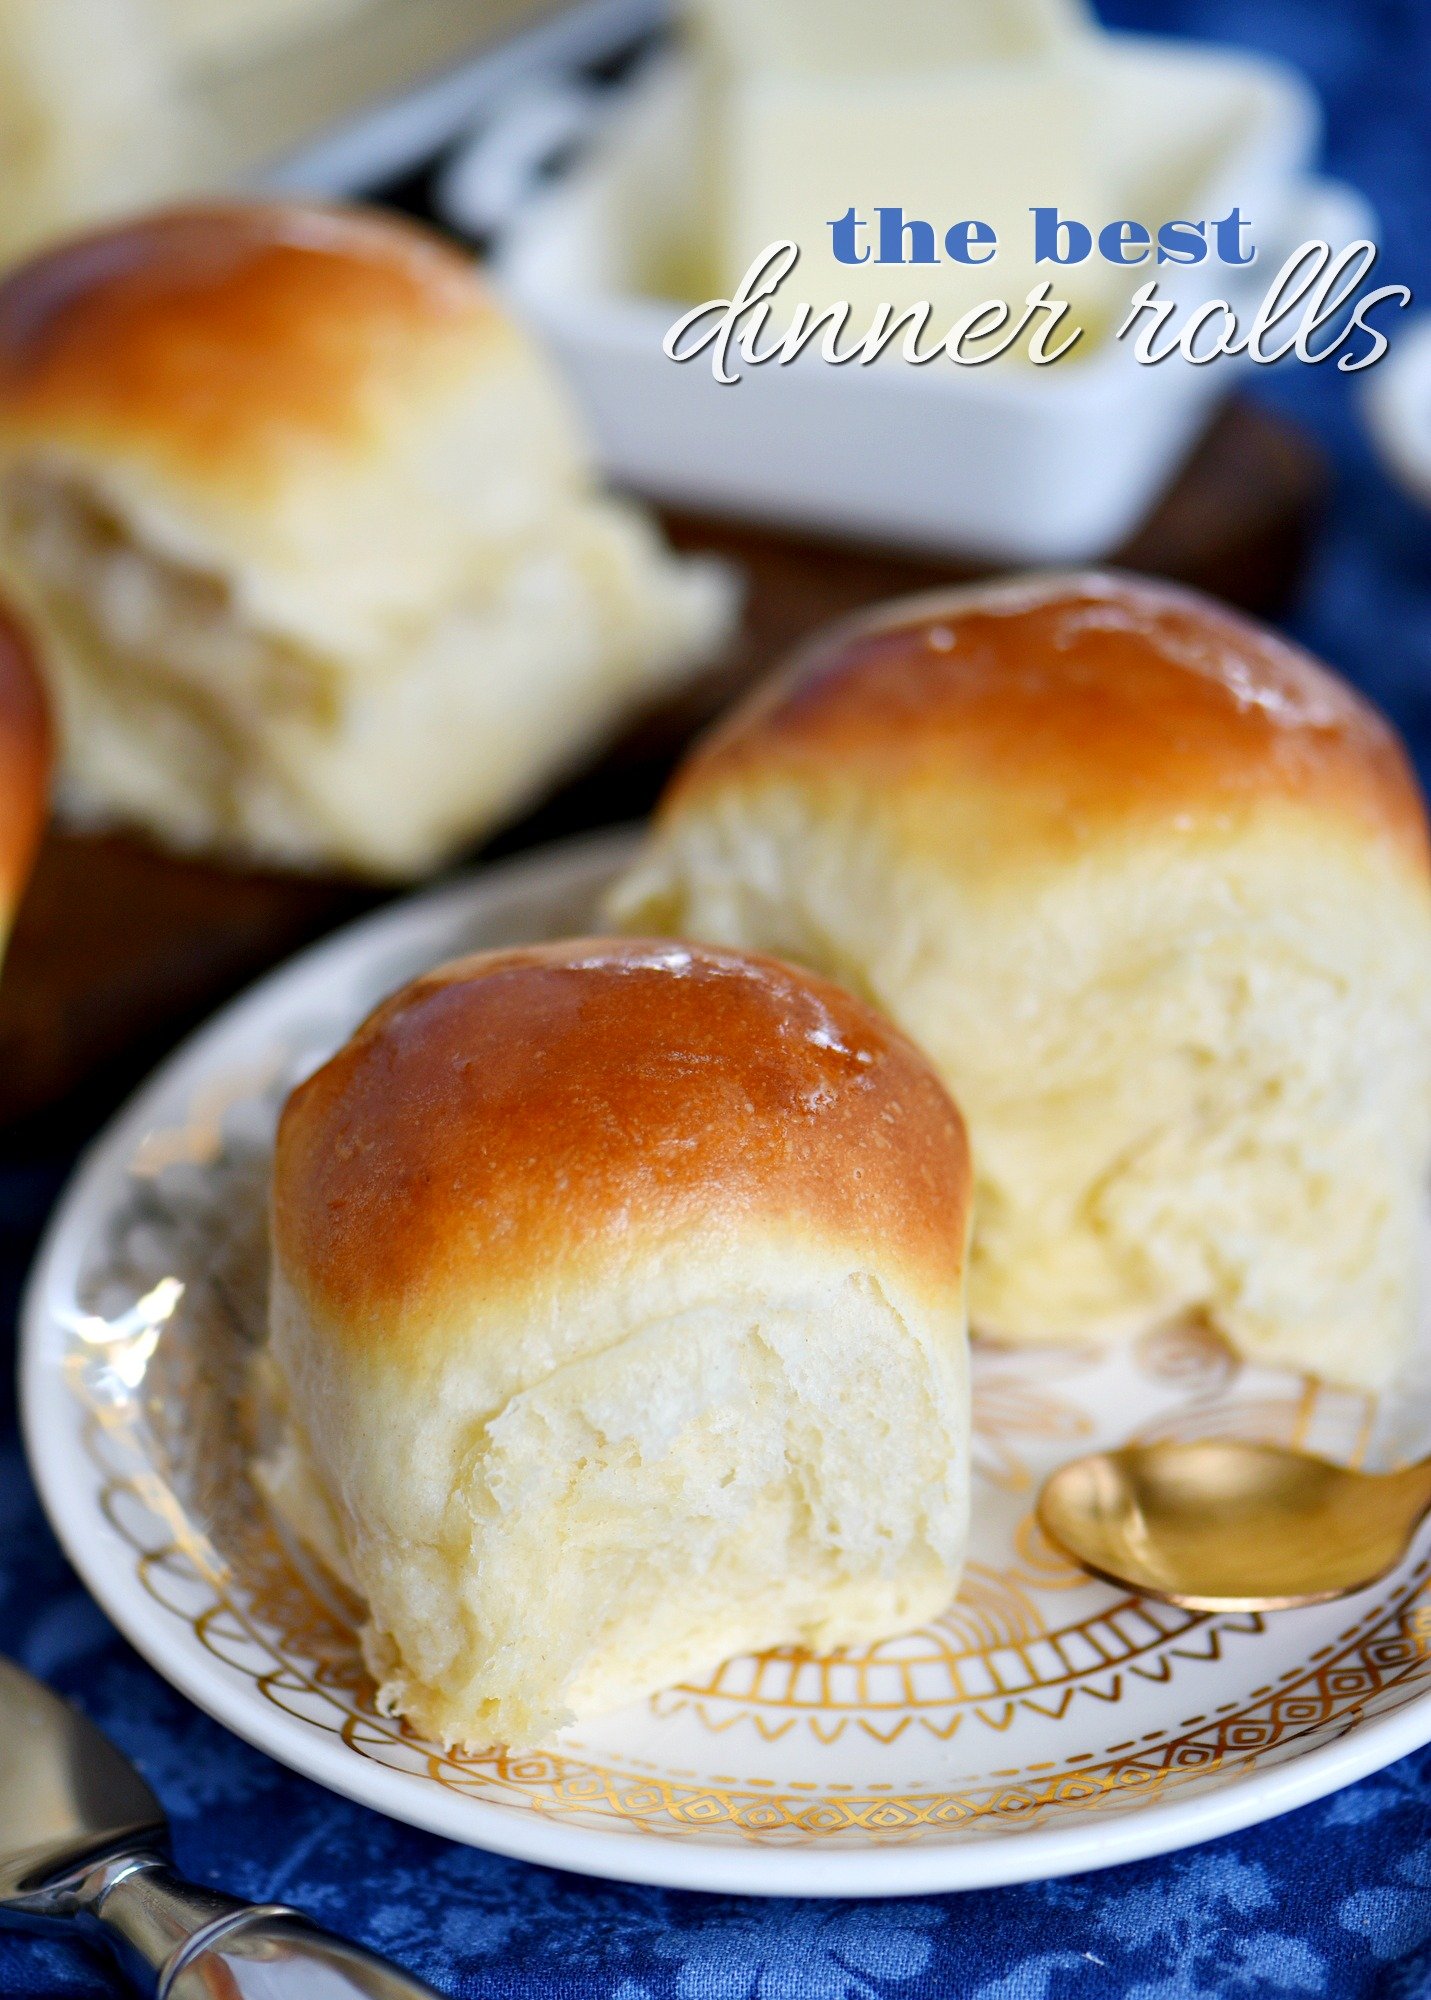
Light, fluffy, buttery dinner rolls are impossible to resist. Homemade with just a handful of simple ingredients, the BEST Dinner Rolls can you be on your table in a jiffy. They really are the perfect addition to any meal!
Prep: 10min
Total: 22min
Yield: 24
Serving Size: 1 serving
Nutrition Facts: calories 74 kcal, Carbohydrate 7 g, Protein 1 g, Fat 4 g, Saturated Fat 2 g, Cholesterol 17 mg, Sodium 136 mg, Sugar 3 g, servingSize 1 serving
Ingredients:
- 4 -5 cups all purpose flour
- 2 tbsp rapid rise, instant yeast
- 1/3 cup granulated sugar
- 1 tsp salt
- 1 1/2 cups warm milk (, 110 degrees)
- 5 tbsp butter, softened
- 1 egg (, room temperature)
- 2 tbsp melted butter
Instruction:
- Combine 3 cups of flour, yeast, sugar, salt, warm milk, butter, and egg in the bowl of a stand mixer.
- Attach the dough hook and turn the mixer on to the lowest speed and mix until flour is incorporated, scraping down the sides of the bowl as necessary.
- Increase speed to medium and beat for 2 minutes.
- Add 1/2 cup flour and blend with the dough hook until incorporated. And another 1/2 cup flour and repeat, mixing at medium speed for another 2 minutes until a ball of dough is formed.
- Add additional flour as necessary. The dough should be slightly sticky and soft and pulling away from the edge of the bowl.
- Transfer the dough to a lightly greased bowl and cover with a towel or plastic wrap. Let rise for 30 minutes at room temperature.
- Remove the towel or plastic wrap and deflate the dough by punching down lightly.
- Pinch off pieces of the dough and form 24 rolls. You can weigh them to keep the rolls close to the same size. Mine were about 2 ounces each but this will vary depending on how much flour you added.
- Transfer the rolls to a lightly greased quarter baking sheet or 9 x 13 baking dish. Cover with a towel or plastic wrap and let rise for an additional 30 minutes at room temperature.
- Preheat oven to 375 degrees. Bake the rolls for 12 to 15 minutes or until golden brown and cooked through. If the rolls are getting too brown, just tent the rolls with foil.
- Remove rolls and brush hot rolls with the melted butter. Serve immediately or store cooled rolls in a plastic bag for up to 3 days.
The Best Fluffy DINNER ROLLS Recipe
FAQ
Why are my dinner rolls not light and fluffy?
Are yeast rolls same as dinner rolls?
How are dinner rolls different from other breads?
Rolls rise faster and bake faster than a full loaf of bread, meaning you don’t have to start them as early in the day to enjoy them with dinner. Plus they’re perfect straight out of the oven.
