I see those ripe bananas on your counter, and I raise you a scoop of homemade Banana Ice Cream. Actually, make that two scoops—no way are you going to want to stop at just one serving of this creamy, dreamy summer bliss!
What we have today is a real-deal, from-scratch, old-fashioned banana ice cream recipe with milk, cream, eggs, and should you desire, bonus add-in flavors like peanut butter and/or chocolate chips.
I know that one-ingredient banana “nice cream” (the one that caused me to burn out my mini blender) is social media famous, and I do still enjoy it from time to time when I need a healthy dessert fix.
But—and I think we should all be honest about this for a moment—it’s not real ice cream.
Sure, frozen bananas taste like ice cream (a little), but it’s not the same as having a bowl of truly spectacular, real-deal ice cream.
If you want luscious, creamy banana ice cream the way your grandmother would have done it—with real cream, eggs, and a touch of sugar—THIS IS THAT RECIPE.
Real-deal ice cream is one of summer’s greatest joys. It’s actually surprisingly easy and fun to make ice cream from scratch!
If at this point you are wondering, Why would I make ice cream when I can just buy it, let me share my top two reasons.
Now, compare that list to this simple banana ice cream recipe. Milk. Cream. Banana. Eggs. Vanilla.
That is pretty much it. In comparison, the first container of store-bought ice cream I checked at the grocery store contained well over 15 ingredients.
The joy of watching custard you conjured from eggs and milk transform into a bowl of sweet, creamy summer bliss cannot be oversold.
Homemade ice cream is easy to make, even for a novice cook, and its flavor is so superior to the mass-produced stuff, you’ll be gleefully ruined for life.

Banana Ice Cream
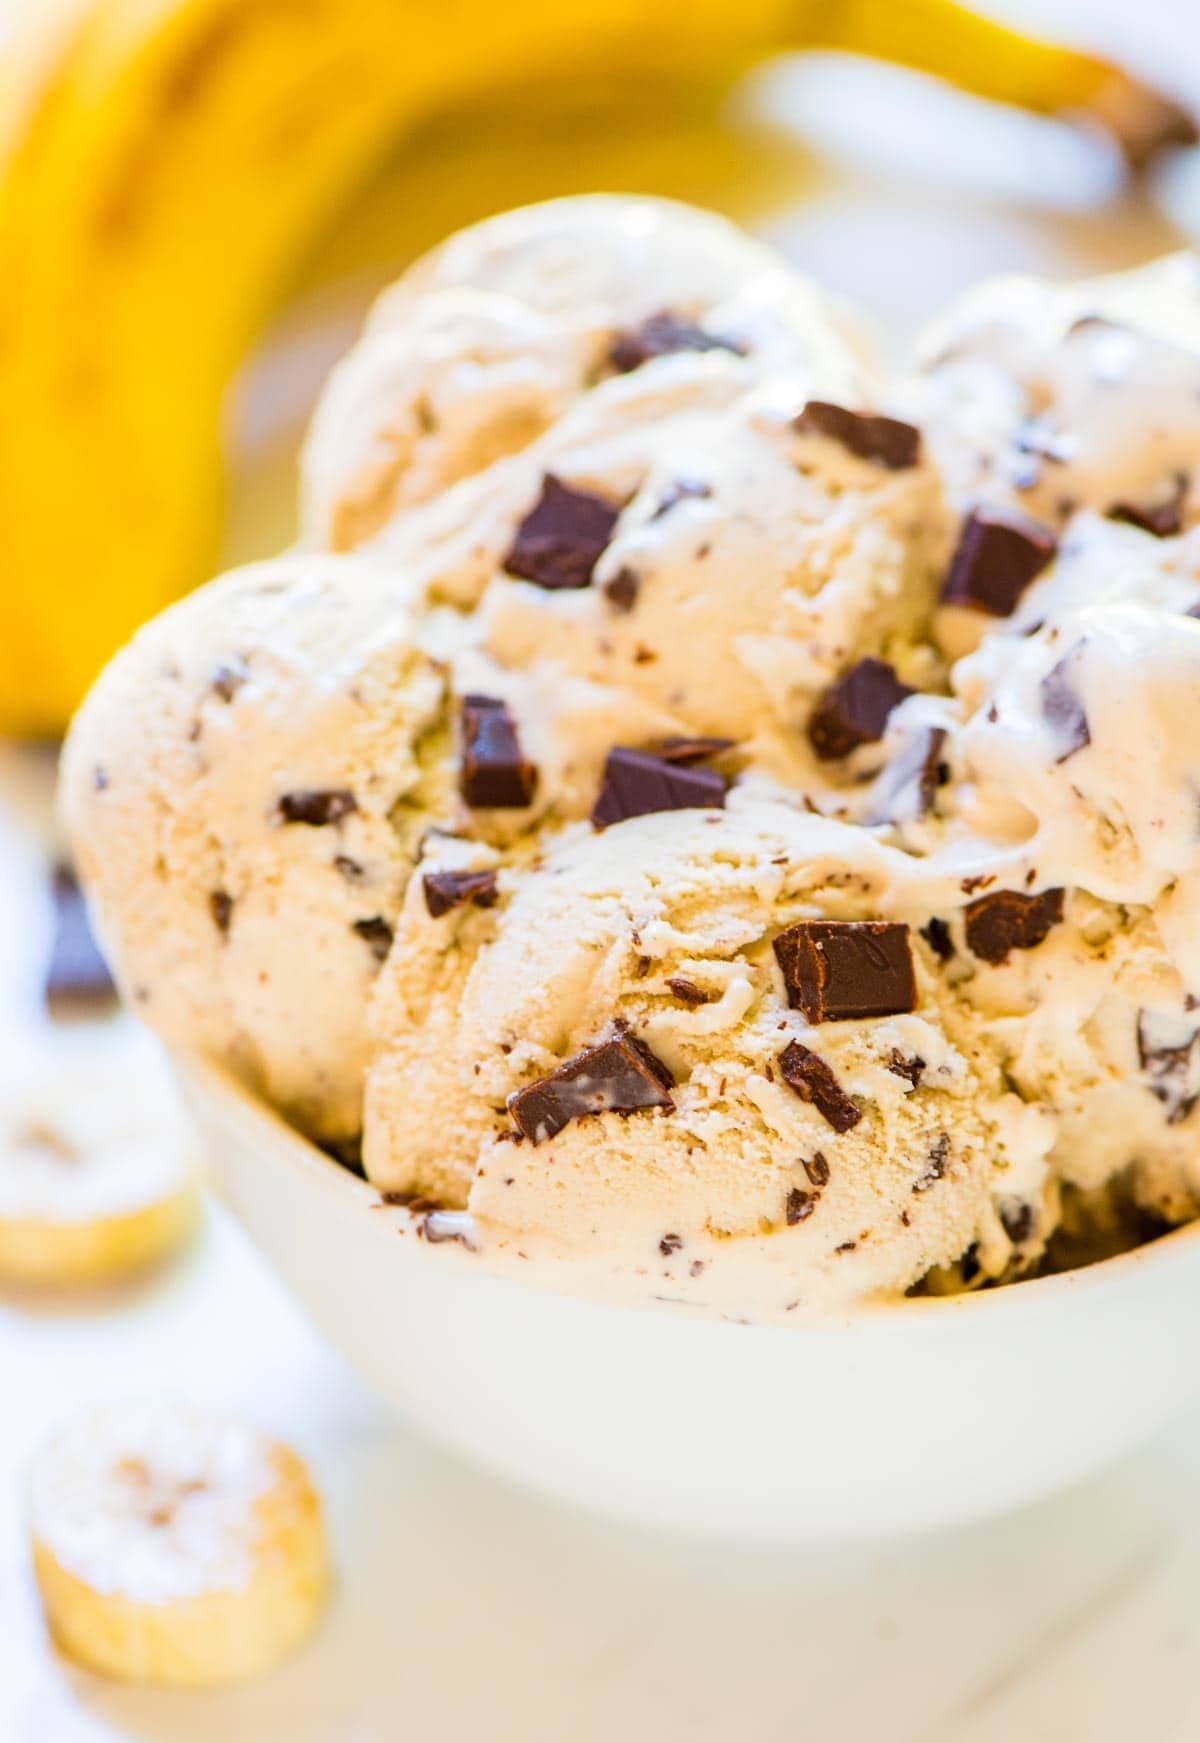
Homemade Banana Ice Cream. TO DIE FOR. Rich, creamy, and studded with big chunks of dark chocolate. Simple, from-scratch recipe that anyone can make!
Prep: 5min
Total: 540min
Yield: 8
Serving Size: 1 (of 8), about 0.5 cup
Nutrition Facts: servingSize 1 (of 8), about 0.5 cup, calories 455 kcal, Carbohydrate 39 g, Protein 6 g, Fat 31 g, Saturated Fat 18 g, Trans Fat 0.01 g, Cholesterol 186 mg, Fiber 2 g, Sugar 32 g, unSaturated Fat 11 g
Ingredients:
- 2 cups heavy cream
- 5 large egg yolks (save the whites for another use)
- 1 cup whole milk (yes, it must be WHOLE milk!)
- 2/3 cup sugar
- 1/4 teaspoon kosher salt
- 3 large very ripe bananas ((or 4 medium) the more brown, the better)
- 1 tablespoon pure vanilla extract
- 1 tablespoon dark rum ( or vodka*)
- 4 ounces bittersweet chocolate (roughly chopped (about 2/3 cup))
Instruction:
- Prep your workstation: Create an ice bath by placing a moderate amount of ice and water in a large bowl. Set an empty, medium bowl in the larger one on top of the ice. Pour the heavy cream into the medium bowl and set a strainer on top. In a separate bowl, whisk the egg yolks until well combined.
- In a medium saucepan over medium heat, stir together the milk, sugar, and salt until small bubbles form along the edges and the sugar has dissolved. Do not let boil.
- Gradually pour some of the milk into the bowl with the egg yolks, whisking constantly as you pour (I like to use a ladle for this). Once you’ve poured in some of the milk, return the saucepan to the stove over low heat. Slowly pour the yolks into the saucepan, stirring constantly. This process is called tempering and will keep the eggs from scrambling.
- Continue cooking the egg-milk mixture (also called custard) over low heat, stirring constantly and scraping the bottom of the saucepan with a rubber spatula or wooden spoon, until the custard thickens enough to coat the back of the spatula. Strain the custard into the bowl with the heavy cream.
- Place half of the custard into a blender or food processor with the bananas. Puree until smooth, then pour it back into the bowl with the rest of the custard. Stir in the vanilla extract and rum. Cover, pressing a piece of plastic wrap against the surface, then chill thoroughly in the refrigerator for at least 4 hours or, if time allows, overnight.
- Freeze the ice cream in your ice cream maker according to the manufacturer’s instructions, adding the chocolate during the last 5 minutes of churning. Transfer the ice cream to an airtight container and freeze 3 hours or overnight. Let stand at room temperature 10 minutes before serving.
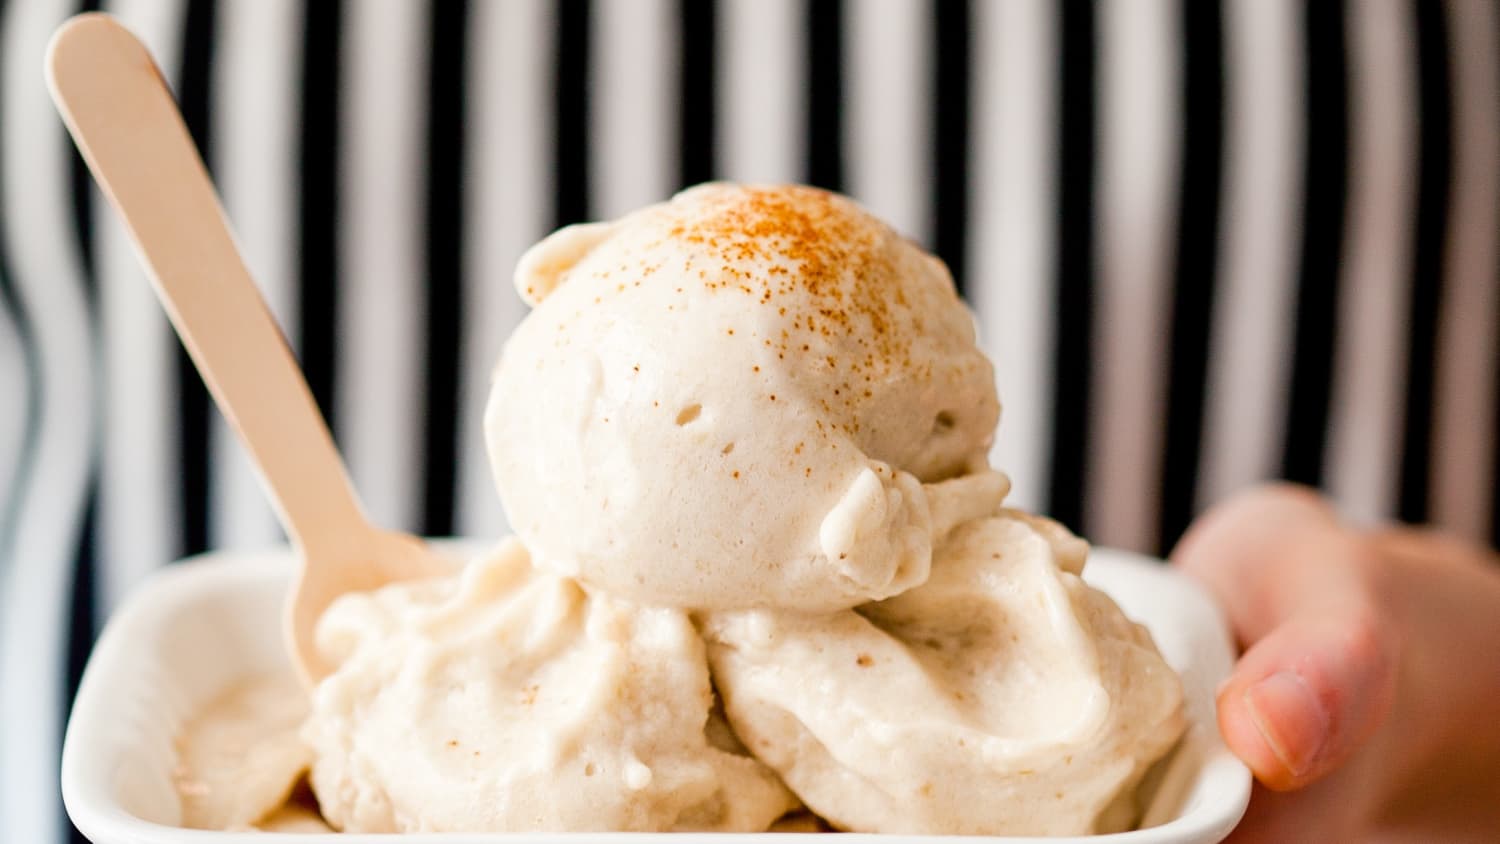
How To Make Creamy Ice Cream with Just One Ingredient!
Prep: 7200sec
Total: 7200sec
Serving Size: Serves 2
Nutrition Facts: Saturated Fat 0.1 g, unSaturated Fat 0.0 g, Carbohydrate 15.5 g, Sugar 8.3 g, servingSize Serves 2, Protein 0.7 g, Fat 0.2 g, calories 60 cal, Sodium 0.7 mg, Fiber 1.8 g, Cholesterol 0 mg
Ingredients:
- 1 large ripe banana
Instruction:
- Start with a ripe banana. Make sure the banana is ripe, it should be sweet and soft.
- Peel the banana and chop. Peel the banana and chop into somewhat small pieces. It doesn’t matter what shape or size the pieces are in, as long as they are evenly sized.
- Put the bananas in an airtight container. Place in a freezer-safe glass bowl or freezer bag.
- Freeze the banana pieces for at least 2 hours. Freeze until solid, at least 2 hours but ideally overnight.
- Pulse the frozen banana pieces in a small food processor or powerful blender. Transfer the frozen banana pieces into a small food processor or high-speed blender. (We’ve found that a small food processor or chopper works best.) Pulse to break up.
- Keep pulsing — the banana will look crumbly. Keep pulsing. At first the banana pieces will look crumbled or smashed. Scrape down the food processor.
- Keep blending — the banana will look gooey. Switch to blending. t will look gooey, like banana mush. Scrape down the food processor.
- Keep blending — the banana will look like oatmeal. Keep blending. It will get smoother but still have chunks of banana in it. Scrape down the food processor.
- Watch the magic happen! Suddenly, as the last bits of banana smooth out, you’ll see the mixture shift from blended banana to creamy, soft-serve ice cream texture. Blend for a few more seconds to aerate the ice cream. (If adding any mix-ins, like peanut butter or chocolate chips, this is the moment to do it.)
- Transfer to an airtight container and freeze until solid. You can eat the ice cream immediately, but it will be quite soft. You can also transfer it back into the airtight container and freeze it until solid, like traditional ice cream.
HOMEMADE BANANA ICE CREAM | no sugar, no dairy, no ice-cream machine
FAQ
Is banana ice cream healthier than regular ice cream?
Can you mash bananas and freeze them for ice cream?
Do frozen bananas taste like ice cream?
What is banana ice cream made of?
