
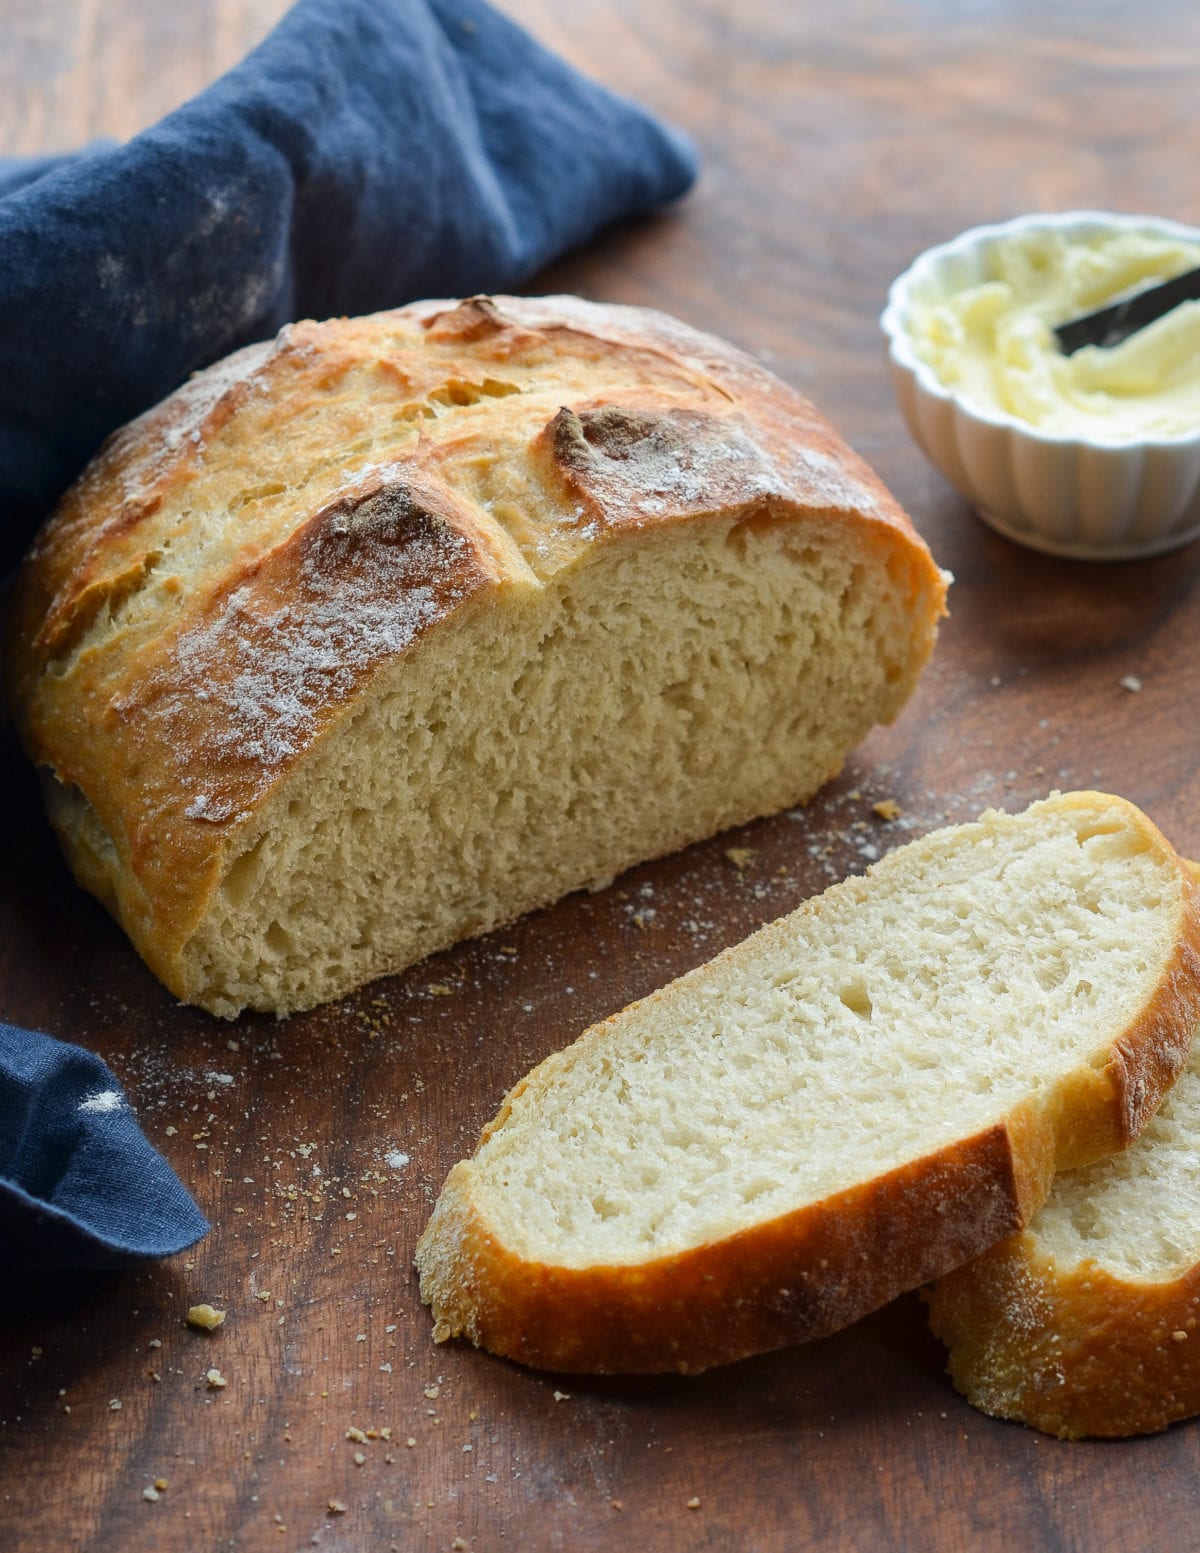
Homemade Artisan Bread Recipe

Even if you’ve never made homemade bread or worked with yeast before, this homemade artisan bread is for you. Watch the video tutorial below and review the recipe instructions and recipe notes prior to beginning. If you’re new to working with yeast, reference my Baking with Yeast Guide for answers to common yeast FAQs.
Prep: 4h
Total: 4h25min
Yield: 2
Ingredients:
- 3 and 1/4 cups (about 430g) bread flour (spoon & leveled), plus more for hands and pan
- 2 teaspoons (about 6g) instant yeast
- 2 teaspoons coarse salt (see note)
- 1 and 1/2 cups (360ml) water, close to room temperature at about 70°F (21°C)
- optional: cornmeal for dusting pan
Instruction:
- In a large un-greased mixing bowl, whisk the flour, yeast, and salt together. Pour in the water and gently mix together with a rubber spatula or wooden spoon. The dough will seem dry and shaggy, but keep working it until all the flour is moistened. If needed, use your hands (as I do in the video tutorial below) to work the dough ingredients together. The dough will be sticky. Shape into a ball in the bowl as best you can.
- Keeping the dough in the bowl, cover the dough tightly with plastic wrap or aluminum foil and set on the counter at room temperature (honestly any normal room temperature is fine!). Allow to rise for 2-3 hours. The dough will just about double in size, stick to the sides of the bowl, and have a lot of air bubbles.
- You can continue with step 4 immediately, but for absolute best flavor and texture, I strongly recommend letting this risen dough rest in the refrigerator for at least 12 hours and up to 3 days. Place covered dough in the refrigerator for 12 hours – 3 days. I usually let it rest in the refrigerator for about 18 hours. The dough will puff up during this time, but may begin to deflate after 2 days. That’s fine and normal– nothing to worry about.
- Lightly dust a large nonstick baking sheet (with or without rims and make sure it’s nonstick) with flour and/or cornmeal. Turn the cold dough out onto a floured work surface. Using a sharp knife or bench scraper, cut dough in half. Some air bubbles will deflate as you work with it. Place dough halves on prepared baking sheet. Using floured hands, shape into 2 long loaves about 9×3 inches each (doesn’t have to be exact) about 3 inches apart. Loosely cover and allow to rest for 45 minutes. You will bake the dough on this prepared baking sheet. See recipe note if you want to use a pizza stone.
- During this 45 minutes, preheat the oven to 475°F (246°C).
- When ready to bake, using a very sharp knife or bread lame (some even use kitchen shears), score the bread loaves with 3 slashes, about 1/2 inch deep. (“Score” = shallow cut.) If the shaped loaves flattened out during the 45 minutes, use floured hands to narrow them out along the sides again.
- Optional for a slightly crispier crust: After the oven is preheated and bread is scored, place a shallow metal or cast iron baking pan or skillet (I usually use a metal 9×13 baking pan) on the bottom oven rack. Carefully and quickly pour 3-4 cups of boiling water into it. Place the scored dough/baking pan on a higher rack and quickly shut the oven, trapping the steam inside. The steam helps create a crispier crust.
- Place the shaped and scored dough (on the flour/cornmeal dusted pan) in the preheated oven on the center rack. Bake for 20-25 minutes or until the crust is golden brown. Gently tap the loaves– if they sound hollow, the bread is done. For a more accurate test of doneness, the bread is done when an instant read thermometer inserted in the center reads 195°F (90°C).
- Remove the bread from the oven and allow to cool for at least 5 minutes before slicing and serving. Store leftovers loosely covered at room temperature for up to 5 days or in the refrigerator for up to 10 days.
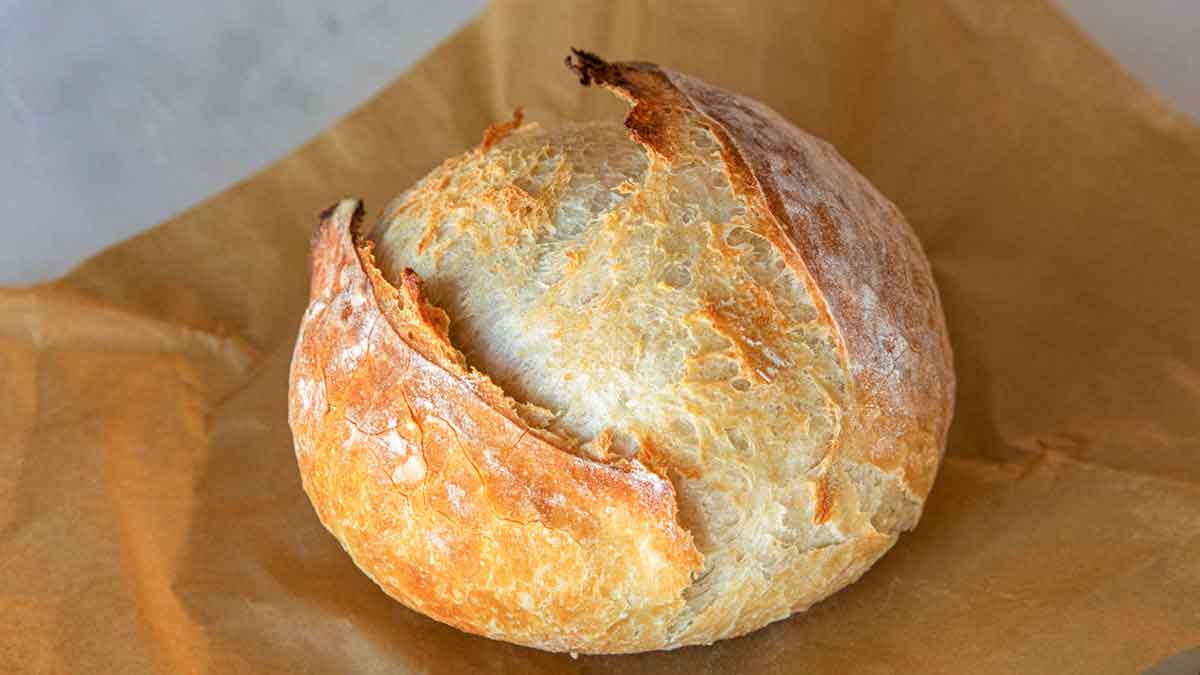
No Knead Artisan Bread
A SUPER EASY homemade bread recipe! Soft on the inside with a a chewy, crunchy crust! A no knead bread with no special ingredients needed, just a pot and your oven. This recipe has been adapted from Jim Lahey of Sullivan Street Bakery, published by The New York Times.
Prep: 10min
Total: 172min
Yield: 12
Serving Size: 1 serving
Nutrition Facts: calories 140 kcal, Carbohydrate 23 g, Protein 5 g, Fat 3 g, Saturated Fat 1 g, Fiber 1 g, Sugar 1 g, servingSize 1 serving
Ingredients:
- 3 cups bread flour, (or plain/all purpose (15.8 oz. or 450g))
- 1 tablespoon white granulated sugar
- 2 teaspoons dried, (instant or rapid rise yeast)
- 1 1/2 teaspoons salt
- 1 1/2 cups (375 ml) warm water
- 1 tablespoon (15 ml) olive oil
Instruction:
- Combine flour, sugar, yeast and salt in a large bowl. Add water and oil, mixing to incorporate all of the ingredients together. Dough will be wet, sticky and shaggy.
- Lightly spray the top with cooking oil spray. Cover with plastic wrap and place a dry tea towel over the top.
- Leave in a warm, draft-free place for 2-3 hours, until doubled in size. Dough will have a lot of little holes or bubbles and be wobbly like jelly.
- Place a large (10-inch or 26cm) dutch oven or heavy based pot in the oven with a lid. Preheat oven to 450°F (230°C) 30 minutes before baking.
- Lightly flour work surface and plastic spatula with up to 1 tablespoon flour. Scrape dough out of bowl onto work surface with spatula. Sprinkle the top of dough with a large pinch of flour and fold it over on itself with the spatula (about 5-6 folds). Roughly form a round shape.
- Measure out a large piece of parchment paper, large enough to transfer the dough into the pot. Place paper next to the dough and roll dough onto the paper, smooth side up. Carefully move it to the centre of the paper and reshape if needed, or shake pan a couple of times to evenly distribute dough. (It will even out while baking.)
- Loosely cover with plastic wrap and let rest while oven is preheating.
- Use oven mitts to carefully remove hot dutch oven from oven. Grab the parchment paper from each end to pick up the dough and transfer it into the pot.
- Cover with lid and bake for 30 minutes, then remove lid and bake for an additional 12-15 minutes, until loaf is beautifully golden browned.
- Transfer to a wire rack to cool for 10 minutes before slicing.
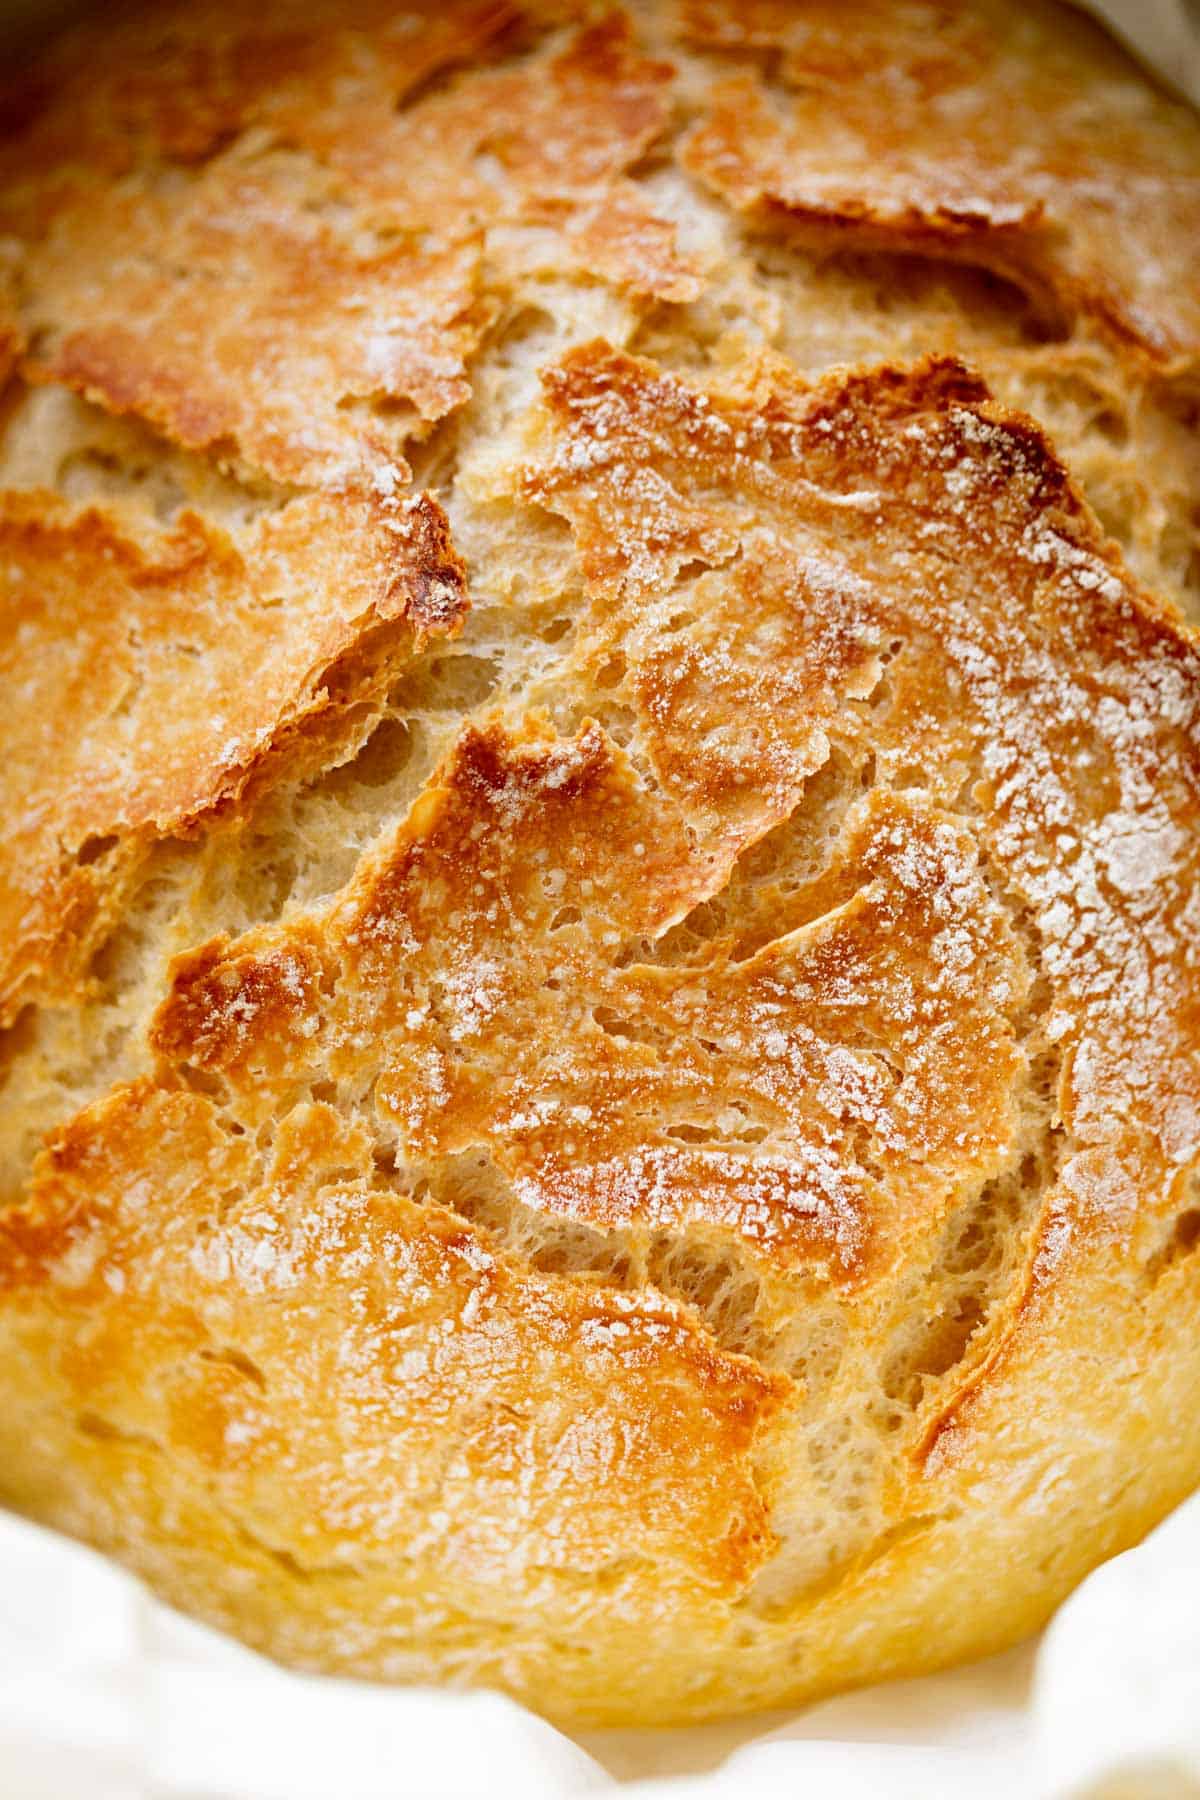
Artisan Bread
All you need are 4 simple ingredients to make this Artisan Bread. Chewy on the inside with a crispy exterior, this homemade bread recipe is so easy, anyone can make it!
Prep: 180min
Total: 225min
Yield: 8
Serving Size: 1 serving
Nutrition Facts: calories 222 kcal, Carbohydrate 44 g, Protein 8 g, Fat 1 g, Saturated Fat 1 g, Sodium 514 mg, Fiber 2 g, Sugar 1 g, unSaturated Fat 2 g, servingSize 1 serving
Ingredients:
- 3 ¾ cups bread flour (divided (450 grams))
- 2 ¼ teaspoons instant yeast
- 1 ¾ teaspoons kosher salt ((10 grams))
- 1 ½ cups warm water (between 120°F and 130°F (360 grams))
Instruction:
- In a large mixing bowl, add flour, yeast, and salt, stirring to combine with a large wooden spoon. Stir in water until the mixture is very sticky, and no lumps of flour remain. Cover and place in a warm, draft-free area until doubled in size, about 1 ½ to 2 hours.
- For an overnight rise: After mixing the dough, cover and refrigerate until doubled in size. This will take about 8 hours but will keep in the fridge up to 24 hours total.
- Preheat the oven to 450°F. Place a large Dutch oven with a lid in the oven for at least 30 minutes.
- Remove the dough from the refrigerator and let rest at room temperature for 15 minutes.
- Using lightly floured hands, reach down one side of the dough to the bottom of the bowl, pull up, and stretch the edge of the dough over the center toward the opposite side. Turn the bowl 90 degrees and repeat the folding and turning, working in a circle around the dough until the dough starts to hold its shape, about 8 to 10 rotations. Pinch any seams together at the center of the dough ball.
- Turn out the dough onto a lightly floured surface, placing it seam side down. Shape into a round loaf. Transfer the dough onto parchment paper and sprinkle it with flour. Loosely cover with plastic wrap or a tea towel for 10 minutes.
- Using a sharp knife or bread lame, cut a slit about ¼-inch deep across the top of the dough. Very carefully place the dough with the parchment paper directly into the preheated Dutch oven. Cover with the lid.
- Bake for 30 minutes. Remove the lid and bake until deeply golden brown, about 15 to 17 minutes more. Carefully remove the bread from the Dutch oven using the parchment paper to help, and place on a wire rack to cool for at least 20 minutes before slicing.
Crusty Artisan Bread
This crusty bread recipe is astonishingly easy — no kneading required — and it makes three beautiful loaves, which you can bake as needed.
Prep: 10min
Total: 40min
Yield: 3 loaves (about 10 slices per loaf)
Serving Size: 1 slice
Nutrition Facts: servingSize 1 slice, calories 100, Fat 0 g, Carbohydrate 21 g, Protein 3 g, Saturated Fat 0 g, unSaturated Fat , Sugar 0 g, Fiber 1 g, Sodium 64 mg, Cholesterol 0 mg
Ingredients:
- 6½ cups all-purpose flour, spooned into measuring cup and leveled-off (preferably King Arthur; see note)
- 4 teaspoons kosher salt
- 1½ tablespoons instant/rapid-rise yeast (see note)
- 3 cups lukewarm water (no need to be exact but lukewarm is about 100°F)
- Cornmeal, for dusting the pan
Instruction:
- In a very large (6-quart) bowl, whisk together the flour, salt, and yeast. Add the water and stir with a wooden spoon until the mixture is uniformly moist, without any patches of flour. The dough should be sticky and conform to the shape of the bowl. If your dough is too dry, add a few tablespoons more warm water. If it’s too wet, add a few tablespoons of flour. (See the step-by-step photos for guidance on what the dough should look like.) Cover the bowl loosely with plastic wrap and let it sit on the counter in a warm spot for 2 hours. If you plan to bake a loaf immediately, proceed to the next step. Otherwise, place the bowl of dough in the refrigerator to be used over the next 14 days. (Once refrigerated, the dough will shrink back a bit; that’s okay. Do not punch down the dough at any point, and keep it loosely covered with plastic wrap.)
- Dust a sturdy baking sheet with cornmeal.
- Dust the surface of the dough and your hands lightly with flour. Pull out one-third of the dough and coat the outside lightly with flour (you don’t want to incorporate more flour into the dough, you just want to be able to handle it). Gently work the dough into a smooth ball, stretching the surface and tucking the ends underneath, adding more flour as needed so it doesn’t stick to your hands. (Don’t overwork the dough; this process should only take about 30 seconds.) Put the dough ball onto the prepared baking sheet and let it rest at room temperature, uncovered, for about 40 minutes. (If the dough has been refrigerated, allow it to rise for 60 minutes, or up to 90 minutes if you want a more open and airy crumb structure.) The dough will rise a bit. It may also spread/flatten a bit; that’s okay.
- Preheat the oven to 450°F. Set one rack in the lowest position of the oven and one rack in the middle position. Place a metal pan (any metal cake pan or broiler pan will work; just don’t use glass) on the bottom rack. (You will fill this with water later to create steam in the oven).
- Generously dust the dough with flour. Using a sharp knife, make a few ½-inch-deep slashes in the dough — a scallop, cross, or tic tac toe pattern all look nice.
- Slide the baking sheet with the dough into the oven, and carefully fill the metal cake pan with one cup of hot tap water. (Try to do this quickly so as not to let heat out of the oven.) Bake until the loaf is golden brown, about 30 minutes. Cool completely on a wire rack.
- This bread is best enjoyed fresh on the day it is made. Once sliced, place the loaf cut-side down on a cutting board or plate and leave it uncovered. (If it lasts beyond a day, I suggest slicing and freezing.)
- Freezer-Friendly Instructions The dough can be portioned into thirds and frozen in airtight plastic containers for up to 1 month. Defrost the dough in the refrigerator overnight, then shape, rest and bake as usual. The baked loaves can also be frozen whole or sliced: Wrap in a zip-top freezer bag and freeze for up to 1 month. (If you plan to use slices one at a time, place pieces of parchment between them so they don’t stick.) To thaw, take the bread out of the freezer and let it come to room temperature on the countertop. Reheat in a 350°F oven until warmed through, about 10 minutes.
- Note: Active dry yeast may be used instead of instant/rapid-rise yeast, however, the dough will take longer to rise. To give active dry yeast a boost, you can dissolve it in the lukewarm water and let it sit until frothy, about 10 minutes. After that, add it to the flour and salt, and proceed with the recipe.
- Note: I use King Arthur flour, which is higher in protein than some other all-purpose flours. If using a flour with a lower protein content, such as Gold Medal, you will likely need to add a few more tablespoons of flour.
Easy Artisan Bread Recipe | No Kneading!
FAQ
What makes artisan bread different?
What exactly is artisan bread?
What is the best flour for artisan bread?
What makes artisan bread airy?
