Salt dough ornaments are the perfect Christmas craft and activity to do with your kids. Make them to give as gifts or simply to hang on your own tree. We will walk you through our easy salt dough ornament recipe and answer any questions you may have on how to make salt dough!
Salt Dough Ornament Recipe

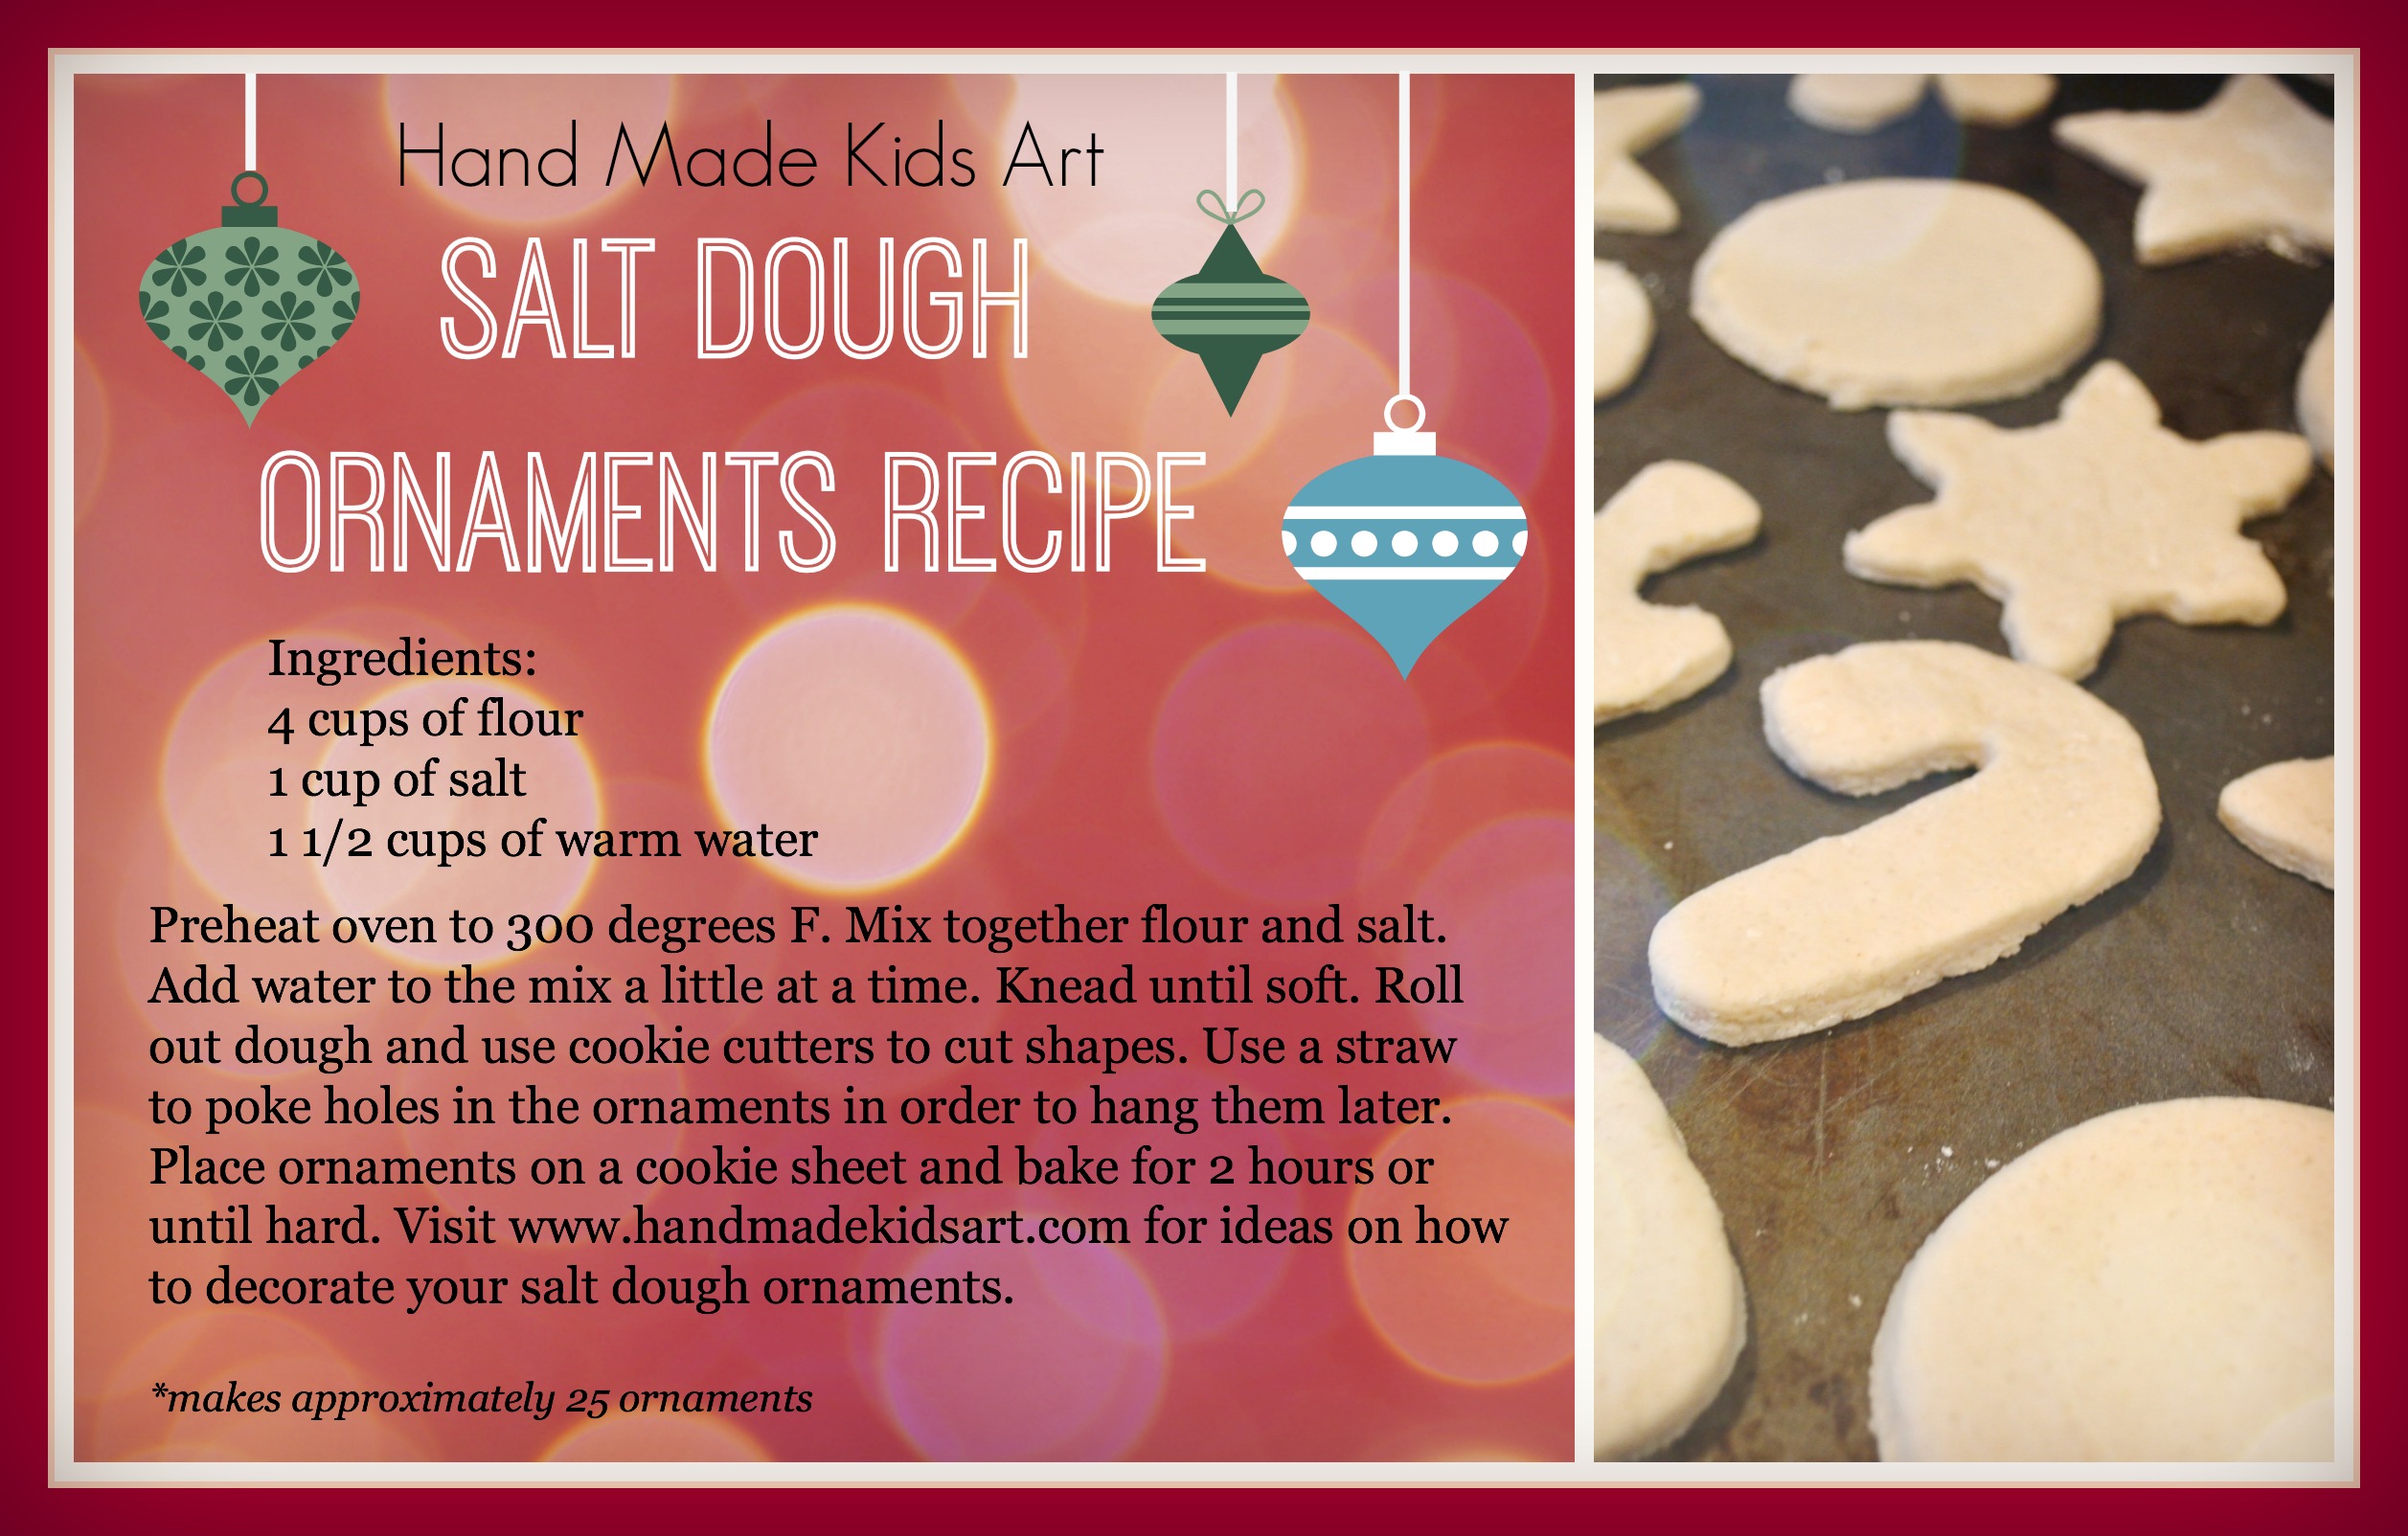
The Best Salt Dough Ornament Recipe
Prep: 15min
Total: 135min
Ingredients:
- 4 cups flour
- 1 cup salt
- 1.5 cups water (*Maybe a little more water needed once kneaded. )
Instruction:
- Preheat your oven to 200 degrees Fahrenheit. Important: Check what temperature your oven setting is. If your oven temperature is Celsius you will need to bake at a much lower temperature (the lowest setting is usually a good one to start with). Adults will need to do the baking part, but kids can help decorate!
- Combine your flour, salt and water and mix well. Knead for 10 minutes. If your dough is too dry, add a little bit more water. If it’s too sticky, add a little bit of flour. It will help to place flour down on your surface when kneading and on your hands.Keep kneading until the dough becomes really smooth. This takes about 10 minutes.
- Once you’re done kneading, roll out the dough to about 1/2 cm thickness. The thinner you make the ornaments, the better they will thoroughly bake and dry through. If you make them too thick they will take too long to dry.
- Using your Christmas cookie cutters, cut out different shapes for your salt dough ornaments.
- Using a straw, make a hole in the top of the ornament for where you would like the twine to hang.
- For a faster baking process, we like to let the dough air dry for a day. Bake for 1-2 hours. If your ornaments are not completely dried through when you pull them out put back in for another hour. The baking time will vary greatly depending on the size and thickness of your ornaments. Larger ornaments will take longer whereas smaller ornaments will take less time.Make sure to flip them when air drying or baking so that the bottoms of the ornaments dry also.
- Once cool and completely dried, paint with non-toxic acrylic paint. We used white for the snowflake, red for the mitten, green for the Christmas tree and gold for the bell.
- Before adding the glitter, you’ll need to seal the ornaments. This will help them keep longer. Make sure your ornaments are completely dried through before sealing. Spray with a clear glaze spray (adults only) or finish with mod podge.
- Now add clear glue on top of your ornament and shake glitter on top until you fill the ornament with glitter.
The Best Easy Salt Dough
These take a few hours to bake and cool, so plan to do the rolling and painting in two separate sessions either morning and afternoon or on two different days. You can make these as ornaments with holes, or just as shapes for the kids to decorate. Skip the holes if you don’t plan to hang them.
Prep: 30min
Total: 150min
Yield: 2
Serving Size: 1 serving
Nutrition Facts: calories 1 kcal, Sugar 1 g, Fat 1 g, Saturated Fat 1 g, Fiber 3 g, unSaturated Fat 2 g, servingSize 1 serving
Ingredients:
- 4 cups flour
- 1 cup table salt
- 1.5 cups water
Instruction:
- Mix the ingredients together in a large bowl using a wooden spoon. When it becomes too stiff to stir, use clean hands to bring the dough together.
- NOTE: If the dough is too wet and sticky, knead in a little more flour, about 1 tablespoon at a time. If it’s too stiff, add a little more water, about 1 tablespoon at a time. There is a big range in the way different flours absorb liquid, so there is a normal range of variation here. It should be easy to work with—soft and not too stiff and not excessively sticky.
- Knead a few times until the dough is uniform and soft, about 3-5 minutes.
- Divide dough into 2 or 4 sections and roll out to about 1/4-1/2 inch thick between two sheets of parchment paper. This will help prevent sticking.
- Cut out with cookie cutters. Transfer shapes to a parchment-lined baking sheet.
- Repeat rolling and cutting out shapes to use up the dough.
- Preheat oven to 250 degrees F.
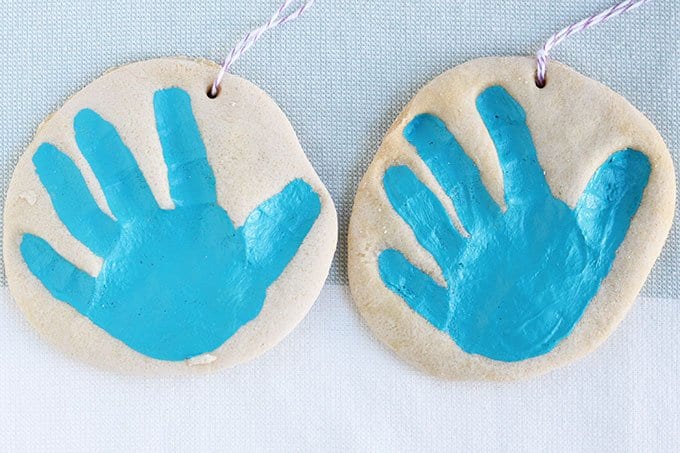
- Do a 4-5-inch circle and press in a child’s handprint if desired.
- Use a paper lollipop stick or a skewer to make a hole to hang as an ornament.
- If making ornaments, bake for 90 minutes to 2 hours; if baking handprints, bake for 2-3 hours. Continue baking both ornaments and handprints as needed until they are until just firm to the touch, checking every 20 minutes. (It’s not a problem if yours take longer than the initial baking time—it varies based on thickness and size…which will likely vary if you are baking these with kids!) They do not need to be rock hard, but should not feel squishy. Handprints will likely take longer than smaller ornaments and may take closer to 4 hours.
- Remove from oven, let cool, and paint if desired with acrylic or washable tempera paint.
- Once paint is completely dry, seal with Mod Podge if desired.
Easiest Ever Salt Dough Recipe (3 Ingredients!) | Salt Dough Christmas Ornaments
FAQ
How long do salt dough ornaments last?
Is it better to bake or air dry salt dough?
How do you harden salt dough ornaments?
What kind of salt do you use for salt dough ornaments?
