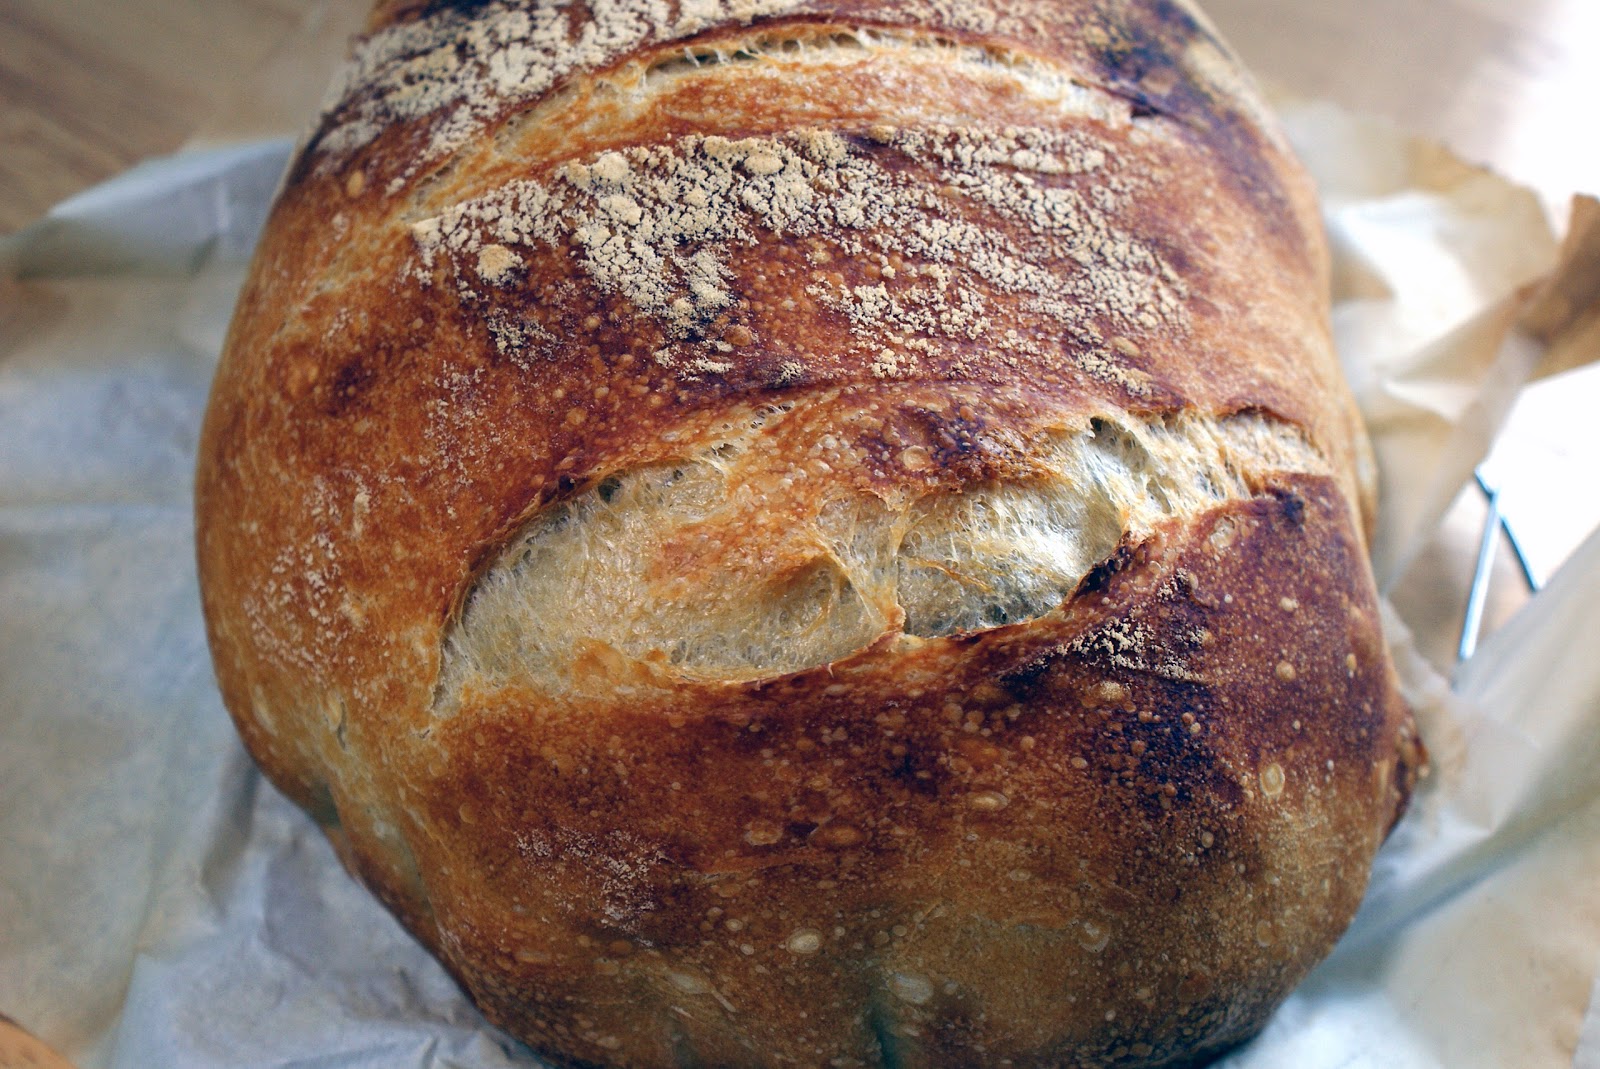
Easy Dutch Oven No Knead Bread recipe is made with only 4 ingredients and takes 5 minutes of prep time! If you want to make delicious homemade bread that looks & tastes like it came from a fancy bakery but actually takes very little effort, this dutch oven bread recipe is for you!
I cannot think of a time when I would turn down a slice (or two) of warm homemade bread fresh from the oven (like this homemade french bread – yum). However, I know that some people are intimidated by the idea of making their own bread.
Well, youre in luck because this Easy No Knead Bread is the perfect recipe if you want to bake some homemade bread but arent fully confident in your bread making skills! Its a no knead dutch oven bread that tastes like you slaved for hours – when you really only spent 5 minutes preparing it!
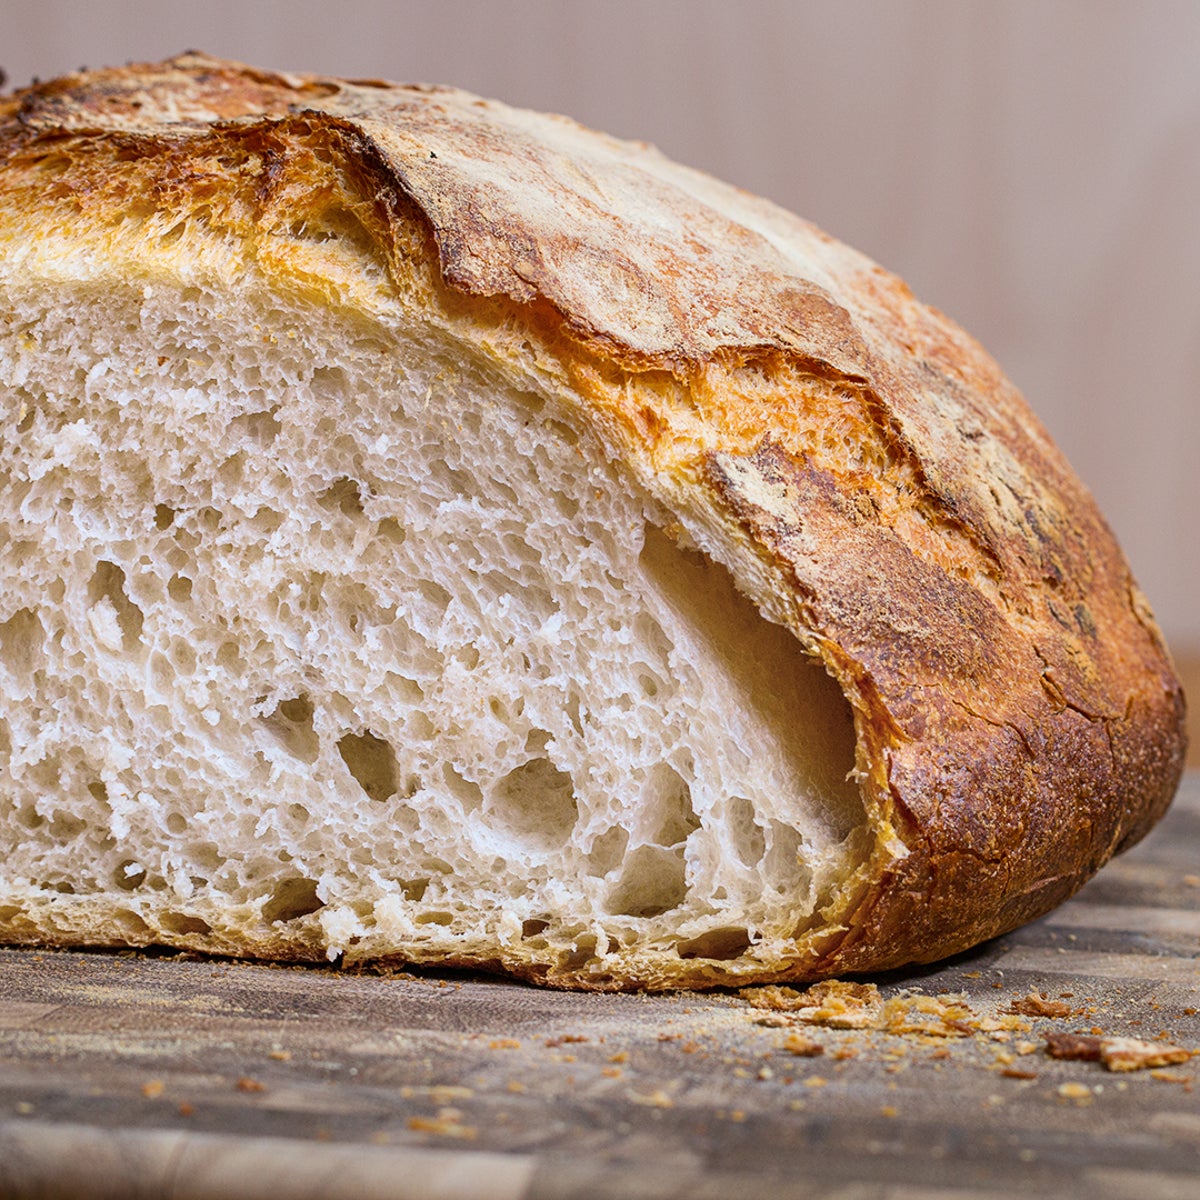
This dutch oven bread is incredibly moist and tastes like a less sour, sourdough bread! It is both dense and fluffy at the same time, and is the perfect companion to any meal (like this tortellini soup, vegetable soup, or this kale sweet potato soup)! I seriously make it all the time, because I love that its prepped the day before and just popped in the oven right before company comes over!
Like I said above, if youve been dying to make bread from scratch, THIS is your recipe! It looks like a beautiful loaf of artisan bread from a high-end bakery, but takes minimal time, effort and ingredients!
Seriously, this No Knead Dutch Oven Bread couldnt be any simpler. Its made with 4 ingredients and takes only 5 minutes of active prep time! There is no kneading, no waiting for the perfect rise (twice), and no exhaustive list of instructions to follow.

Dutch Oven No Knead Crusty Bread

This Dutch Oven No Knead Bread recipe comes out perfectly crusty in under 3 hours – it’s easy to make homemade artisan bread with 5 minutes of prep!
Prep: 5min
Total: 165min
Yield: 8
Serving Size: 1 serving
Nutrition Facts: calories 188 kcal, Carbohydrate 39 g, Protein 6 g, Fat 1 g, Saturated Fat 1 g, Sodium 437 mg, Fiber 2 g, Sugar 1 g, servingSize 1 serving
Ingredients:
- 1 1/2 cups warm water ((about 100 degrees F))
- 1 packet yeast ((active dry, instant, or quick rise- 2.25 teaspoons))
- 1/2 tablespoon fine grain salt ((preferably NOT iodized, see notes))
- 3 1/4 cups all-purpose flour (or bread flour, plus more for dusting)
Instruction:
- In a large bowl (or container), mix together the warm water (1.5 cups), yeast (1 packet/2.25 teaspoons), and table salt (1/2 tablespoon), until yeast and salt are fully or almost dissolved (I like using a whisk for this).
- Add the flour (3.25 cups) to the bowl all at once and stir together until a sticky dough forms. Don’t worry about mixing it too much, just make sure everything is uniformly wet. It WILL be messy and sticky. You can scrape what’s left on the spoon with a silicone spatula.
- Cover the bowl with a kitchen towel (or place the container to the lid on ajar). Leave it for 2-3 hours to rise in a somewhat warm place until it’s doubled in volume (If it’s cold out, I like to preheat my oven for a few minutes, then turn it off, then place the bowl in the oven, trapping the heat inside. If your house is warm just leave it out, or if it’s warm outside you can place it there).
- After the two-three hour rise time when the dough has about doubled, you have two options: bake, or store in the fridge. See notes for how to store.
- 30 minutes to an hour before you are ready to bake, preheat your oven to 450 degrees F. Place your Dutch oven in the oven, with the lid ON, while the oven is preheating. Once the oven reaches 450, keep it preheating for another 20 minutes, so the Dutch oven gets good and hot.
- Scrape the dough into the edge of a piece of parchment paper dusted with flour. Make it into as much of a “loaf” shape as you can by folding the edges up on top of it (a silicone spatula works well for this).
- Then, use the edges of the parchment paper to flip the loaf over so the floured side is on top and the loaf is in the center of the parchment paper. Don’t worry about it looking beautiful or smooth on top. My Dutch oven is an oval, so I made an oval shape. You can do a circle if yours is round.
- Optional: use a very sharp knife or clean razor blade to cut a few slits across the top of the loaf about 1/2″ deep, across the entire top. I did this in a cross shape for mine.
- Take out the preheated Dutch oven and take off the lid, carefully! Grab the parchment from the sides and place the loaf in your Dutch oven.
- Place the cover back on the Dutch oven and place in the preheated oven on the center rack. Bake for 35 minutes at 450 degrees F (40 minutes if dough was cold from the fridge). Remove the lid and bake for another 5-10 minutes, until a golden brown color forms- longer if necessary. Remove the loaf from the dutch oven (grabbing the sides of the parchment paper works well here) and place it on a wire rack or cutting board to cool for at least 10 minutes (preferably 30 minutes – an hour, if you have time) before slicing.
Homemade Dutch Oven Bread Recipe by Tasty

Here’s what you need: lukewarm water, active dry yeast, all-purpose flour, kosher salt, olive oil
Yield: 8 servings
Nutrition Facts: calories 262 calories, Carbohydrate 54 grams, Fat 1 gram, Fiber 8 grams, Protein 7 grams, Sugar 0 grams
Ingredients:
- 2 cups lukewarm water, between 90˚-110˚F (30˚-40˚C)
- 1 envelope active dry yeast
- 4 cups all-purpose flour, lightly packed and leveled off, plus more for dusting
- 1 ½ teaspoons kosher salt
- 1 teaspoon olive oil
Instruction:
- Stir the yeast into the water and allow the yeast to bloom until foamy.
- In a large bowl, mix together the flour and salt by hand. Once incorporated, create a small well in the middle and pour in the water and yeast mixture.
- Mix by hand, wetting your working hand before mixing so the dough doesn’t stick to your fingers. The water and flour should come together and a form rough dough that pulls away from the sides of the bowl. If the dough is too sticky, add more flour in small increments, about 1 tablespoon at a time. If the dough is too dry, add more water, 1 tablespoon at a time.
- Once the dough comes together, cover and let rise until doubled in size (about 1 ½-2 hours).
- Uncover the dough and give it a few pokes with your finger. If the dough has risen properly, it should indent under the pressure of your finger and slowly deflate.
- Using your hand or a rubber spatula, start from the rim of the bowl to work the dough loose from the sides and fold it up and towards the center of the bowl. Turn the bowl 90 degrees, and repeat until all the dough has been pulled from the sides and folded towards the center.
- Once finished, cover and let the dough rise again for another 1 ½-2 hours.
- Once the dough has doubled in size again, gently transfer it from the bowl to a lightly floured surface.
- Sprinkle a bit of flour on top of the dough. Using your hands, begin to shape it into a loaf. Fold the dough under itself several times to form a ball, then pinch together the seams of dough underneath.
- Place the dough seam-side down in a clean bowl that has been lightly coated with olive oil and dusted with flour.
- Cover and let rise for 1 hour.
- Meanwhile, place a 6-quart Dutch oven (or heavy cooking pot with oven-safe lid) inside the oven. Preheat the oven to 450˚F (230˚C) with the pot inside for 45 minutes-1 hour.
- Carefully remove the pot from the oven and place it on a trivet or heat-safe surface. (Be careful! It’ll be VERY HOT.)
- Turn the proofed dough over onto a lightly floured surface and carefully place it inside the pot.
- Cover with the lid and return the pot to the oven.
- Bake for 45 minutes, removing the lid for the last 15 minutes.
- Remove bread from pot, cover, and let cool for 10 minutes before slicing.
- Enjoy!
Dutch Oven Bread

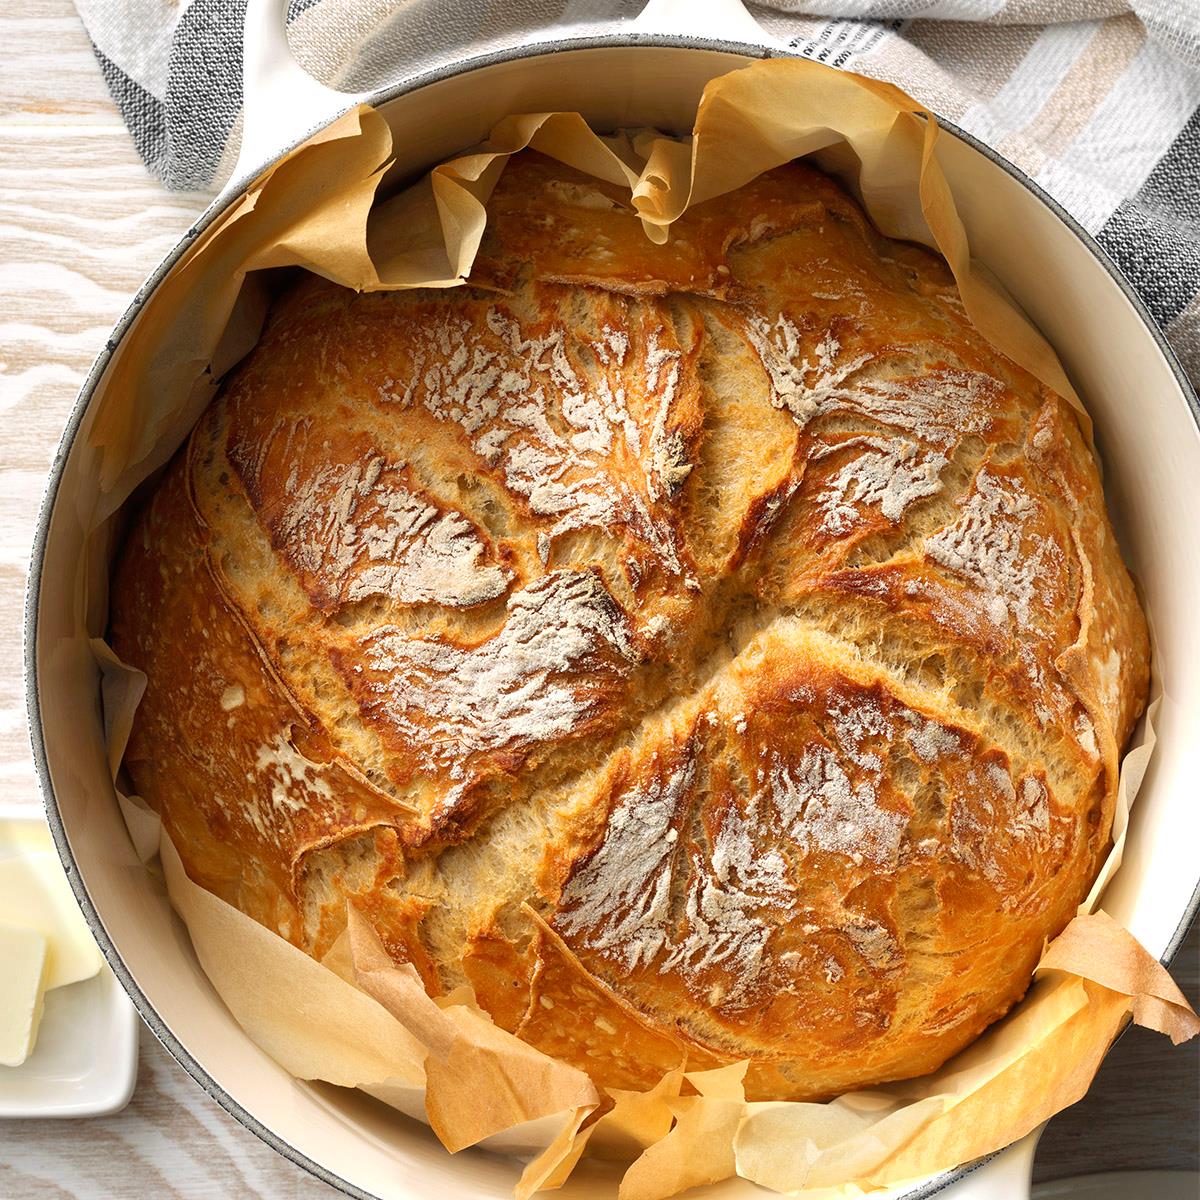
Crackling homemade Dutch oven bread makes an average day extraordinary. Enjoy this beautiful crusty bread recipe as is, or stir in a few favorites like cheese, garlic, herbs and dried fruits. —Catherine Ward, Taste of Home Prep Kitchen Manager
Prep: 15min
Total: 60min
Yield: 1 loaf (16 pieces).
Nutrition Facts: calories 86 calories, Fat 0 fat (0 saturated fat), Cholesterol 0 cholesterol, Sodium 148mg sodium, Carbohydrate 18g carbohydrate (0 sugars, Fiber 1g fiber), Protein 3g protein.
Ingredients:
- 3 to 3-1/2 cups (125 grams per cup) all-purpose flour
- 1 teaspoon active dry yeast
- 1 teaspoon salt
- 1-1/2 cups water (70° to 75°)
Instruction:
In a large bowl, whisk 3 cups flour, yeast and salt. Stir in water and enough remaining flour to form a moist, shaggy dough. Do not knead. Cover and let rise in a cool place until doubled, 7-8 hours., Preheat oven to 450°; place a Dutch oven with lid onto center rack and heat for at least 30 minutes. Once Dutch oven is heated, turn dough onto a generously floured surface. Using a metal scraper or spatula, quickly shape into a round loaf. Gently place on top of a piece of parchment., Using a sharp knife, make a slash (1/4 in. deep) across top of loaf. Using the parchment, immediately lower bread into heated Dutch oven. Cover; bake for 30 minutes. Uncover and bake until bread is deep golden brown and sounds hollow when tapped, 15-20 minutes longer, partially covering if browning too much. Remove loaf from pan and cool completely on wire rack.
Easy No Knead Bread (Dutch Oven Bread)

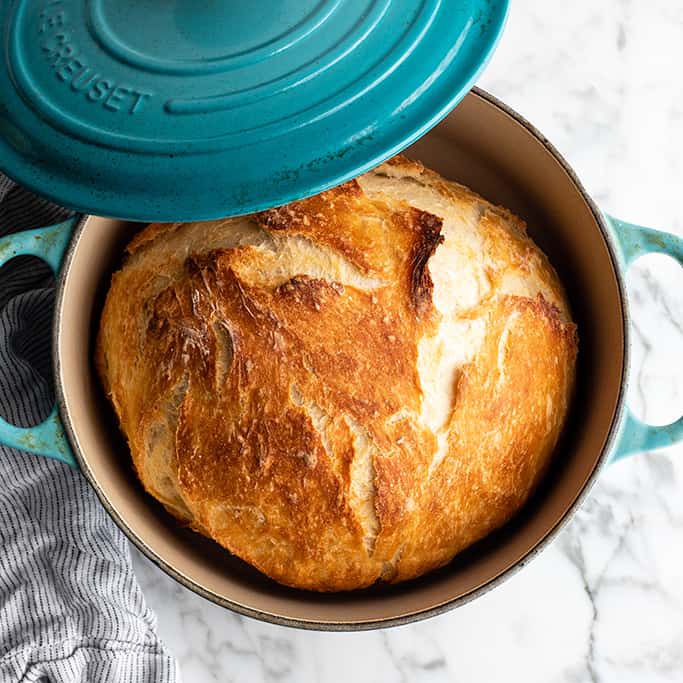
Easy Dutch Oven No Knead Bread recipe is made with only 4 ingredients and takes 5 minutes of prep time! If you want to make delicious homemade bread that looks & tastes like it came from a fancy bakery but actually takes very little effort, this dutch oven bread recipe is for you!
Prep: 5min
Total: 1495min
Yield: 1
Serving Size: 1 slice
Nutrition Facts: servingSize 1 slice, calories 121 kcal, Carbohydrate 26 g, Protein 3.8 g, Sodium 212 mg, Fiber 1.2 g
Ingredients:
- 3 cups all-purpose flour
- 2 tsp active dry yeast
- 1 ½ tsp sea salt
- 1 ½ cups warm water (105 degrees F)
Instruction:
- Combine the flour, yeast, and salt in a large bowl and stir to combine.
- Add the water and mix until the dough forms a ball.
- Cover the bowl with plastic wrap (sprayed with cooking spray) and a damp tea towel.
- Let dough sit covered at room temperature for 18-24 hours.
- After 24 hours (or at least 1 hour before you want to serve) preheat the oven to 450 degrees F.
- Place a 2 3/4 quart dutch oven (or a 2.4L baking dish) with a lid in the oven while it is preheating. (Note: Readers have used a 5 qt. dutch oven with success).
- While oven is preheating, transfer the dough from the bowl onto a floured surface.
- Form the dough into a ball, adding a few TBS more flour if needed. The dough should still be slightly loose. Then cover it with a floured towel while the oven is preheating. (Important note: The dough ball will be loose and “floppy.” That is how it should be as this is a very moist bread which is what makes it so irresistible. You will not have a firm ball, it will look a little flat).
- Carefully remove the hot baking dish from the oven. Remove the lid and spray the dish with cooking spray or line it with parchment paper.
- Gently put the dough ball into the baking dish so it’s evenly distributed.
- Cover and bake for 30 minutes.
- Remove the lid and bake for an additional 15 minutes, or until the loaf is golden brown.
- Remove the loaf from the baking dish and let it cool on a rack before slicing. To keep it warm, cover with a tea towel.
