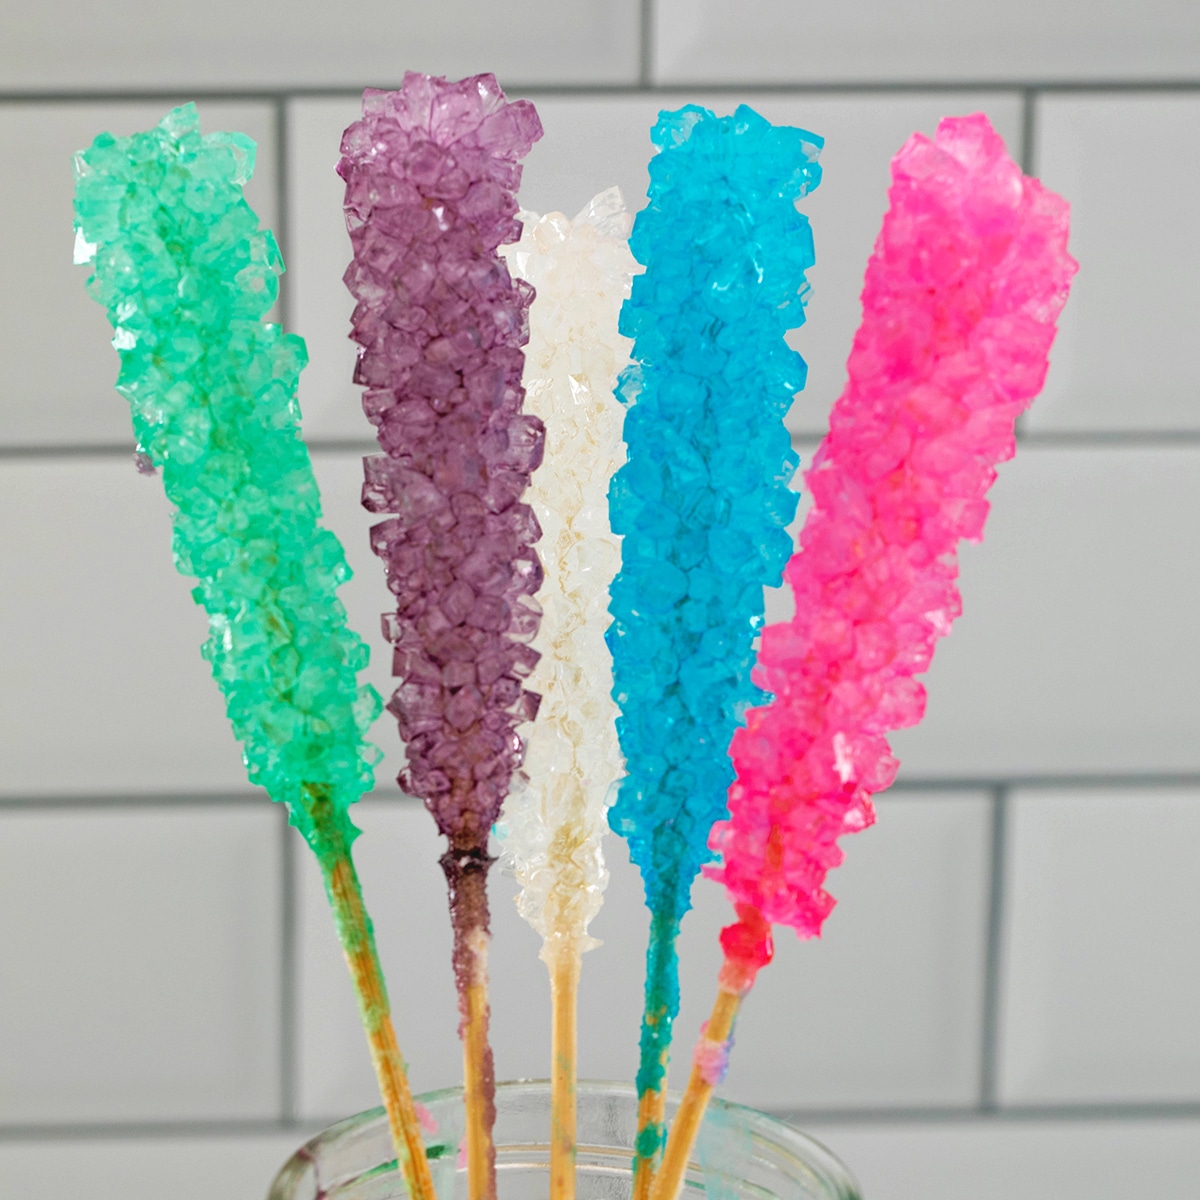
Learn how to make rock candy at home with this easy rock candy recipe and tutorial! A delicious and fun science experiment for kids that combines science and sweets! Kids love this yummy activity!
:max_bytes(150000):strip_icc()/rock-candy-521016-9-5b1e87931d6404003758d76d.jpg)
DIY Rock Candy

Homemade rock candy is easy to make! It simply requires a little bit of patience and a whole lot of sugar. Whether you’re making the sweet treat to enjoy for dessert or as a science experiment to do with your kids, you’ll be amazed at how fun DIY rock candy is.
Prep: 30min
Yield: 5
Ingredients:
- 5 wooden skewers
- 5 mason jars ((I recommend 16 oz))
- 5 clothespins or chip clips
- 4 cups water
- 10 cups granulated sugar, (plus more for coating skewers)
- Food coloring
Instruction:
- Submerge skewers in water, coat them in sugar, and then set out to dry. I like to do this a day ahead of time, but as long as you let them dry for an hour, they should be fine.
- Make sure your jars are clean and not cold (run hot water through them if necessary). Attach a clothespin or chip clip to the top of each skewer and then balance over the top of jars. Be sure your skewer is hanging about an inch from the bottom of the jar as the rock candy crystals will stick to the bottom of the jar and will make it tough to remove skewers.
- In a large saucepan, bring water to a boil. Add sugar in one cup at a time, stirring with a wooden spoon and letting each cup fully dissolve before adding the next. You’ll notice it becomes harder and harder for the sugar to dissolve as you add more in.
- Once your final cup of sugar has been dissolved, let mixture simmer for about 5 minutes before removing from heat. Let mixture rest off the heat for about 15 minutes.
- Divide sugar solution amongst the 5 prepared jars. Stir in food coloring at this time. I recommend bringing your jars to where they’ll be resting for the next 6-7 days at this time. Be sure to use caution as the jars will be very hot. Once they’re in their resting spots, place prepared skewers into solution. You’ll want to try your best not to move jars around much once skewers are in place.
- You’ll likely see little crystals forming within hours, but you’ll want to let the jars rest for 6-7 days to let sugar crystals fully form.
- When ready to remove rock candy sticks from jars, use your finger or a fork to gently crack the hardened sugar on top of the jar and gently wiggle the stick to release. Let solution drizzle from stick (I recommend setting the candy over an empty jar or bowl to let it drip) before enjoying the candy.
Homemade Rock Candy

Learn how to make rock candy at home with this easy rock candy recipe and tutorial! A delicious and fun science experiment for kids that combines science and sweets!
Prep: 10min
Yield: 12
Serving Size: 1 stick
Nutrition Facts: servingSize 1 stick, calories 70 kcal
Ingredients:
- 12 6-inch Wooden Skewers
- 12+ cups Granulated Sugar
- 4 cups Warm Water
- Food Coloring, (if desired)
- 1 dram Candy Flavoring, (if desired)
- 6 Quart-Sized Mason Jars
- 12 Clothespins
Instruction:
- Soak sticks briefly in water and roll in sugar to coat. Allow to dry completely.
- Add warm water to a large saucepan. Stir in 8 cups of sugar until no more will dissolve.
- Place the saucepan on the stove, and bring to a low boil over medium heat. Add remaining sugar and any additional sugar as needed until you reach a fully saturated solution and no more sugar will dissolve. If you’re using a candy thermometer, you’ll want the temperature to reach around 265 degrees F. Allow to cool for 20-30 minutes.
- Carefully pour the mixture into the mason jars and add food coloring and/or candy flavoring as desired.
- Add two sugared sticks to each jar, making sure that the sticks don’t touch the jar or each other. Use clothespins to hold the sticks in place as needed.
- Place the jars in a warm and undisturbed location. Wait for 5-10 days until crystals are fully formed. Remove the sticks from the jar and enjoy.
Rock Candy

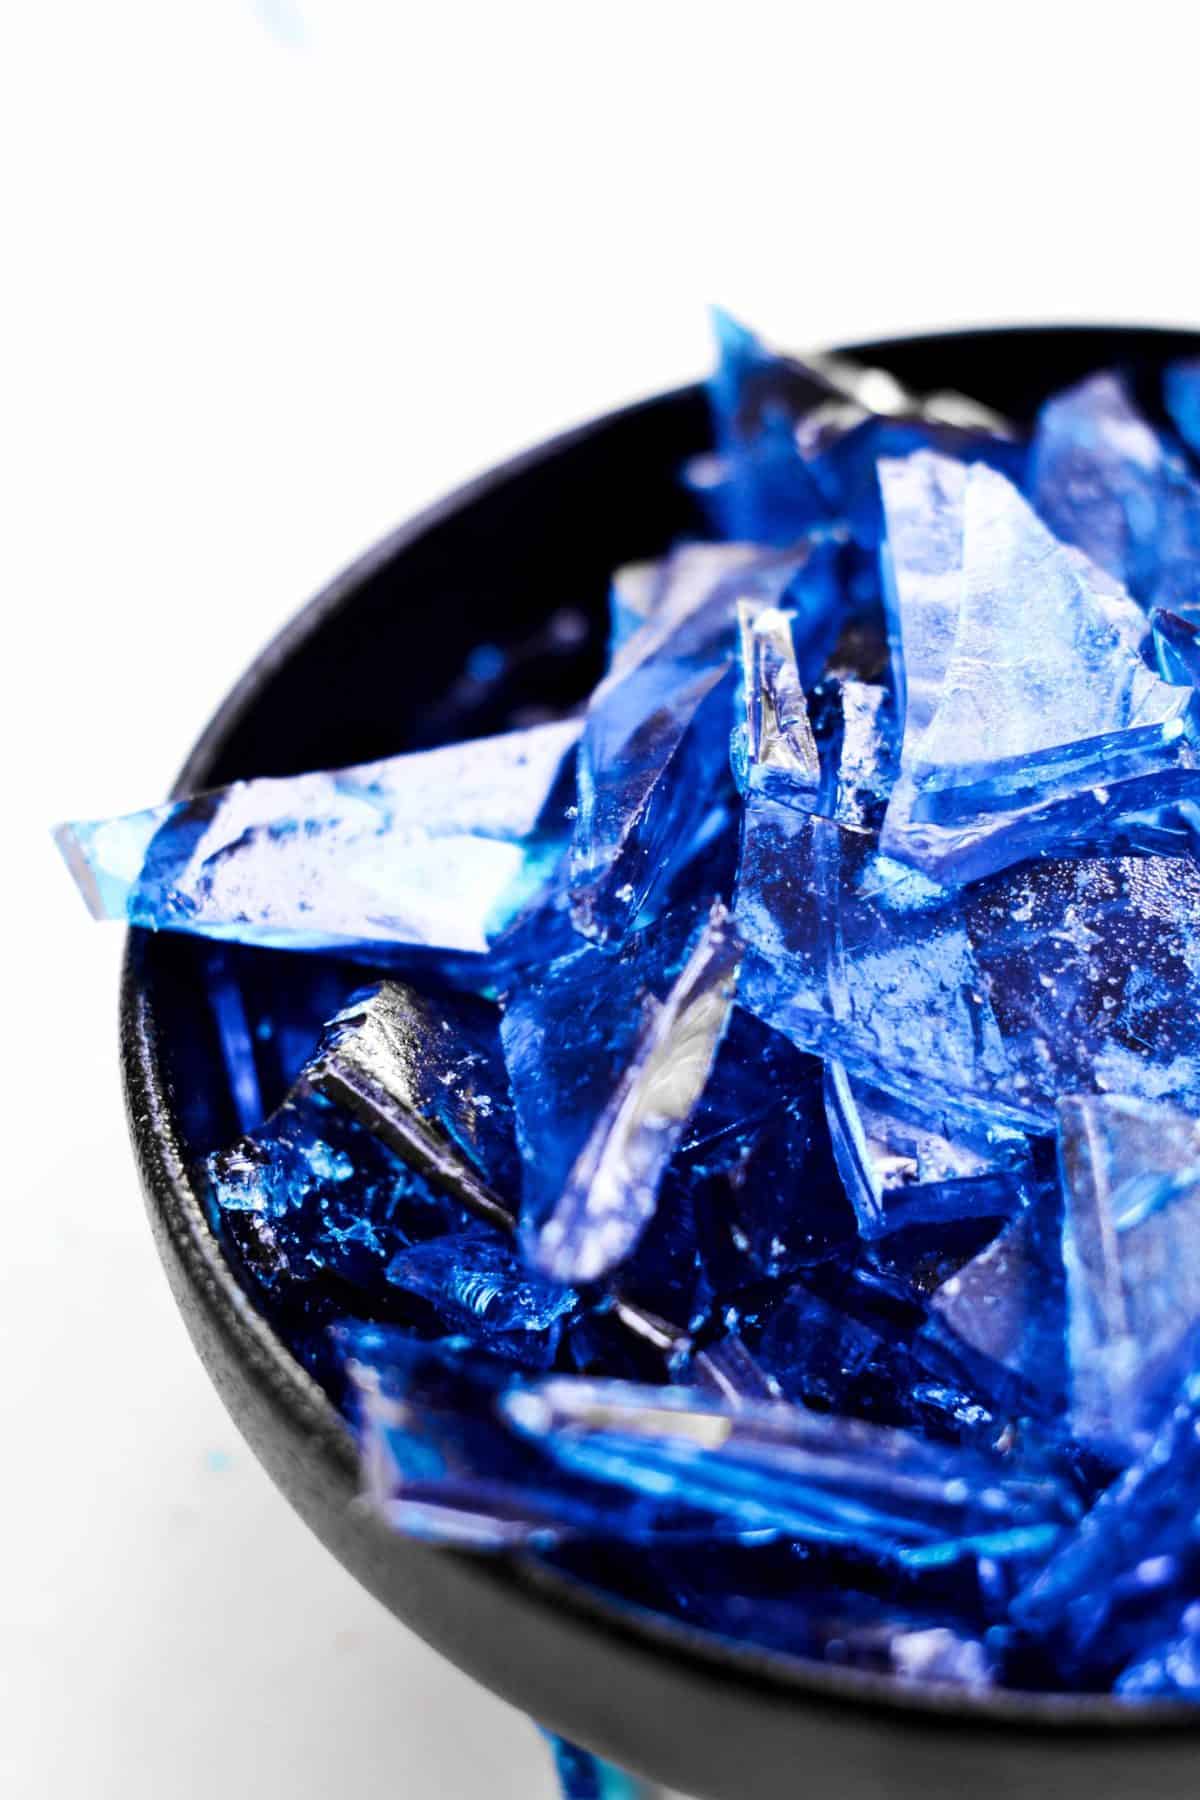
You only need a few ingredients to make this hard blue rock candy from scratch.
Prep: 10min
Total: 20min
Serving Size: 1 serving
Nutrition Facts: calories 283 kcal, Carbohydrate 74 g, Fat 0.2 g, Sodium 21 mg, Sugar 74 g, servingSize 1 serving
Ingredients:
- ½ cup water (114 grams)
- ¾ cup light corn syrup (234 grams)
- 2 cups granulated sugar (400 grams)
- 2 teaspoons flavoring extract (8 grams (I chose raspberry, but there are lots of flavors to choose from!))
- Food coloring (optional (I used blue, but use any color!))
Instruction:
- Mix all ingredients together in a medium saucepan set over medium heat.
- Stir until boiling. Once the liquid begins to boil, do not stir until finished.
- While the candy comes to a boil, line a baking sheet with aluminum foil and spray the foil with nonstick spray. Set aside.
- Once boiling, place a candy thermometer in the liquid and monitor closely. when the liquid reaches 300°F, take off the heat and set aside.
- Allow the mixture to cool until the bubbles quit breaking at the surface of the liquid.
- Pour liquid onto the prepared baking sheet.
- Allow to cool until fully hardened. Then, break apart to the size desired.
Homemade Rock Candy

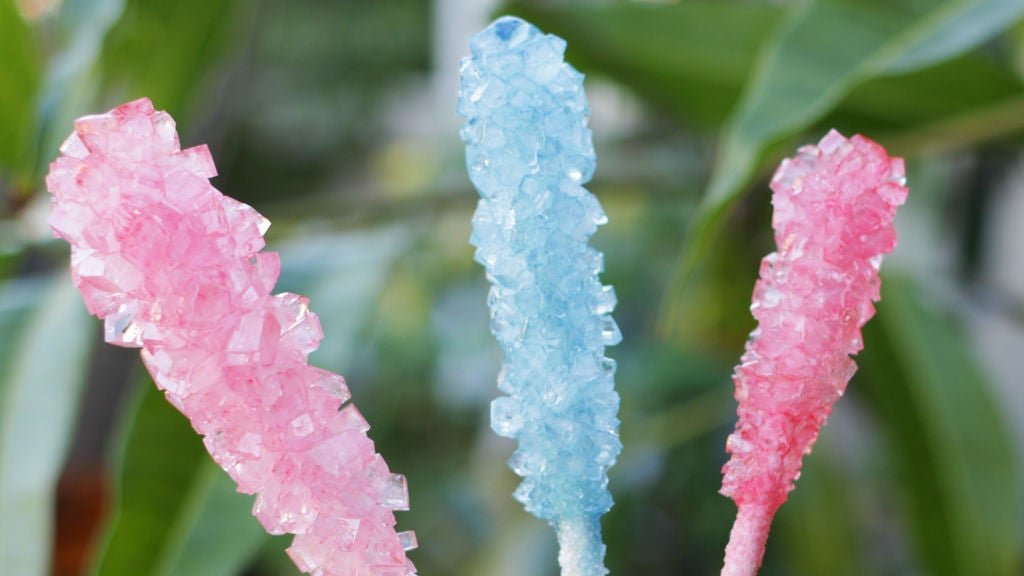
Making rock candy at home is a fun science experiment that you can eat! You can experiment with different colors and flavors. It is a great activity to do with the kids. It is extremely easy to make using just a few ingredients. Remember though this is a science experiment more than it is an exact recipe. Sometimes you can do everything right and the crystals just don’t behave, haha.
Prep: 10min
Total: 7225min
Yield: 3
Serving Size: 1 serving
Nutrition Facts: calories 194 kcal, servingSize 1 serving
Ingredients:
- 1 cup of water (240 ml)
- 3 cups of white granulated sugar (600 g)
- 1 – 2 tsp flavoring
Instruction:
- Begin by dipping the sticks in water and then rolling them in sugar. A plate works well to hold the sugar. I only dip it where I want the sugar crystals to grow. Set the sticks aside and allow them to dry. These are the seed crystals that the other crystals will grow on.
- Add a large pot to the stovetop and set to medium heat. Pour in the water and bring it to a simmer. Then add in the sugar a cup at a time, stirring it to dissolve the sugar. Bring it to a boil. If you are only using one color and flavor you can add it in right when it boils.
- Remove the pot from the heat and allow the sugar solution to cool for 20 minutes.
- After 20 minutes run the tap water until it gets really hot, let the water run over the glass or mason jar to heat it up until really warm. Make sure to use a wide glass or mason jar like the 800ml kind if you want larger candies, but you will get fewer of them, with this amount of liquid you will get 1 large one. Smaller mason jars or glasses for smaller candies, but you will get more of them. 2 to 3 of them.Pour the hot sugar solution into the containers. If you are using a metal thermos no need to heat it up. If you want different colors now would be the time to add those colors and flavors.
- Attach a clothespin to a sugar stick and set it in the solution. If necessary use a metal ring on top of the mason jar so the clothespin can sit on it. Try and keep the stick in the very middle of the glass and at least 1.5 inches from the bottom. If it is too close to the bottom the crystals might fill up the bottom.
- Let the crystals form for 3 to 5 days. Use a fork and gently break away any thin layer of sugar that has formed on the surface of the solution. Then pull out the rock candy and place in another container to dry for 4 hours. That’s it! Enjoy!
