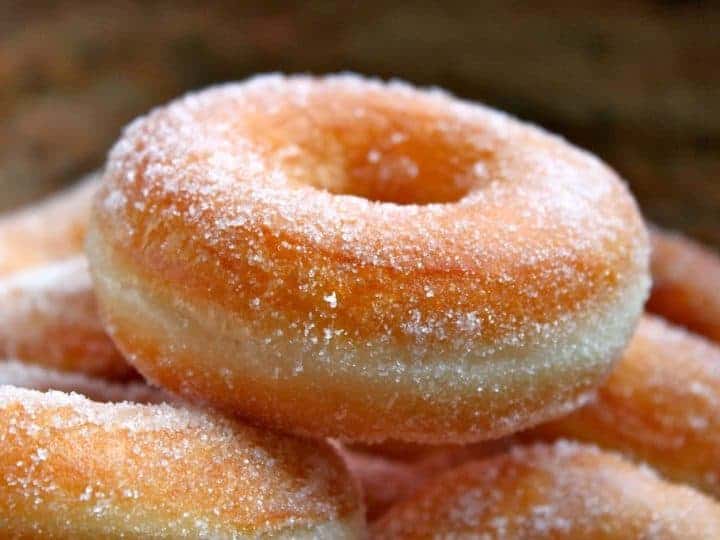
Homemade doughnuts are a bit of a project, but they’re less work than you might think, and the result is a truly great, hot, crisp doughnut. Once you’ve mastered this basic recipe for a fluffy, yeasted doughnut, you can do pretty much anything you like in terms of glazes, toppings and fillings.

Homemade Glazed Doughnuts

Homemade glazed doughnuts are easier to make than you think! For best success, take your time and read through the recipe before beginning.
Prep: 1h50min
Total: 2h
Yield: 12
Ingredients:
- 1 cup (240ml) whole milk, warmed to about 110°F (43°C)*
- 1 Tablespoon active dry yeast*
- 1/3 cup (65g) granulated sugar
- 2 large eggs
- 6 Tablespoons (86g) unsalted butter, melted and slightly cooled
- 1 teaspoon pure vanilla extract
- 1/4 teaspoon ground nutmeg
- 1/2 teaspoon salt
- 4 cups (500g) all-purpose flour (spoon & leveled), plus more as needed
- 1 – 2 quarts vegetable oil*
- 2 cups (240g) confectioners’ sugar, sifted
- 1/3 cup (80ml) heavy cream or whole milk (I prefer cream for thicker consistency)
- 1/2 teaspoon pure vanilla extract
Instruction:
- Whisk the warm milk, yeast, and sugar together in the bowl of your stand mixer fitted with a dough hook or paddle attachment. Cover and allow to sit for 5 minutes. The mixture should be a little frothy on top after 5 minutes. If not, start over with new yeast.
- Add the eggs, butter, vanilla, nutmeg, salt, and 2 cups (245g) flour. Beat on low speed for 1 minute. Scrape down the sides of the bowl with a rubber spatula as needed. Add remaining flour and beat on medium speed until the dough comes together and pulls away from the sides of the bowl, about 2 minutes. If needed, add more flour, 1 Tablespoon at a time, until the dough pulls away from the sides of the bowl. Don’t add too much flour, though. You want a slightly sticky dough. *If you do not own a mixer, you can mix this dough with a large wooden spoon or rubber spatula. It will take a bit of arm muscle!*
- Keep the dough in the mixer and beat for an additional 2 minutes or knead by hand on a lightly floured surface for 2 minutes.
- Lightly grease a large bowl with oil or nonstick spray. Place the dough in the bowl, turning it to coat all sides in the oil. Cover the bowl with aluminum foil, plastic wrap, or a clean kitchen towel. Allow the dough to rise in a relatively warm environment for 1.5-2 hours or until double in size. (For a tiny reduction in rise time, see my answer to Where Should Dough Rise? in my Baking with Yeast Guide.)
- When the dough is ready, punch it down to release the air.Remove dough from the bowl and turn it out onto a lightly floured surface. If needed, punch down again to release any more air bubbles. Using a rolling pin, roll the dough out until it is 1/2 inch thick. Using a 3-3.5 inch doughnut cutter, cut into 12 doughnuts. If you can’t quite fit 12, re-roll the scraps and cut more.
- Line 1 or 2 baking sheets with parchment paper or silicone baking mats. Place doughnuts and doughnut holes on each. (Feel free to discard doughnut holes if desired.) Loosely cover and allow to rest as you heat the oil. They will rise a bit as they rest. Place a cooling rack over another baking sheet.
- Pour oil into a large heavy-duty pot set over medium heat. Heat oil to 375°F (191°C). Add 2-3 doughnuts at a time and cook for 1 minute on each side. Carefully remove with a metal spatula or metal slotted spoon. Wear kitchen gloves if oil is splashing. Place fried doughnuts onto prepared rack. Repeat with remaining doughnuts, then turn off heat.* (See note for doughnut holes.)
- Whisk all of the glaze ingredients together. Dip each warm doughnut (don’t wait for them to cool!) into the glaze, making sure to coat both sides. Place back onto prepared rack as excess glaze drips down. After about 20 minutes, the glaze will set + harden.
- Doughnuts are best enjoyed the same day. You can store in an airtight container at room temperature or in the refrigerator for 1-2 extra days.
Melt In Your Mouth Glazed Donuts Recipe ( How to make the BEST Yeast Donuts ! ) Homemade Donuts
FAQ
What is the secret ingredient in doughnuts?
Are doughnuts better fried or baked?
What makes Krispy Kreme donuts so light?
Why are Amish donuts so good?
