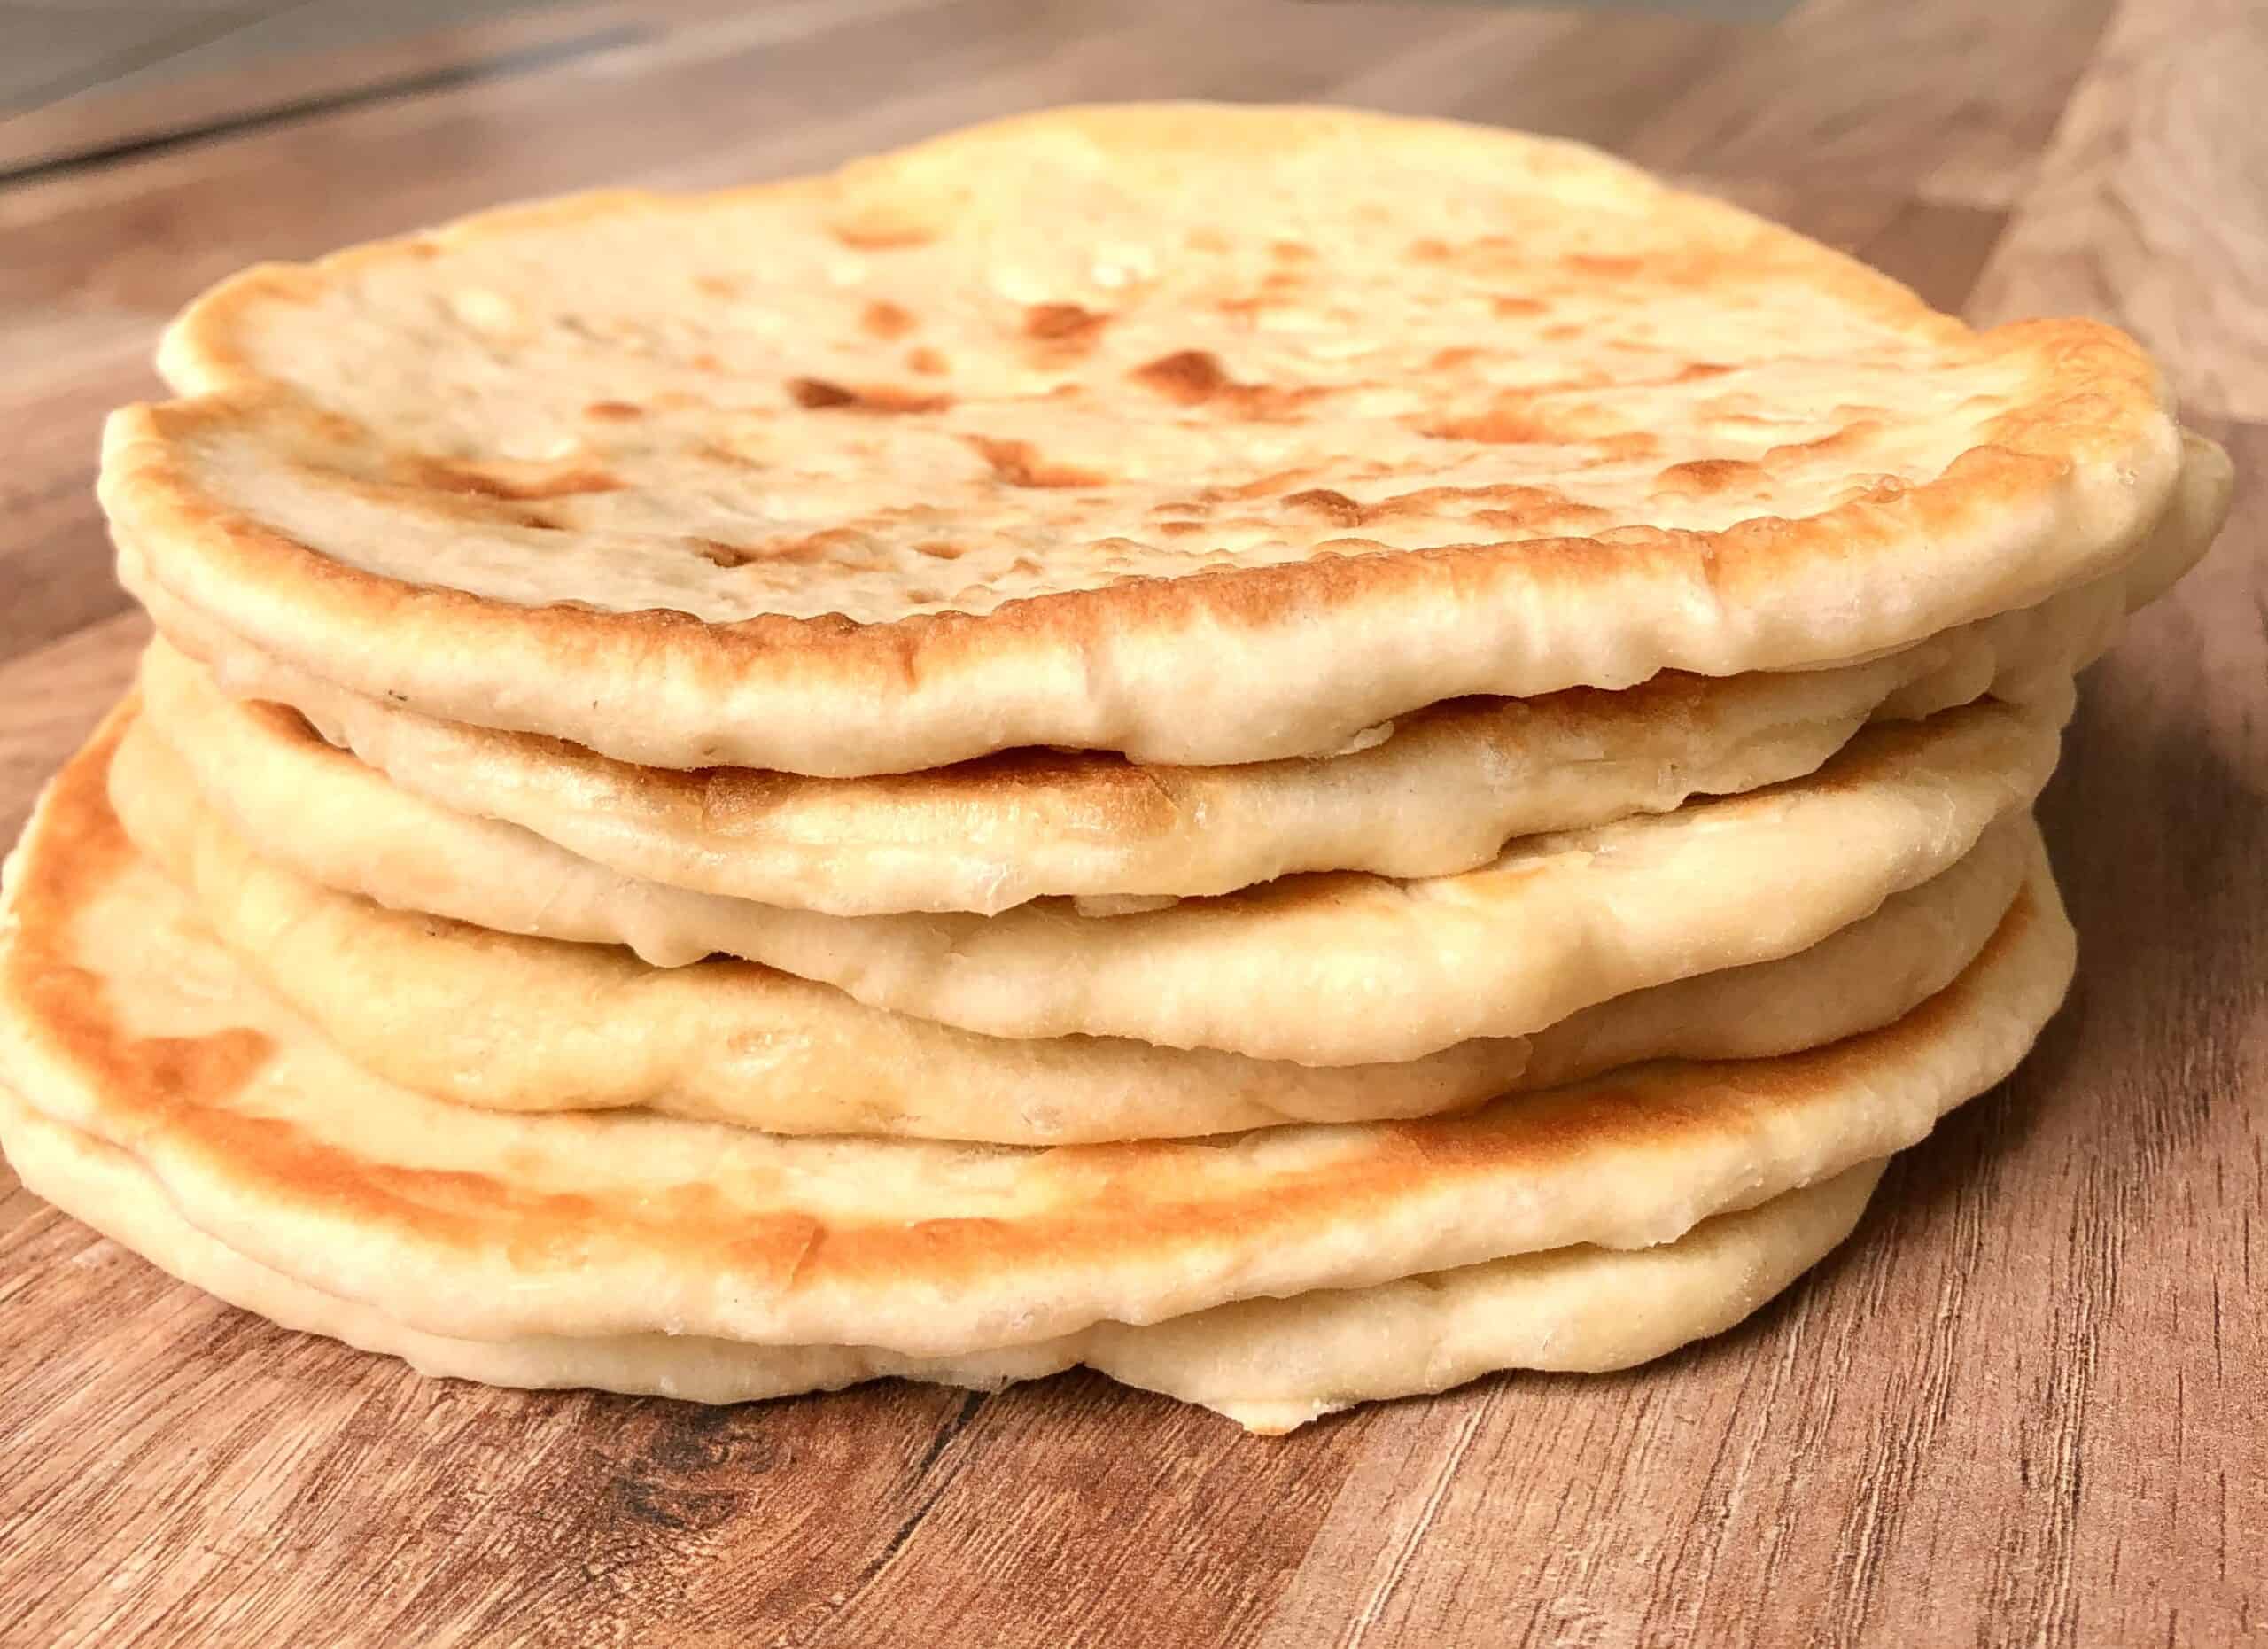
This homemade pita bread recipe is easy to make and requires a few ingredients you may already have on hand! Mix up the very simple dough, let it rise, and experience the magic of fresh, warm, perfectly puffy homemade pita bread. Baking and skillet instructions included!
Pita bread is freezer friendly. And you can even prepare the dough ahead. Be sure to read through for tips and my step-by-step tutorial.
Homemade Pita Bread Recipe
My family’s authentic, fool-proof pita bread recipe is easy to make and requires a few ingredients you may already have on hand! Mix up the very simple dough, let it rise, and experience the magic of fresh, warm, perfectly puffy homemade pita bread. Baking and stovetop instructions included!
Prep: 1h45min
Total: 1h48min
Yield: 8
Serving Size: 1 whole pita
Nutrition Facts: servingSize 1 whole pita, calories 205 calories, Sugar 0.4 g, Sodium 1.6 mg, Fat 4 g, Saturated Fat 0.6 g, Trans Fat 0 g, Carbohydrate 36.4 g, Fiber 1.5 g, Protein 5.2 g, Cholesterol 0 mg
Ingredients:
- Water
- 2 tsp active dry yeast
- 1/2 tsp sugar
- 3 cups all-purpose flour, divided (or 1 1/2 cup all-purpose flour and 1 1/2 cup whole wheat flour)
- 1 to 2 tsp kosher salt (I used Diamond Crystal kosher salt)
- 2 tbsp extra virgin olive oil (I used Private Reserve Greek extra virgin olive oil), more for the bowl
Instruction:
- In a large mixing bowl add 1 cup lukewarm water and stir in yeast and sugar until dissolved. Add 1/2 cup flour and whisk together. Place the mixing bowl in a warm place, uncovered to form a lose sponge. Give it 15 minutes or so, the mixture should bubble.
- Now add salt, olive oil and almost all the remaining flour (keep about 1/2 cup of the flour for dusting later). Stir until mixture forms a shaggy mass (at this point, the dough has little to no gluten development and just looks like a sticky mess and you can easily pull bits off). Dust with a little flour, then knead the mixture inside the bowl for about a minute to incorporate any stray bits.
- Dust a clean working surface with just a little bit of flour. Knead lightly for a couple minutes or so until smooth. Cover and let the dough rest for 10 minutes, then knead again for a couple more minutes. The dough should be a little bit moist, you can help it with a little dusting of flour, but be careful not to add too much flour.
- Clean the mixing bowl and coat it lightly with extra virgin olive oil and put the dough back in the bowl. Turn the dough a couple times in the bowl to coat with the olive oil. Cover the mixing bowl tightly with plastic wrap then lay a kitchen towel over. Put the bowl in a warm place. Leave it alone for 1 hour or until the dough rises to double its size.
- Deflate the dough and place it on a clean work surface. Divide the dough into 7 to 8 equal pieces and shape them into balls. Cover with a towel and leave them for 10 minutes or so to rest.
- Using a floured rolling pin, roll one of the pieces into a circle that’s 8-9 inches wide and about a quarter inch thick. It helps to lift and turn the dough frequently as you roll so that dough doesn’t stick to your counter too much. (If dough starts to stick, sprinkle a tiny bit of flour). If the dough starts to spring back, set it aside to rest for a few minutes, then continue rolling. Repeat with the other pieces of dough. (Once you get going, you can be cooking one pita while rolling another, if you like). You have two options for baking the pita from here.
- Heat the oven to 475 degrees F and place a heavy-duty baking pan or large cast iron skillet on the middle rack to heat. Working in batches, place the rolled-out pitas directly on the hot baking baking sheet (I was only able to fit 2 at a time). Bake for 2 minutes on one side, and then, using a pair of tongs, carefully turn pita over to bake for 1 minute on the other side. The pita will puff nicely and should be ready. Remove from the oven and cover the baked pitas with a clean towel while you work on the rest of the pitas.
- To cook pita on stovetop: Heat a cast iron skillet over medium-high heat. (Test by adding a couple drops of water to the skillet, the skillet is ready when the beads of water sizzle immediately). Drizzle a tiny bit of extra virgin olive oil and wipe off any excess. Working with one pita at a time, lay a rolled-out pita on the skillet and bake for 30 seconds, until bubbles start to form. Using a spatula, flip the pita over and cook for 1-2 minutes on the other side, until large toasted spots appear on the underside. Flip again and cook another 1-2 minutes to toast the other side. The pita is ready when it puffs up forming a pocket (sometimes, with this method, the pita may not puff or may only form a small pocket. Try pressing the surface of the pita gently with a clean towel). Keep baked pita covered with a clean towel while you work on the rest.
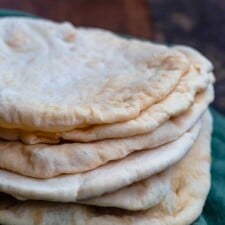
The easiest homemade Pita Bread recipe!
The very best homemade Greek pita bread recipe! And the best part, made with only 4 ingredients. Find out how to bake them to perfection with this super easy recipe.
Prep: 45min
Total: 1h10min
Yield: 6
Serving Size: 1 pita
Nutrition Facts: servingSize 1 pita, calories 308kcal, Sugar 0.2g, Sodium 4.7mg, Fat 0.9g, Saturated Fat 0.1g, Trans Fat 0g, Carbohydrate 64.1g, Fiber 2.6g, Protein 9.1g, Cholesterol 0mg
Ingredients:
- 500-530g (17-18.5 oz.) strong white bread flour or 50% white and 50% whole-wheat flour
- 360g (12.7 oz.) lukewarm (40C/ 104F)
- 3 tsp dry instant yeast
- 1 tsp salt
- 1 tsp sugar
Instruction:
- To prepare this pitta bread recipe add in a mixer’s bowl the yeast, sugar and water and blend to dissolve the yeast. Set aside for 5-10 minutes until yeast froths.
- Add the flour and salt and mix using the dough hook for 6-8 minutes. Alternatively you could mix the ingredients by hand.
- Depending on the flour used, the dough may need a little bit less or more flour than this pita bread recipe calls for. After mixing for a while the dough for your pita bread should become an elastic ball and a bit sticky.
- When ready, coat the dough with olive oil, place in a bowl and cover with plastic wrap and a kitchen towel. Let it sit in a warm place, for at least 20 minutes or until it doubles its size. This is an important step for this pita bread recipe. The first proof makes the pita bread fluffy and soft. If it is winter, turn the oven on for a minute or two, until it’s a little warm, switch it off and then let the dough rise in it.
- Take the dough out of the bowl and gently deflate with your hands. Use just a tiny bit of flour to help you if it is too sticky. Split into 6 evenly sized balls around145g/ 5 oz. each.
- Let the pita bread balls rest for 15 minutes before shaping. This is the second proof and will allow your dough to relax and become easier to shape.
- To form the pita bread, you can either use a rolling pin, or stretch it with your hands, about 20cm in diameter. A rolling pin will make a crunchier pita, while hand stretching a softer, fluffier one. If the dough springs back, set it aside for a few minutes to rest and then continue rolling again.
- For a more traditional look on your pita bread, press the dough firmly with your fingertips forming dimples or use a fork to make some holes on top.
- , heat a non-sticking frying pan to medium heat and add just a little bit of olive oil and wipe off any excess. Bake each pita bread for about 3 minutes on each side, until slightly coloured and still soft. If your pan has a lid, place the lid on while baking them to keep the moisture in.
- use the steam method. Cut a piece of aluminium foil to the size of your pan. Generously sprinkle and spread some olive oil on it. Shape and place your pita on the foil. Pour a large glug of water in your plan over medium low heat – it should start steaming immediately! Place your pita immediately in it and cover with the lid. Let it steam for 12-15 minutes. Take it out, flip it over and cook for another 2-3 minutes on the foil.
- To give it more colour, when you flip your pita bread, push it lightly with a wooden spoon on the pan.
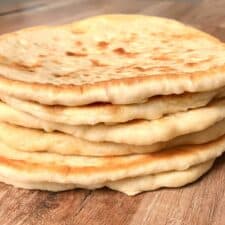
Pita Bread Recipe (2 Easy Ways)
FAQ
Is pita bread healthier then bread?
What’s the difference between naan and pita?
What makes pita bread puff up?
Is pita a bad carb?
